

Next job was to fit the passenger seat. I tried to mark out the holes at 315mm centres but when I put the M8x60 bolts in, the bolt heads didnt line up with the marks. (I used 60mm bolts as the plan is to fit the seat on some sections of 2" square steel section to bring the seat to the same height as the drivers seat). It turned out that the seat fixings aren't all square so I cut the heads of 4no M8x60mm bolts and ground the ends to a point so I could exactly mark the hole positions. I drilled the holes to 8.5mm but will fit the seat later on.

Next job was fitting the interior panels. I started with the rear panel but marking positions of the rivets. Once marked, holes were drilled in the plastic panel. The hole positions were transferred to the chassis and drilled out to 4mm and the panel riveted in position. I then fitted both the side panels to the tunnel in the same way.


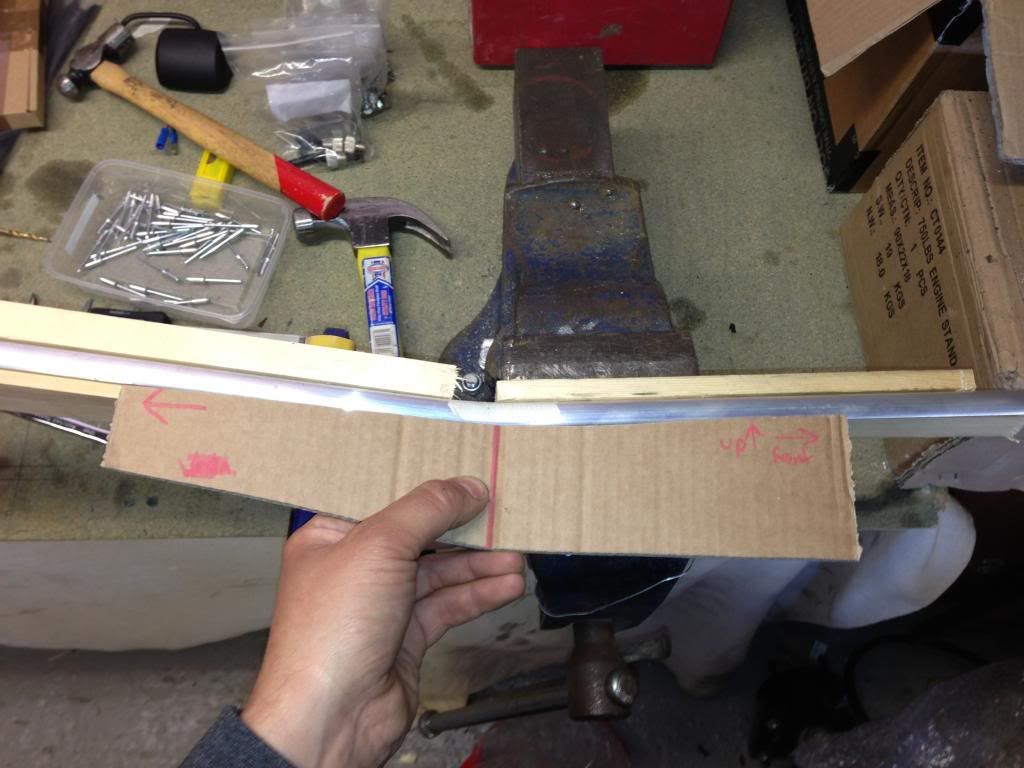
Next I cut and bend the aluminium trim for the top of the tunnel. I made a cardboard template so I knew exactly how much to bend the trim - the trim needed to be be bent in two directions. To bend the trim I clamped it in a vice between bits of timber, and on the other part I clamped longer lengths of 2"x1" timber (see photo). This was to ensure that the bend was in the right place and that no other part of the trim would bend. Once these trims are drilled and fitted I will remove them and wrap in carbon fibre vinyl as I don't like the look of plain aluminium.


No comments:
Post a Comment