Friday 31 May 2013

Bonnet mesh, cycle wings,

First job today was the mesh in the bonnet bulge.  This was done in a similar way to the grill mesh..... cardboard tempalte cut to shape. mesh cut around the template, edges bend and then fixed in position with sikaflex.

Next job was the cycle wings.  I started by fixing them in position and marking the first bend.  The plan was to bend such that I didnt have to notch out the side of the cycle wing - basically I needed to step the bracket underneath the cycle wing.  I was hoping to get the brackets to sit 25mm above the tyre which would mean the wing was close enough to the wheel to look good but far enough away so the wheel could be removed with the wings in place.

In the end it was a bit if a disaster - all the wings were different distances from the tyre.  This was because it was quite difficult to bend the 6mm steel bar in the vice with a hammer.


1" timber spacers to position wings

Template for cycle wings from IVA book.  Must extend beyonf 30 degrees at the front, must extend 50 degrees at the rear but also finish below 15mm above centre of wheel.

First bend!

Second bend!

Third bend and in position

Cycle wing on bracket


Thursday 30 May 2013

Bonnet catches complete

Slow night tonight.  All I did was to complete the bonnet catches.  I drilled the holes further apart so that the catches are under  some tension when locked.  The plan is to leave them like this for IVA but the probably add an additional locking mechanism afterwards.


Wednesday 29 May 2013

Fog light + bonnet catches

I bought a new fog light at the weekend, tonight I make a mounting bracket.

The foglight I bought is E marked and also F marked, a requirement for IVA.  Its also a requirement for the light to be vertical when mounted.  I made a mounting bracket by bending a piece of 30mm aluminum strip around the outside of the foglight and then cutting it to the same angle as the rear panel of the car, about 15 degrees.  I then carbon wrapped both the bracket and light surround.

Next job was to start on the bonnet catches.  I bought the rubber IVA OK type from CBS.  The are fitted with 4no 4mm rivets per catch.  I marked and drilled 100mm from the edge of the bonnet.  The first one I fitted could have been tighter so  I will drill the holes further apart on the others.


Holes marked for bonnet catch


Tuesday 28 May 2013

Front indicators, grill mesh, cooling hose clips,

I managed to get a few small jobs done today, first of which was the front indicators.  I ran wired to both indicators and fixed in position with adhesive cable tie bases.  I ran these round a position above the offside headlight where both indicator connections are on the wiring loom.

Next was to fit the grill mesh.  I bought some mesh from Halfords which I cut to size from a template, bend the edges down and fixed in place with blobs of Sikaflex.

Final job was to support the cooling hoses to ensure the done rub on anything sharp which could cause them to fail.  I make these clips from strips of aluminium with edge trim on.

Front indicators wired up

Cardboard template

Edges bend to shape

Fixed with Sikaflex


Monday 27 May 2013

Front indicators + tidying electrics + Air intake

Today I fitted the front indicators.  It is an IVA requirement that these are within 400mm of the edge of the widest part of the car so I needed to make some extension pieces.  To do this I cut lengths of copper tube at 120mm and cleaned the inside ends with wire wool.  I then coated in flux and used the vice to press an M8 nuts into each end of each tube.  I then soldered these nuts in position.  The copper was then wrapped in carbon vinyl.

I then drilled an M5 hole through two M8 bolts so I could pass the wired for the indicators through the middle.  I drilled out the nosecone with an 8.5mm hole and bolted the indicators in position.  With the extension pieces, the outside of the indicator is about 370mm from the edge of the car so will be ok for the IVA.

15mm copper pipe and M8 nyloc nuts

Nuts pressed and soldered into end of copper pipe

Carbon vinyl wrapped

Indicator in position

M8 bolt drilled out for cables to pass through

Next job was to sort the air intake.  I bought a carbon look NACA air intake which has a 75mm outlet, the same size as the intake on my aluminium airbox.  I cut a template from cardboard and marked the hole I needed to cut in the bonnet.  This will be off centre so it is inline with the intake on the airbox.

I cut out the hole and then fixed the NACA duct with sikaflex.


NACA duct installed and connected to airbox

Saturday 25 May 2013

On its wheels!!

Today I got the car onto its wheels for the first time!  I couldn't get an engine crane in the end so I had to lower it to the ground on a load of timber pallets.

I jacked the car up, removed the trolley and lowered each wheel onto timber pallets and then jacked up and removed a couple of pallets at a time.  This was a slow process but we got there in the end.


I also fitted the rear panel today with 6no M5 fixings.  Again I used rivets for easy removal.  I had to trim the edge where it meets the side panel and I also trimmed underneath at each corner to aid in flexibility.  This was because the chassis is 10mm bigger than the internal measurement of the rear panel so it stretches as it is in place.


Sunday 19 May 2013

Fitting side panels cont. - scuttle + nose cone

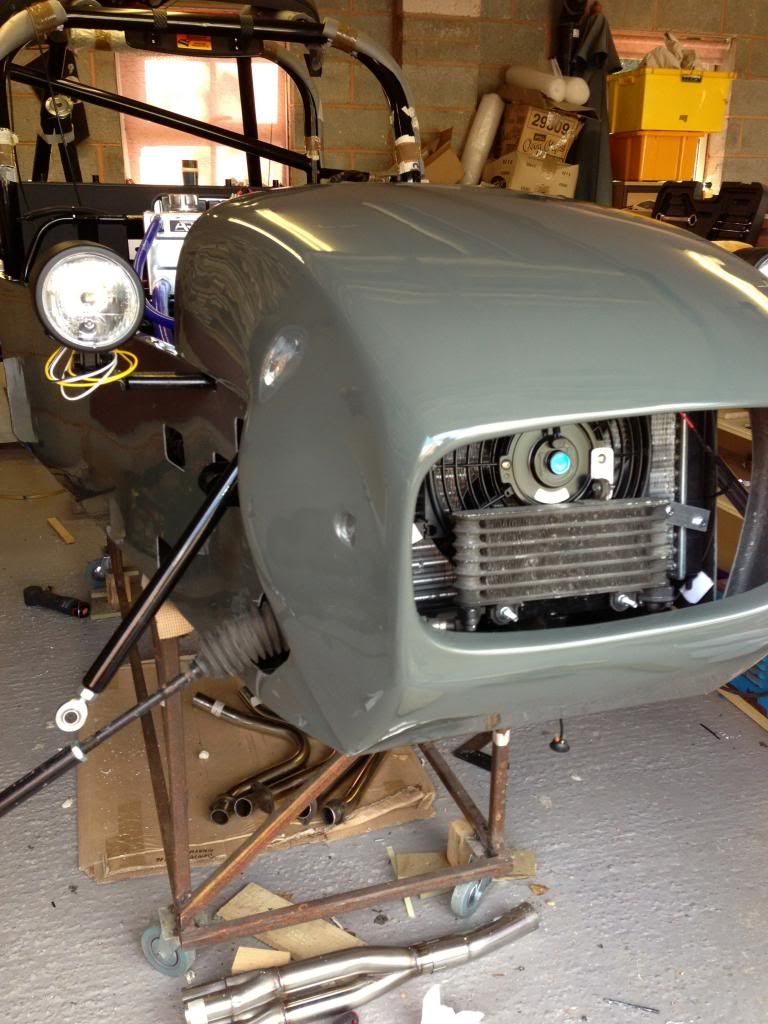
Today I continued with the side panels and also fitted the scuttle and nose cone.  To fit these I marked and drilled holes for the fixings in the scuttle and nose cone.  I then put them in position and transfered the hole position to the top of the side panel so I could then drill out for the rivnut.  I used 4no M5 bolts to hold the scuttle and the same for the nose cone.

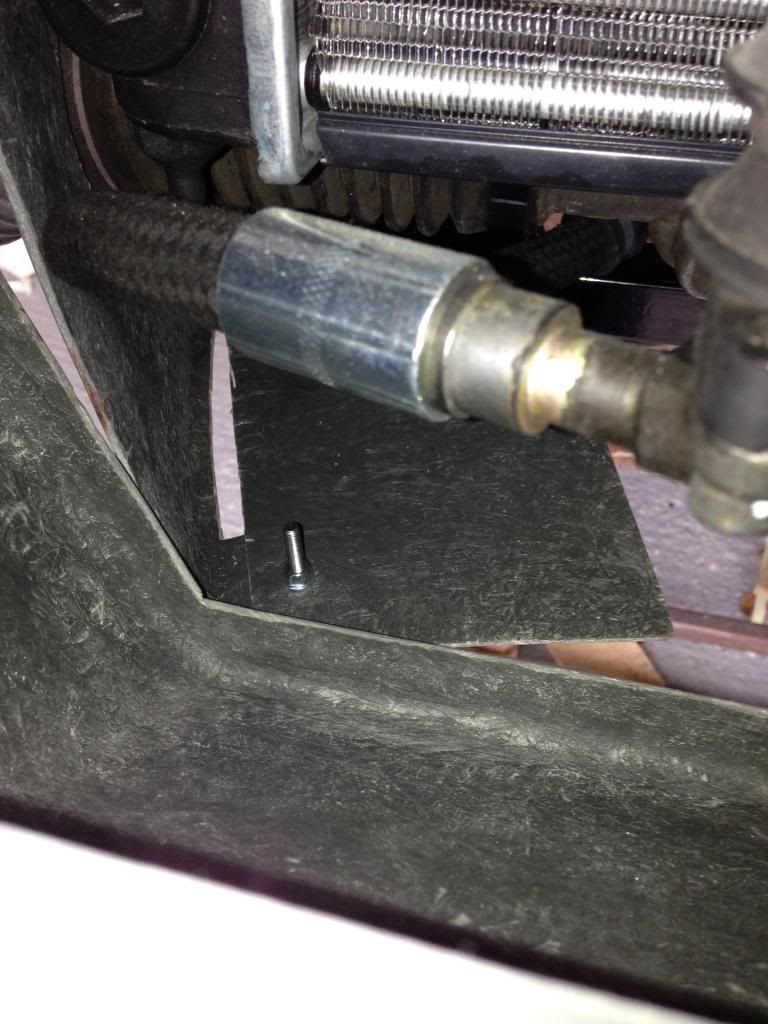
Rivnuts for scuttle mounting bolts

Scuttle in position

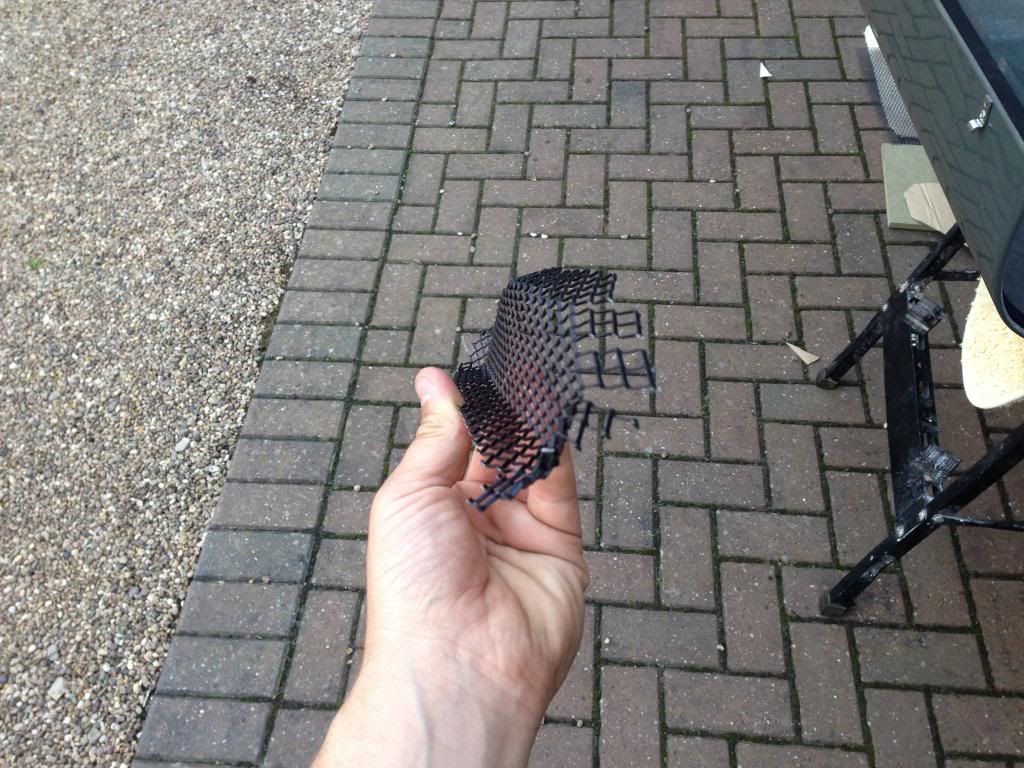
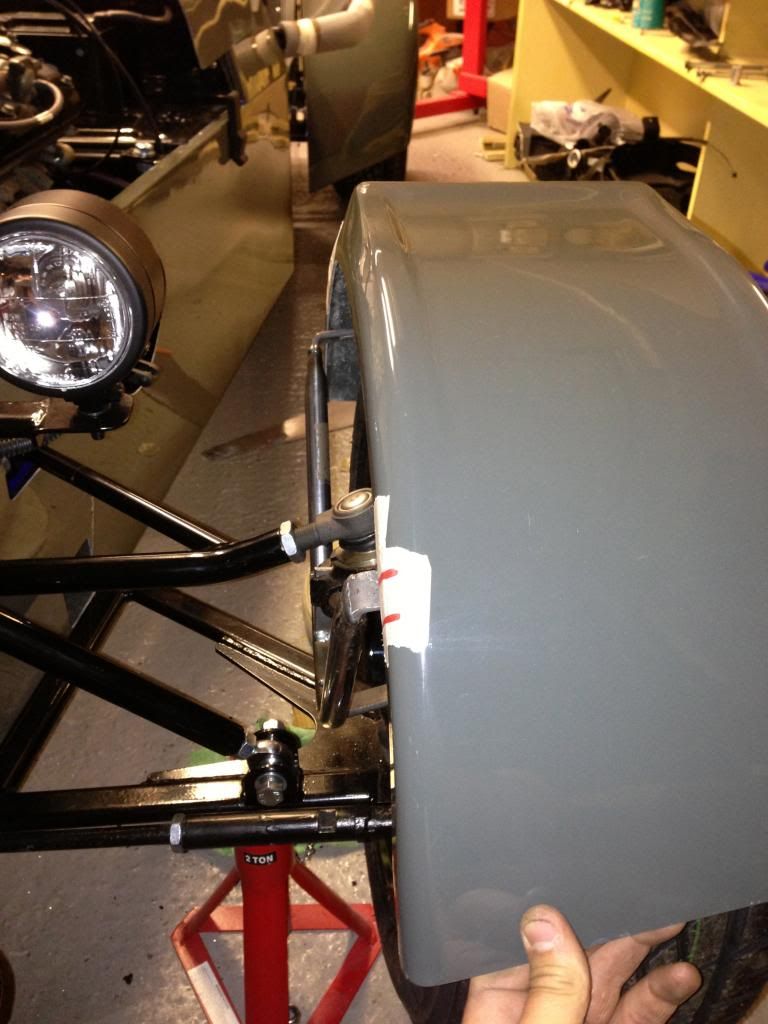
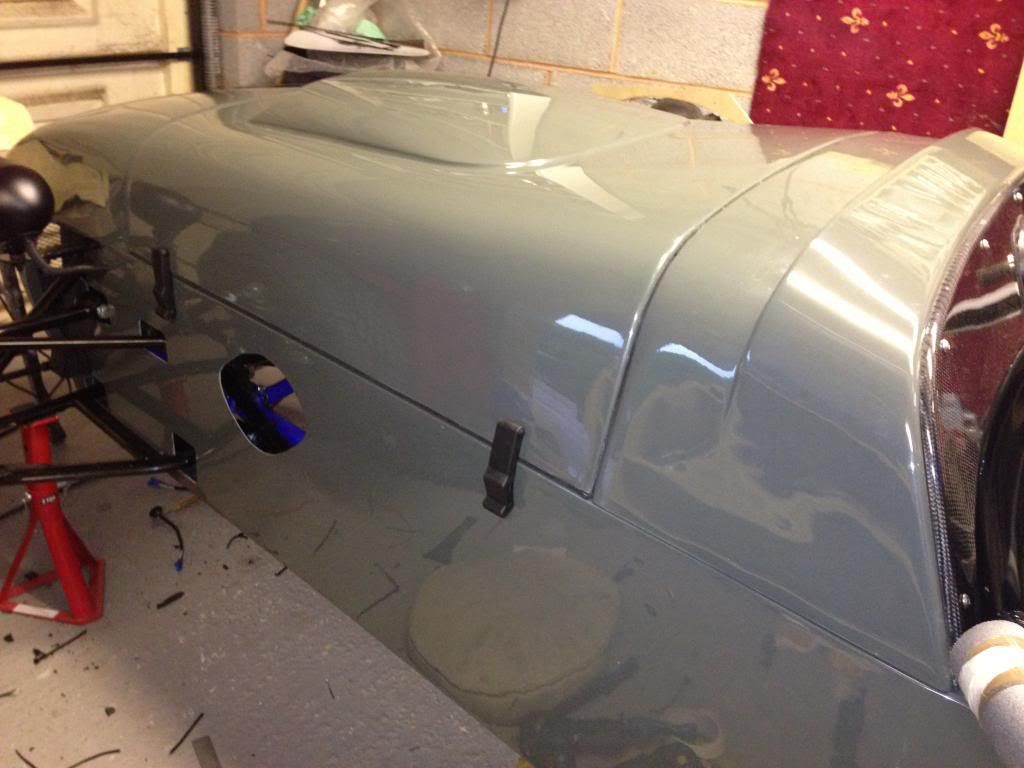
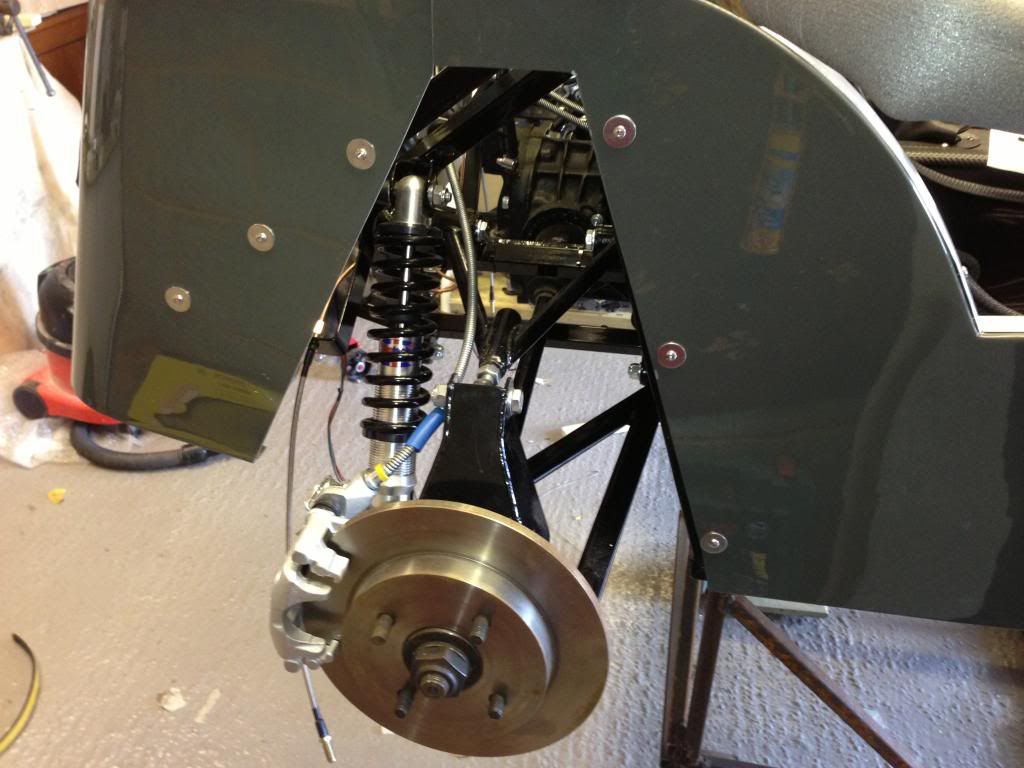
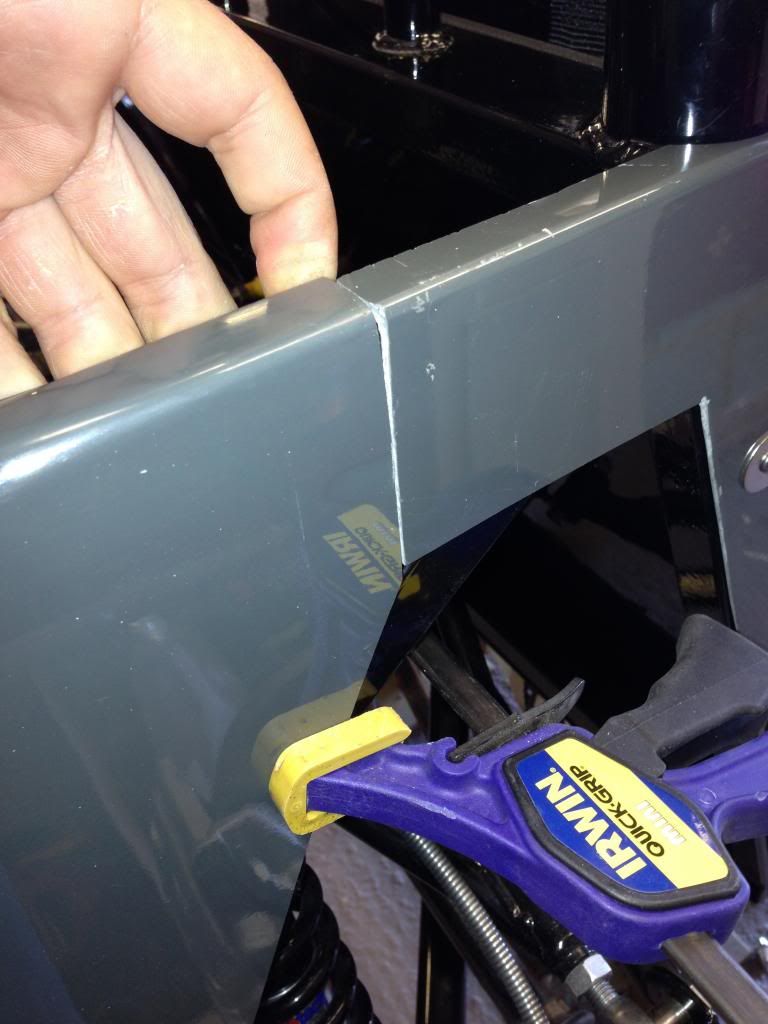
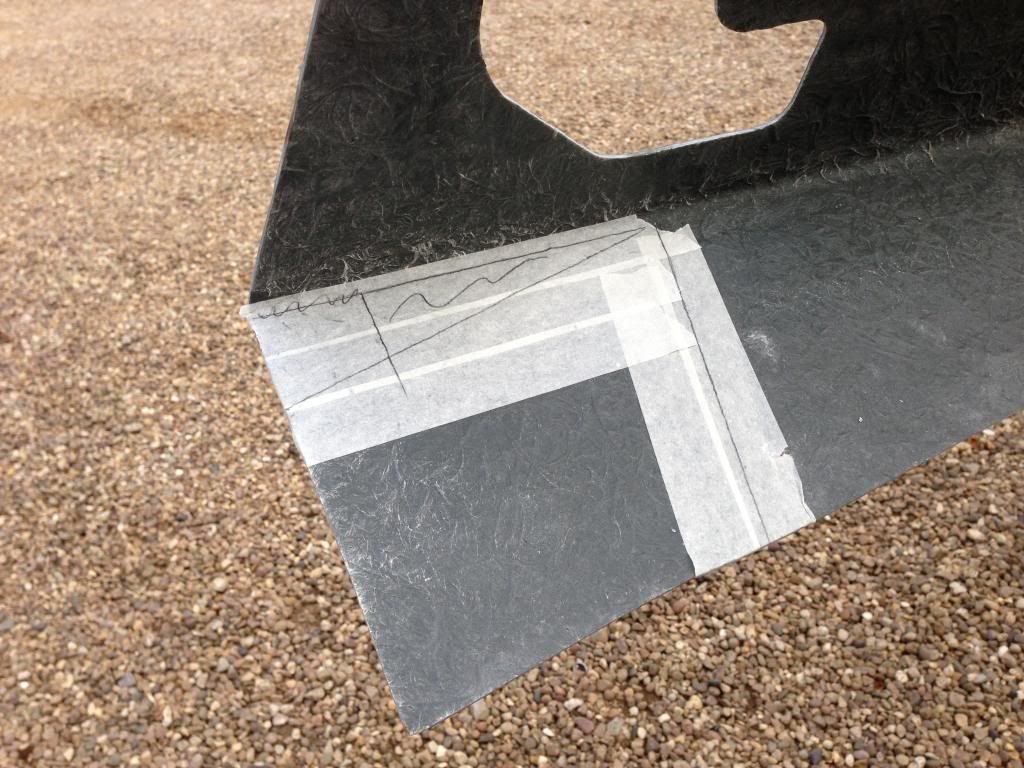
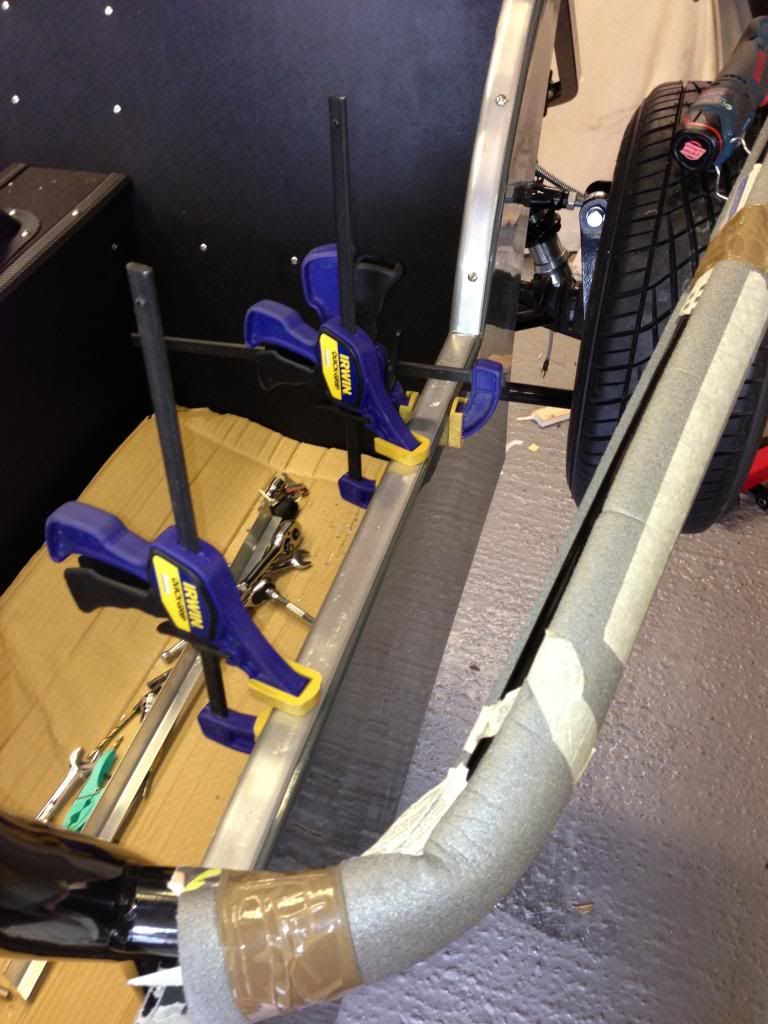
On the MK the side panels do not line up correctly with the nose cone so I needed to cut a section out, bend the end in and drill and fix it in its new position.

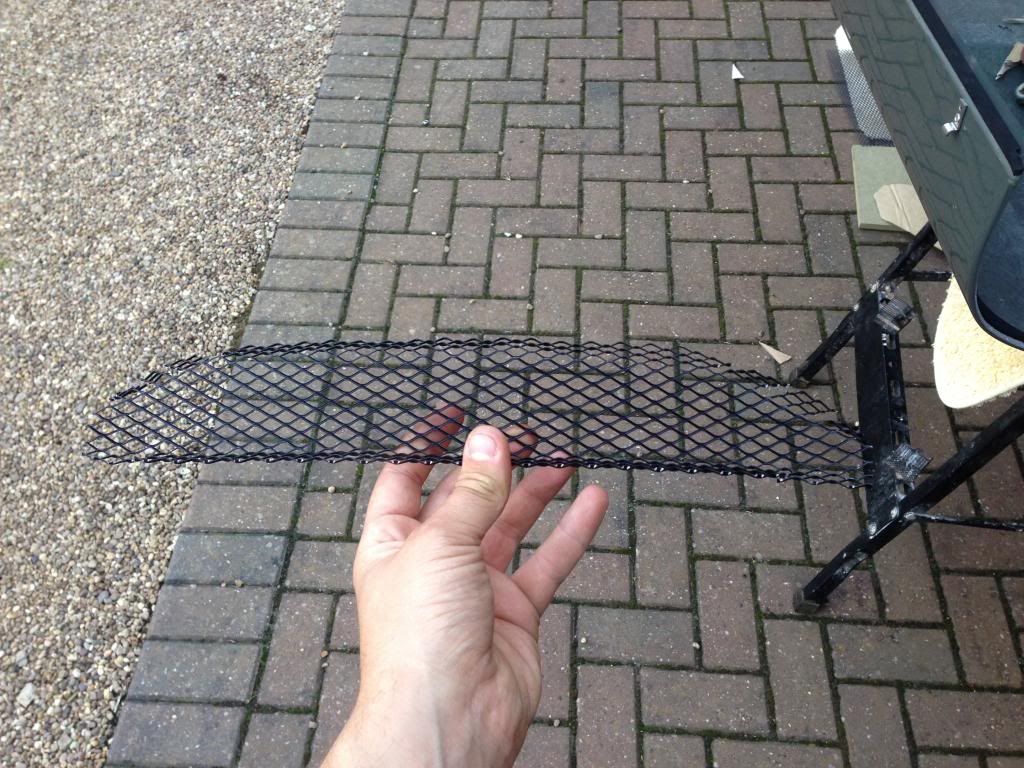
Side panel marked up for cutting
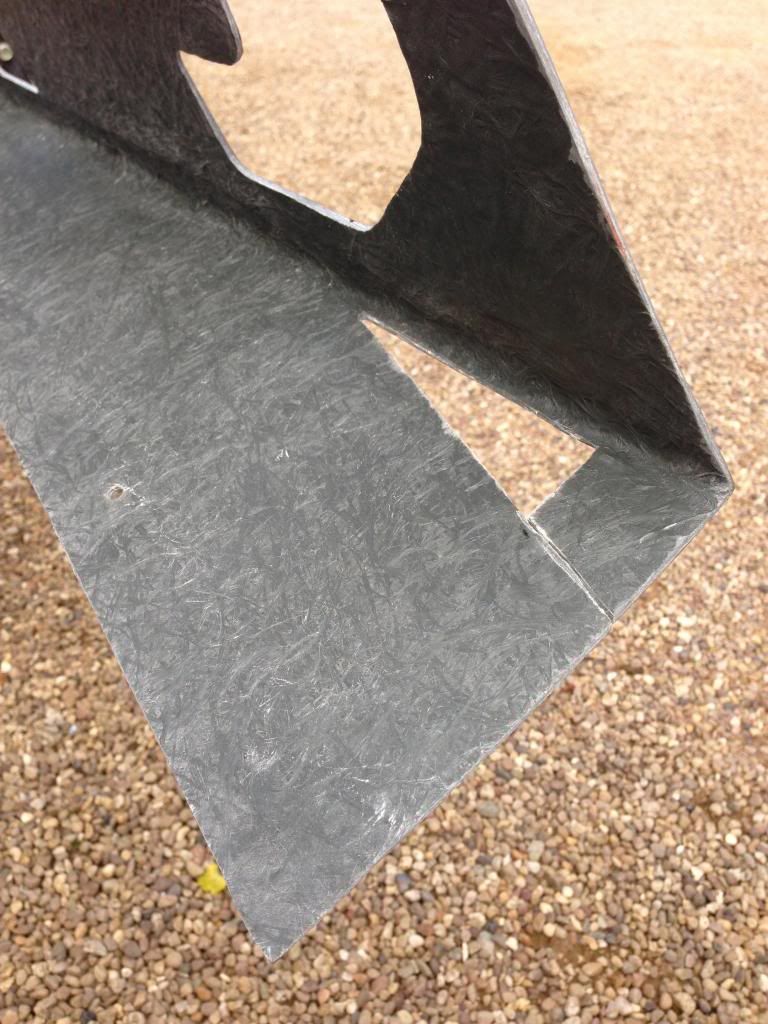
Panel cut

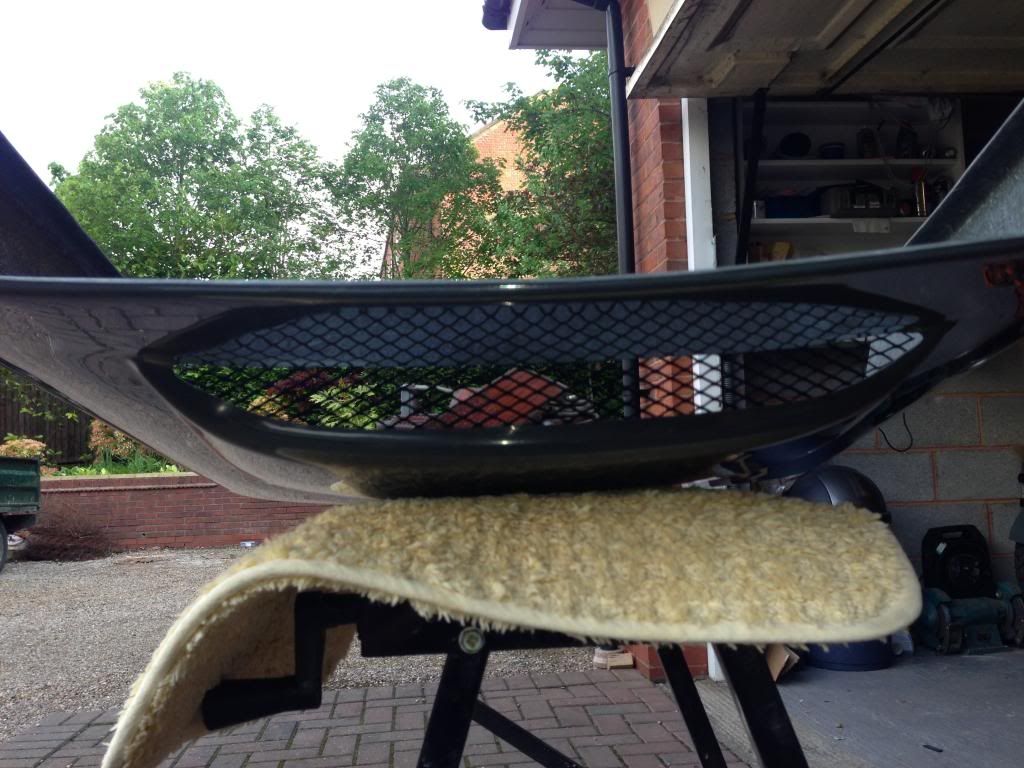
Photo to show how the panel is bent

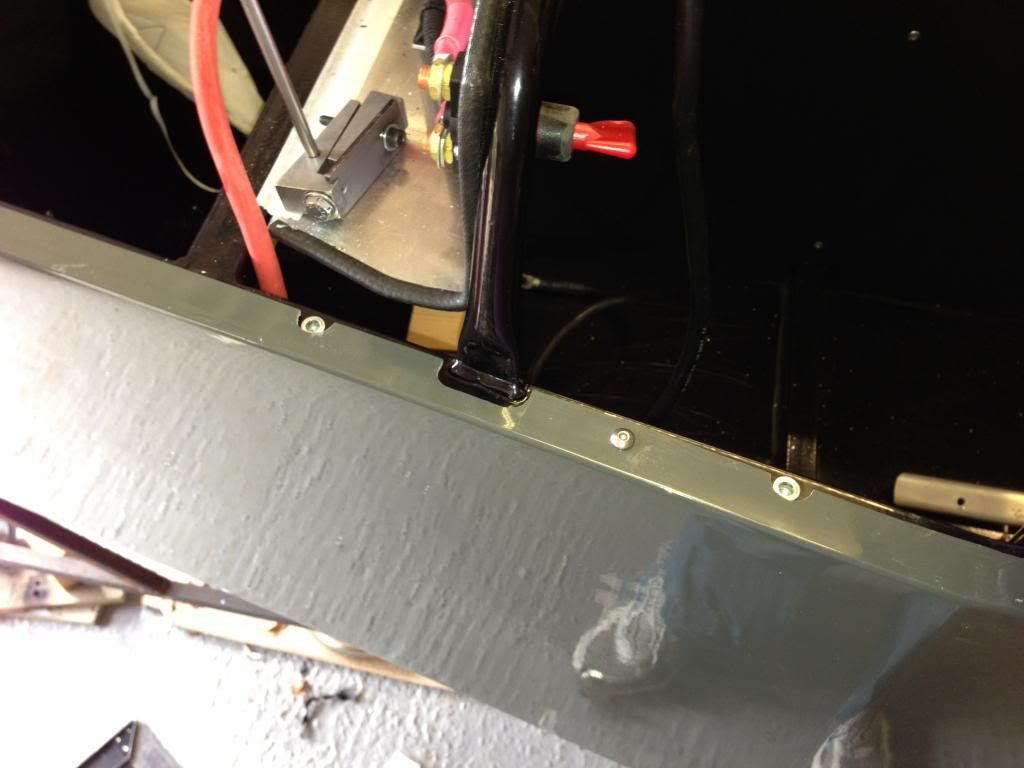
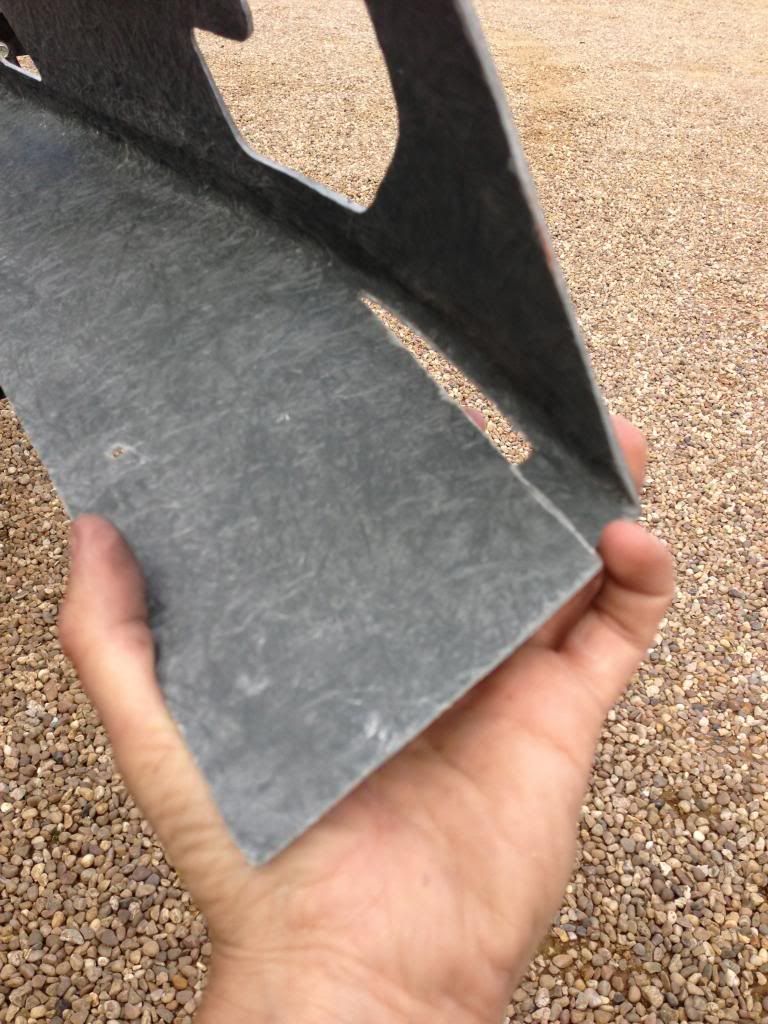
Panel bend, drilled and bolted in position

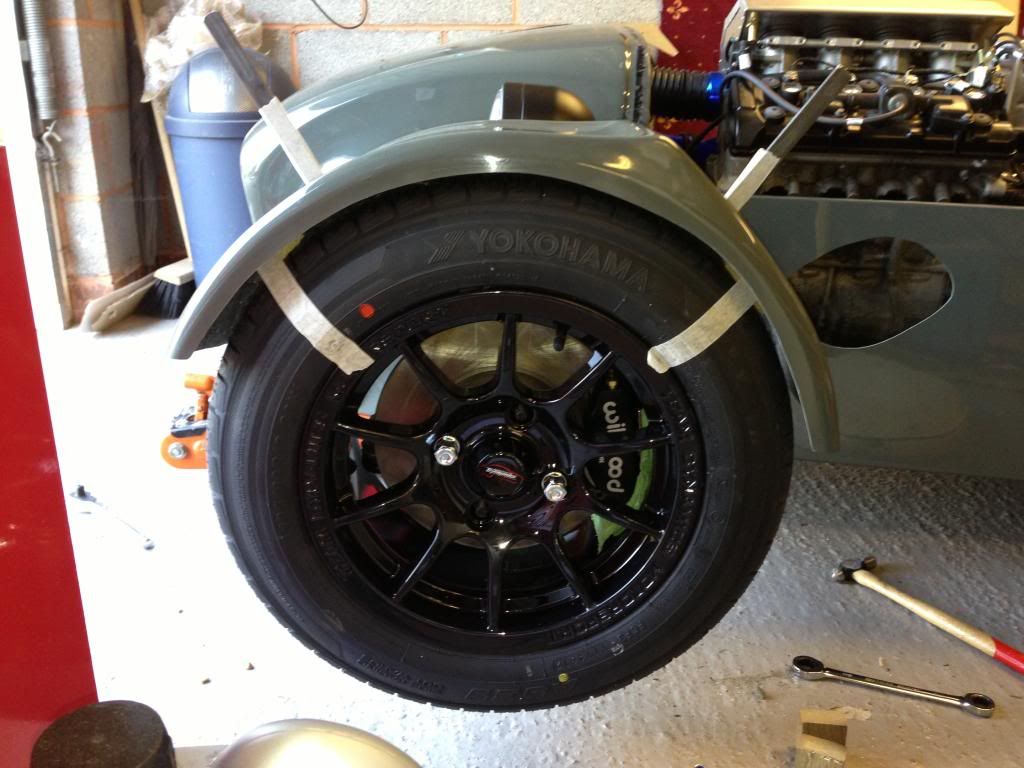
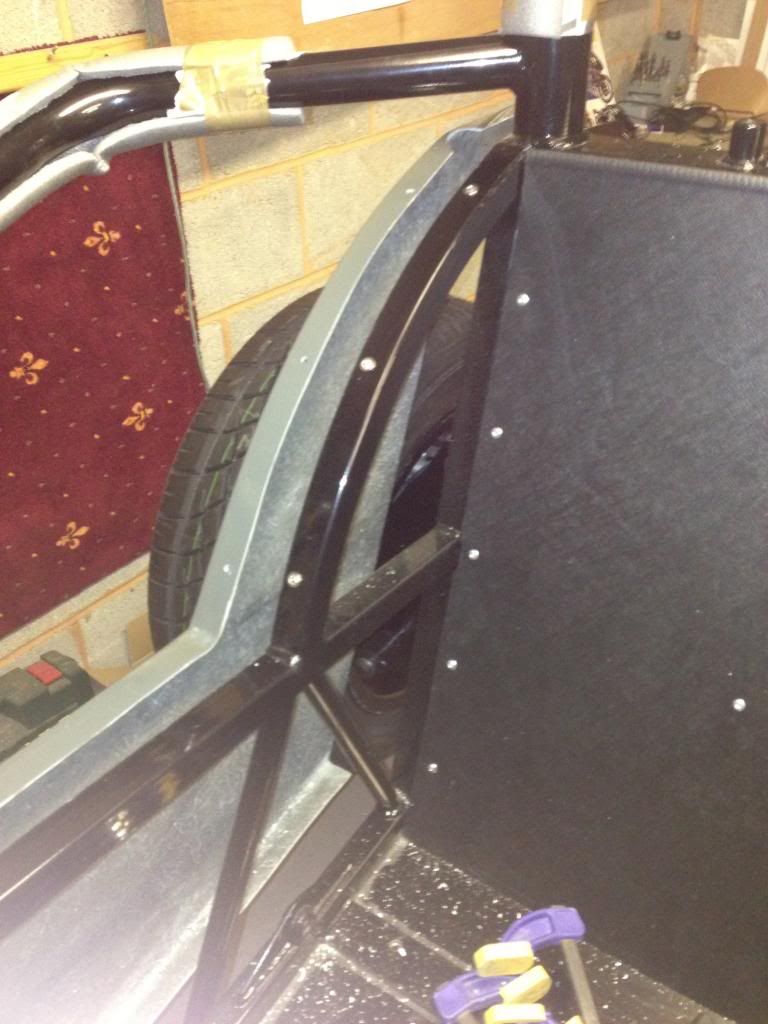
Bottom of side panel now lines up with edge of nose cone

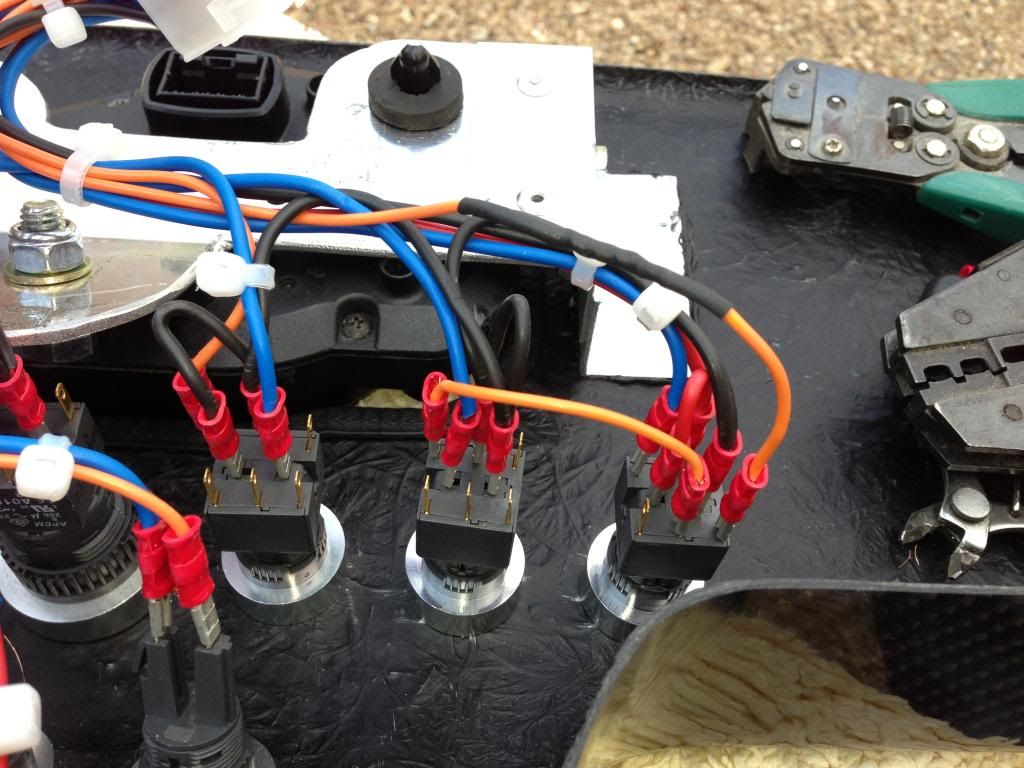
After this I made a small change to the headlight wiring.  I ran the switched negative feed to the headlight through the second pole on the side light switch.  This was so the headlights would only switch on with the side lights.  The reason for this was so should I be driving at night, it wouldnt be possible to forget to put on the side lights, other wise it would be possible to drive with headlights on but no tail lights.


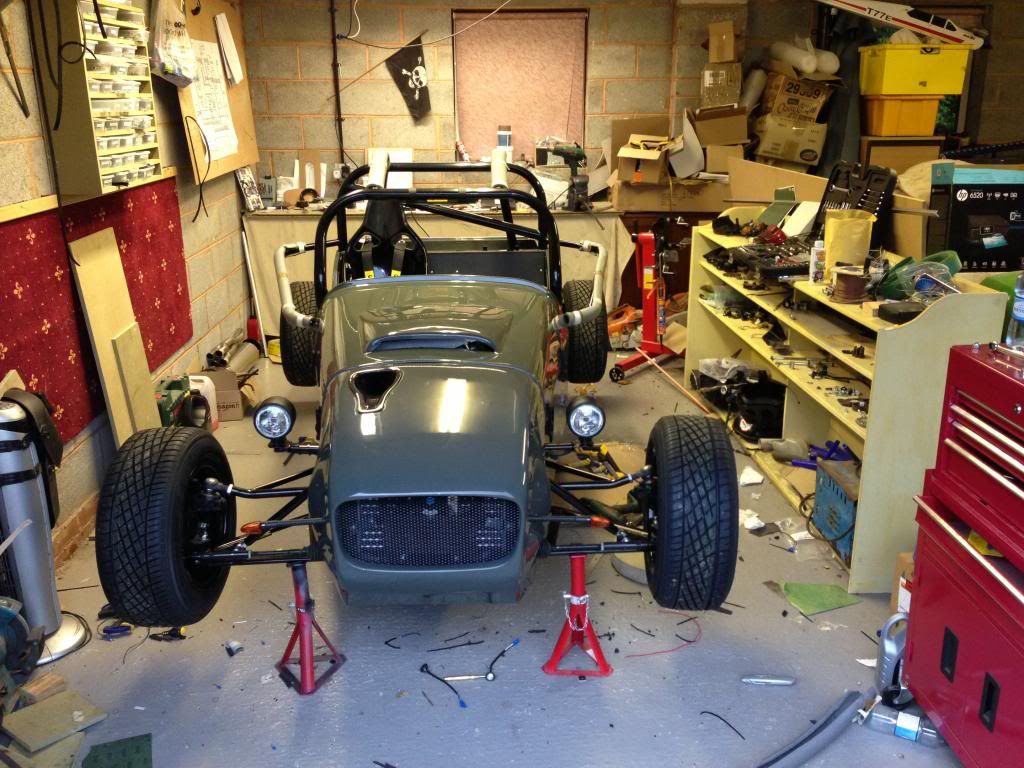
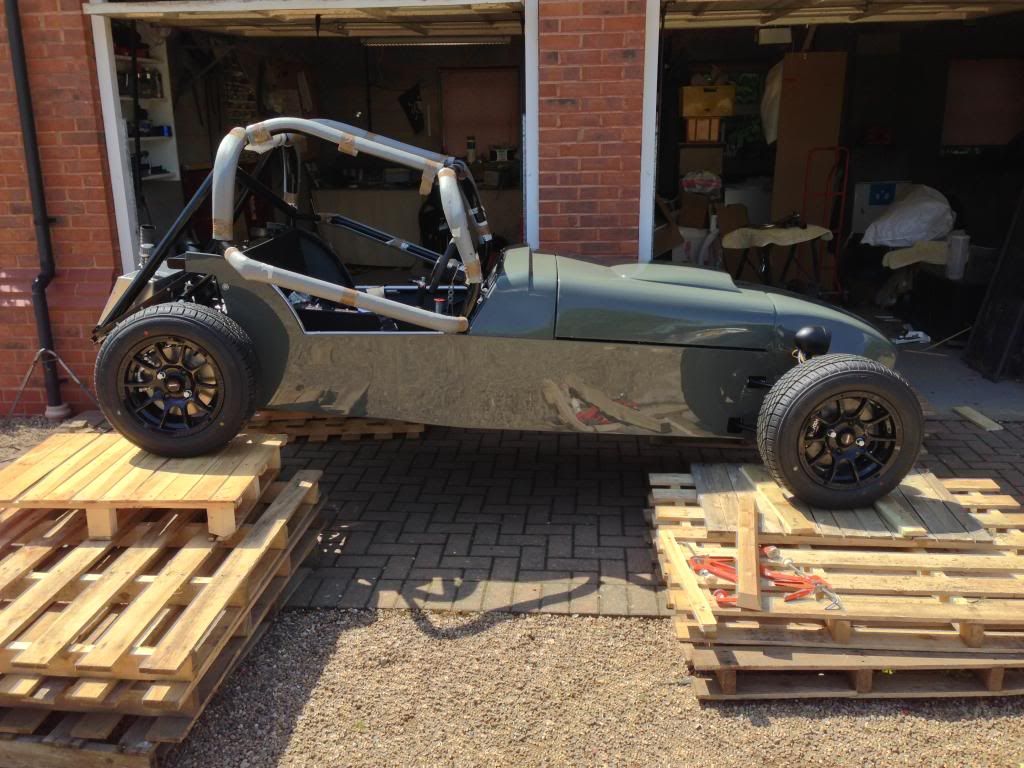
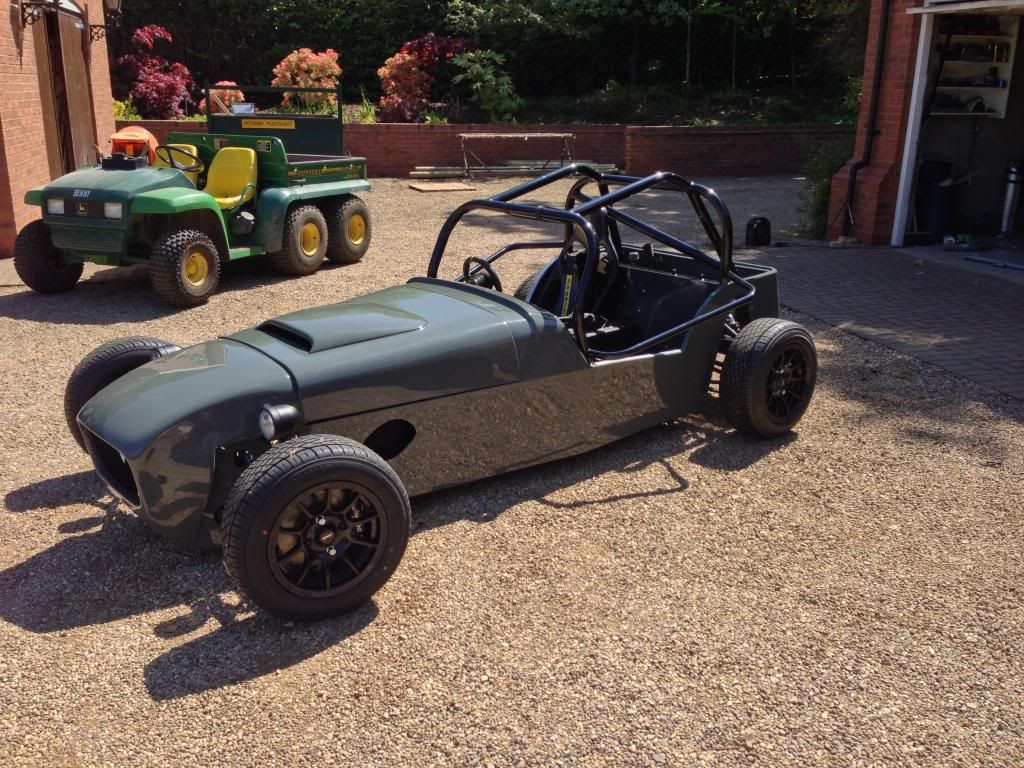
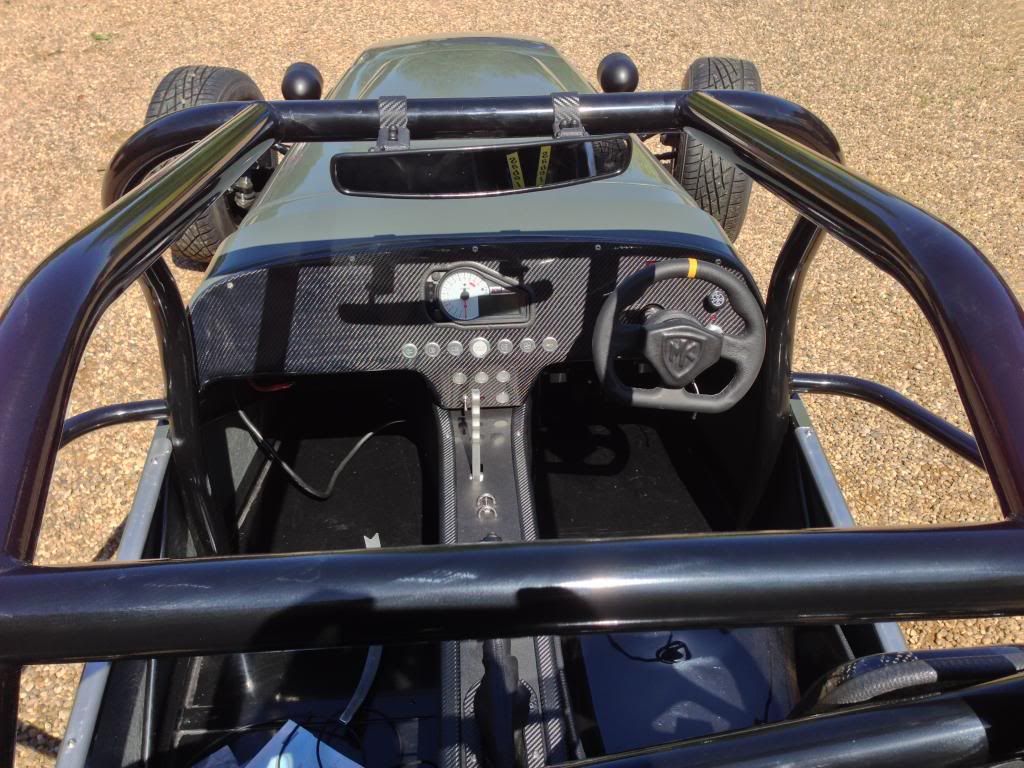
Next I fixed the side panels, scuttle, dash, and nose cone in position.  Hopefully I wont need to remove these again.

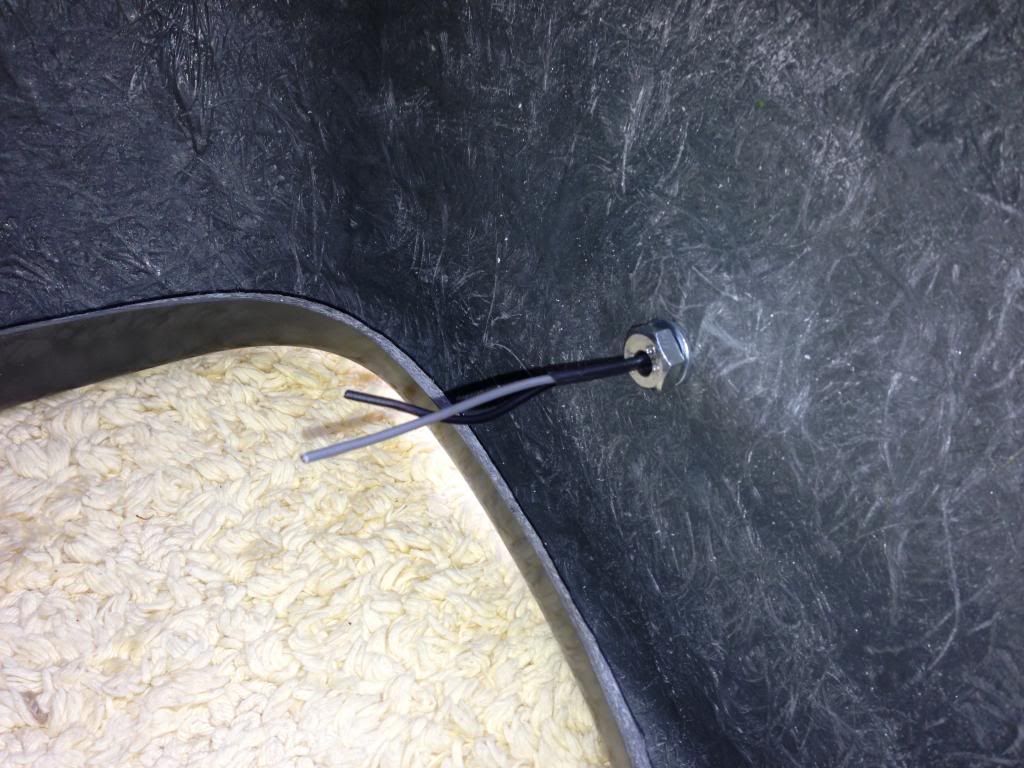
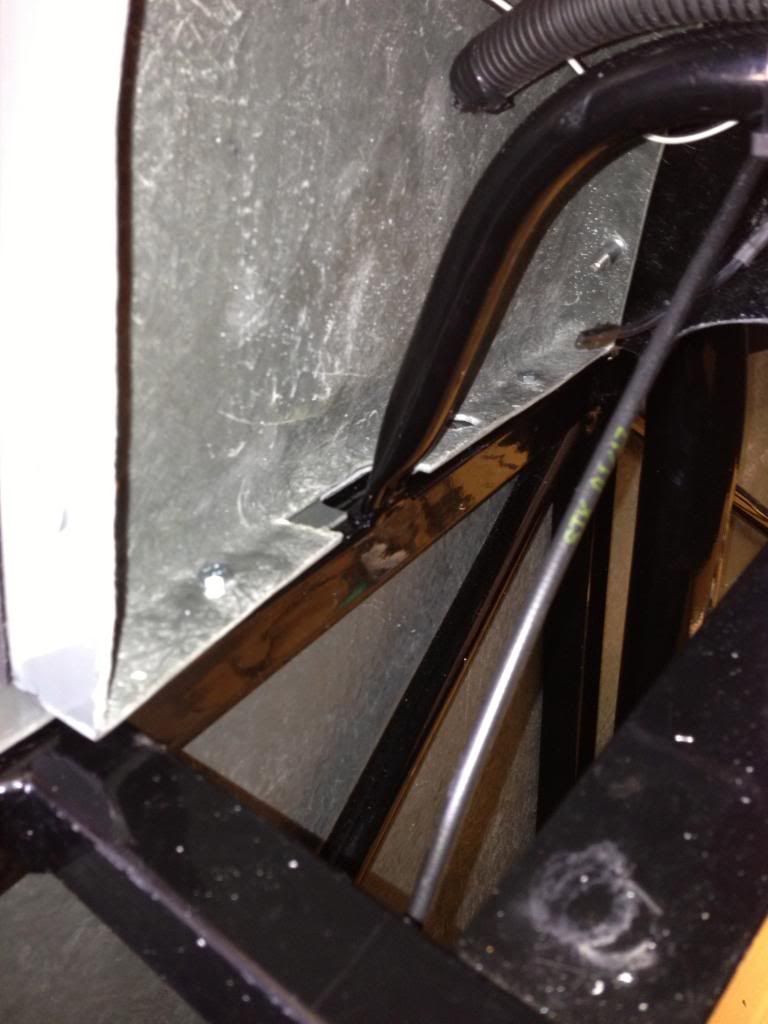
I also made a start on the wiring for the speedohealer and the gear indicator - these simply plug in to the bikes existing connections for the speed sensor and gear position sensor respectively.  The gear indicator needs a switched positive feed which I took from one of the spares off the bike loom under the scuttle.  


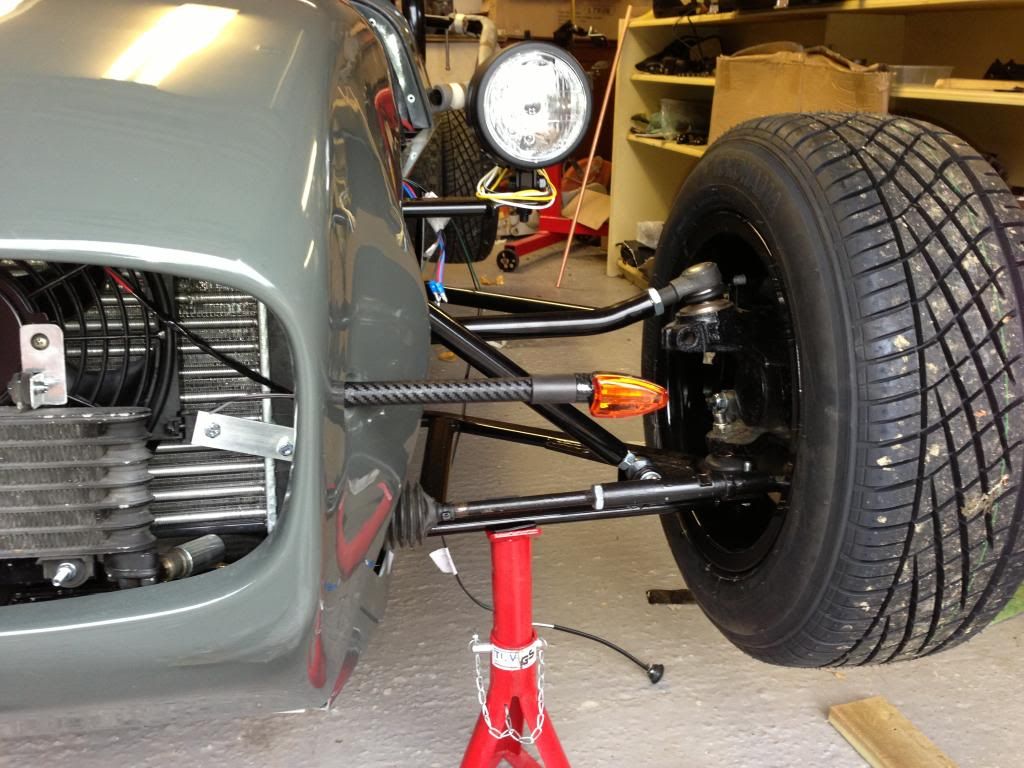
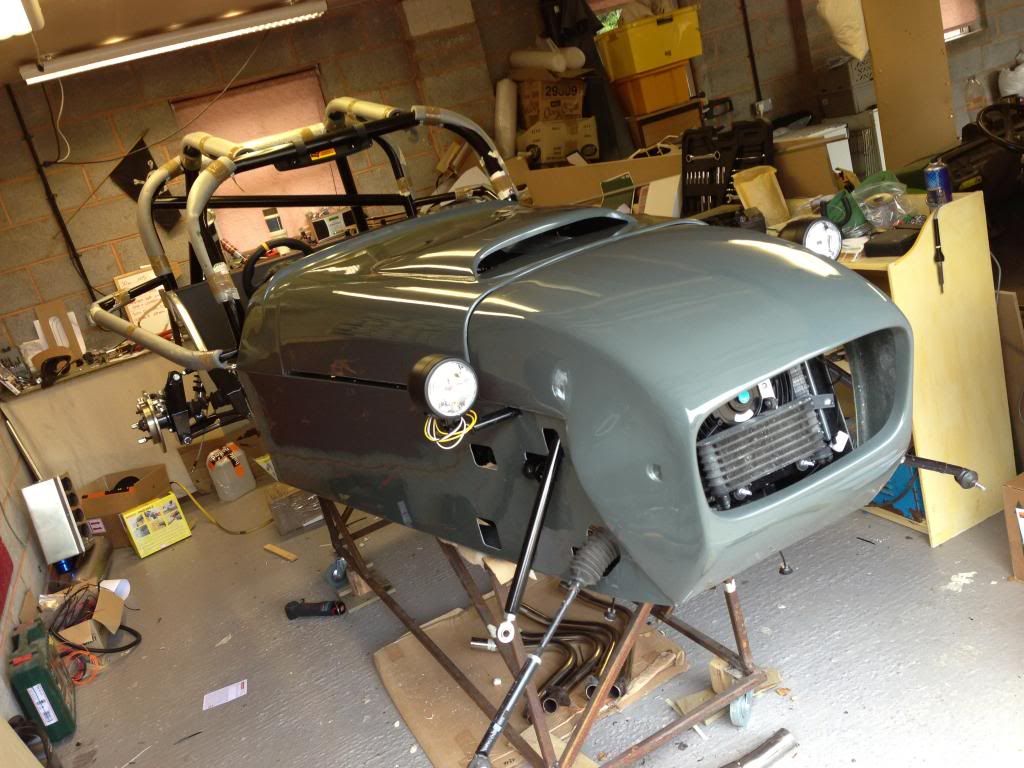
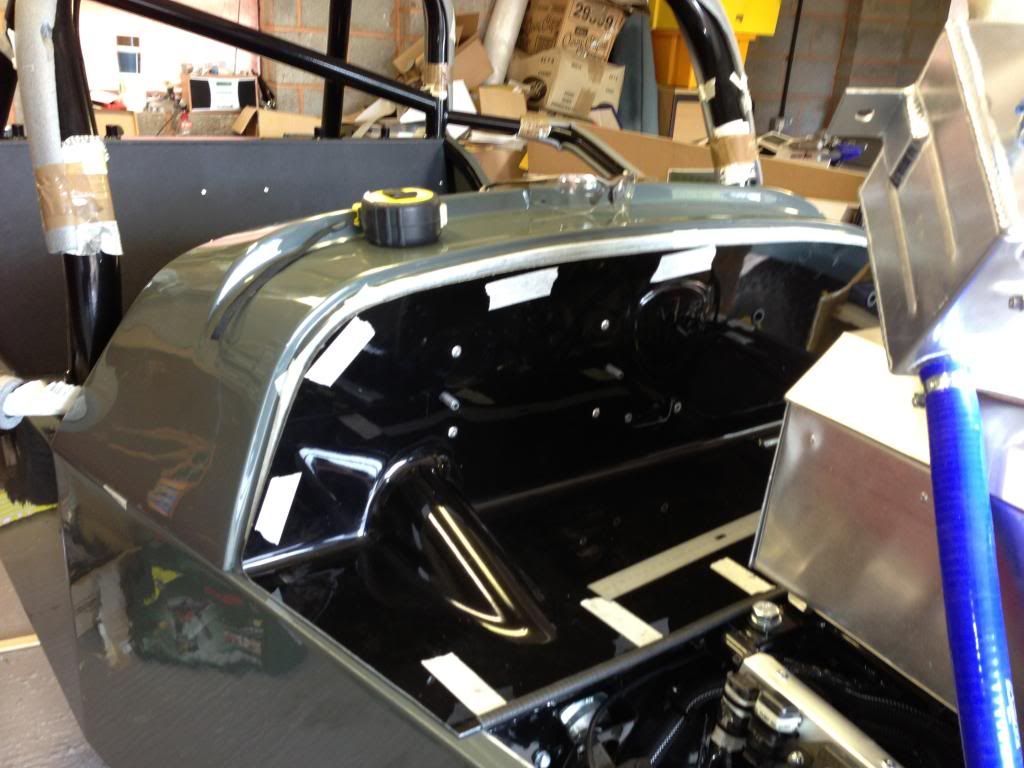
Photo below shows current state of the car.  Next jobs are to finish the speedohealer and gear indicator which will allow me to install the fibreglass bulkhead.  Once this is done I can install the bonnet, assemble the front wishbones, install rear panel with lights, rear arches, wheels and then lower to the ground with an engine crane.  I am trying to get as much done while the car is at waist height as it will be a pain when I have to kneel or lie down to do any jobs.


Saturday 18 May 2013

Fitting side panels

Today I started to fit the side panels.  To begin I started with the aluminium trims which I clamped in position and drilled through to the chassis, where I then enlarged the hole in the chassis to 7mm for an M5 rivnut.  I plan to use stainless rivnuts and bolts where they may get wet.

Aluminium clamped for drilling

Rivnuts installed to chassis

Trim complete

I tried to fix the rivnuts at  approximately 300mm centres for holding the side panels, with fixings being installed on the top, bottom and side near the rear arch.

Last job for the day was to drill and fix rivnuts in the scuttle for the fibreglass bulkhead to fix to.