Thursday 28 February 2013

Airbox again!


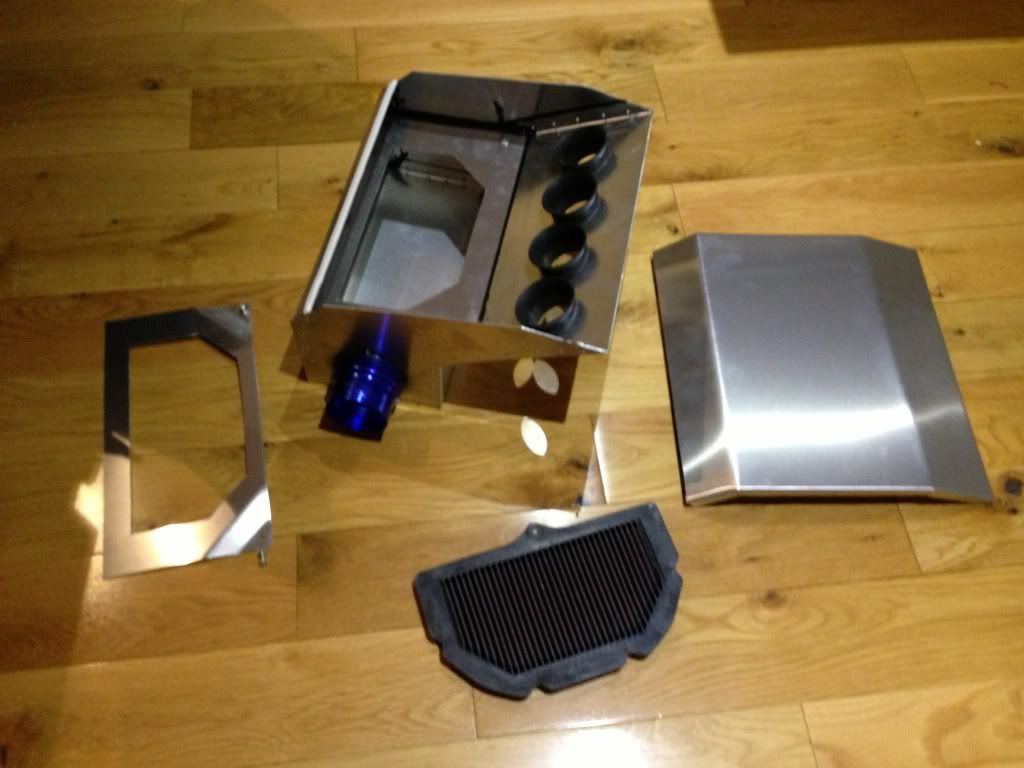
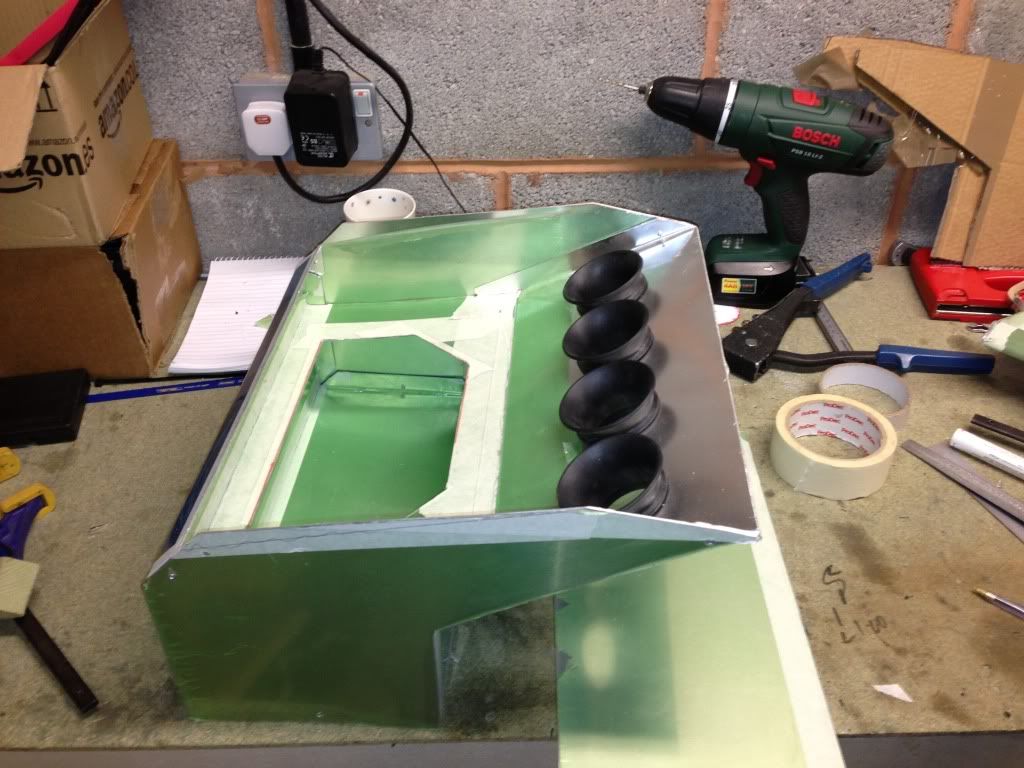
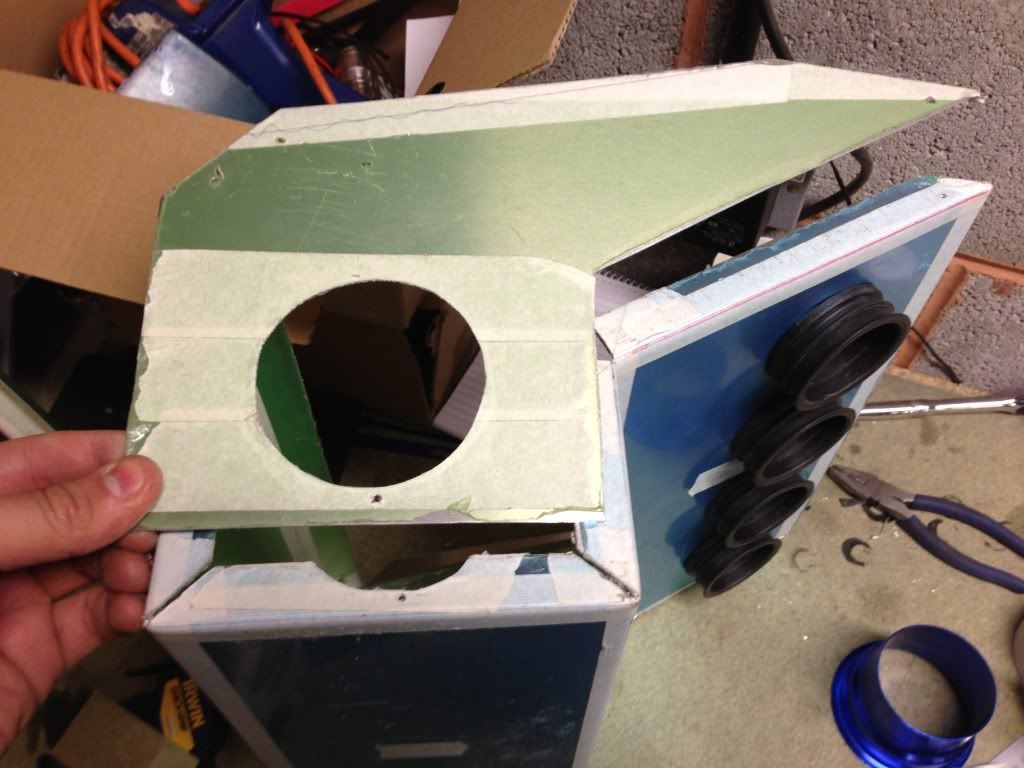
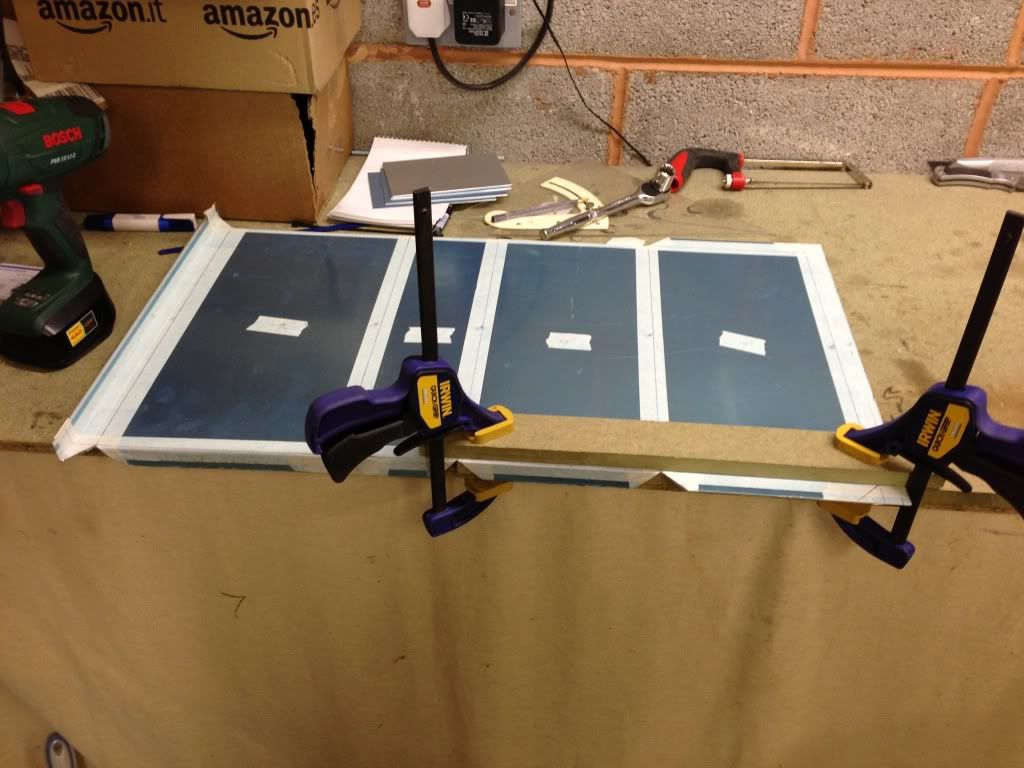
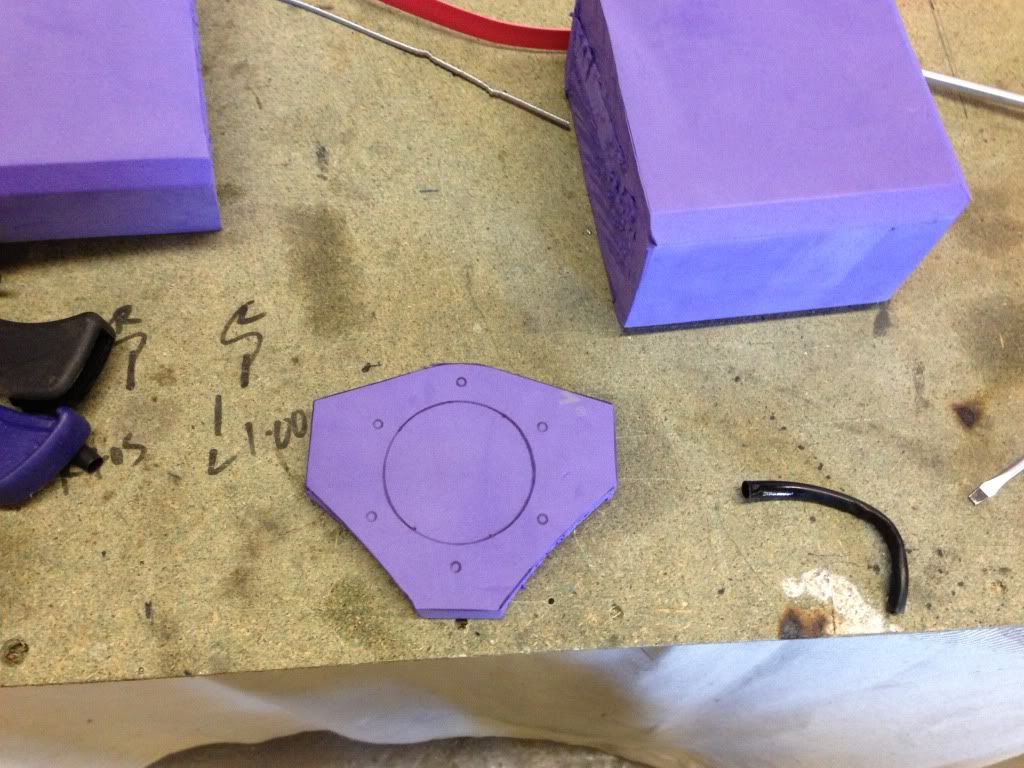
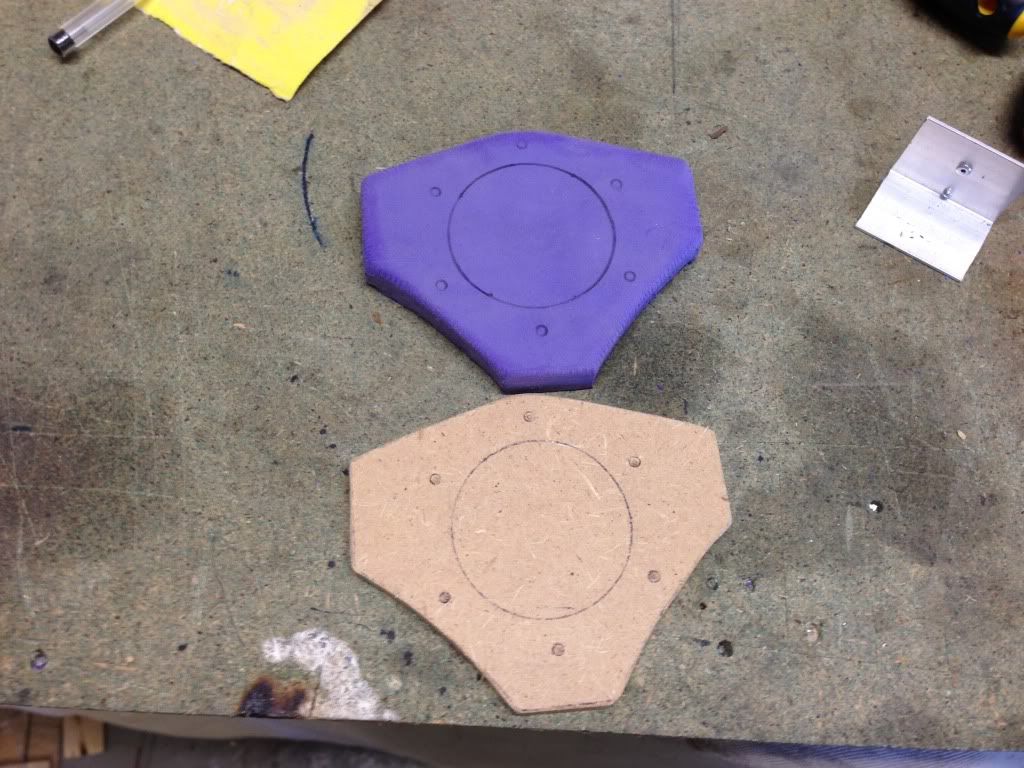
Tonight I fabricated the bracket that will hold the filter in position.  This piece will be fixed to the internal piece using rivnuts which will allow the filter to be removed for cleaning purposes.

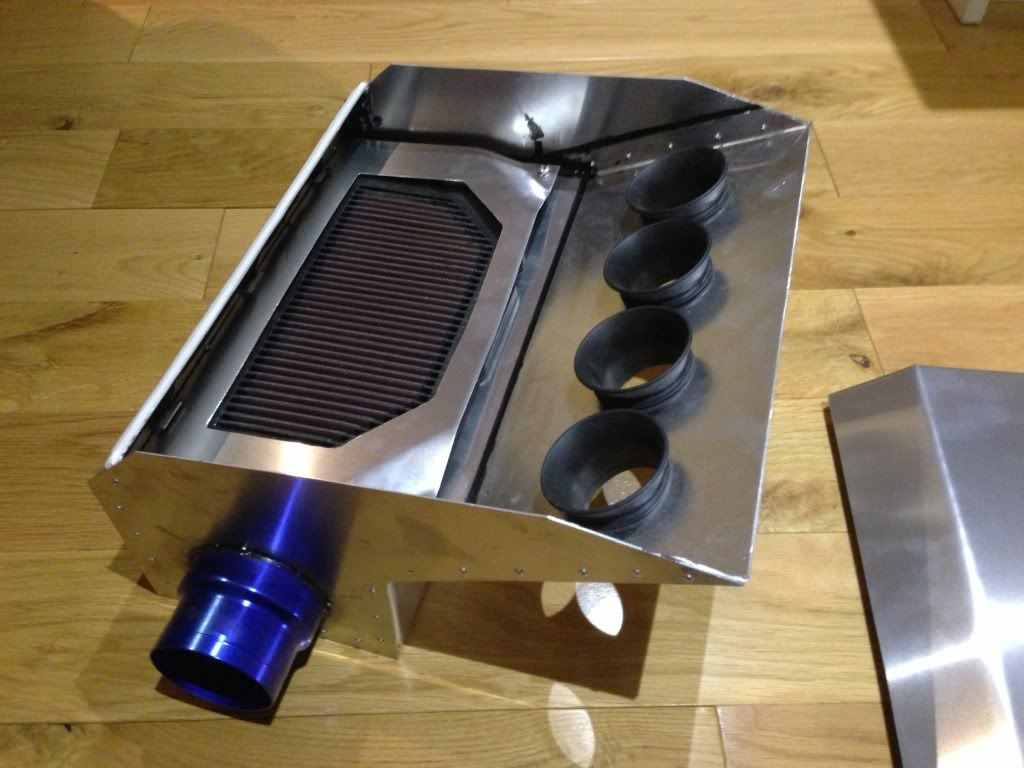
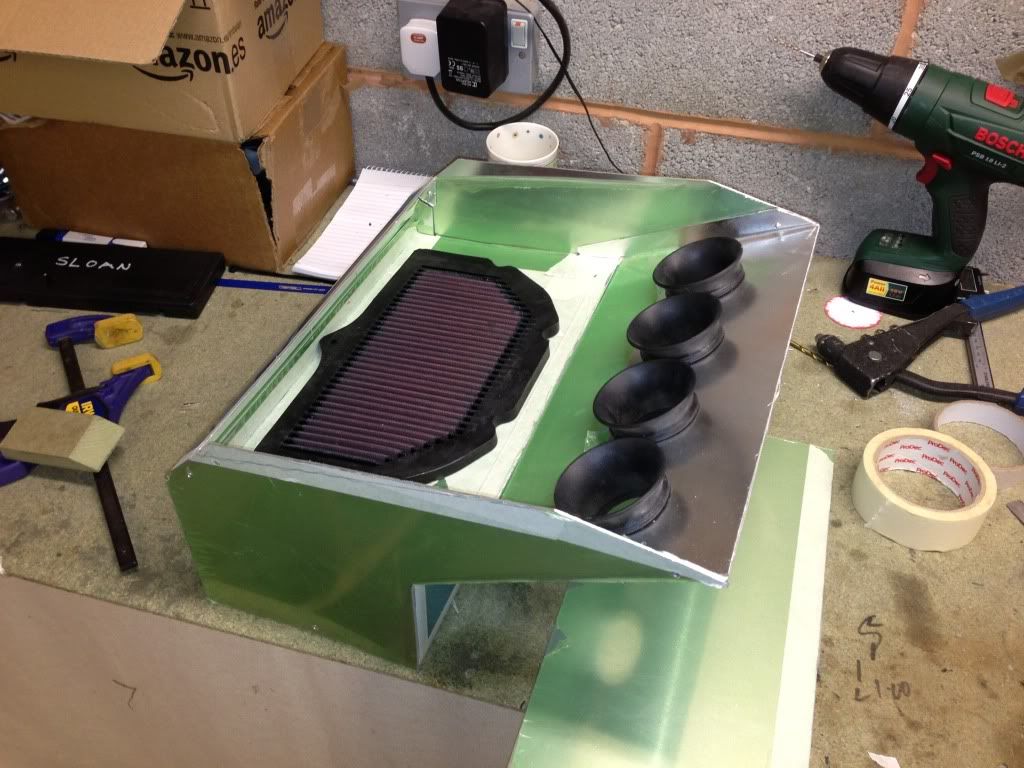
I cut out the filter shape so as not to cover any of the filter element but to ensure it will hold the filter firmly in 
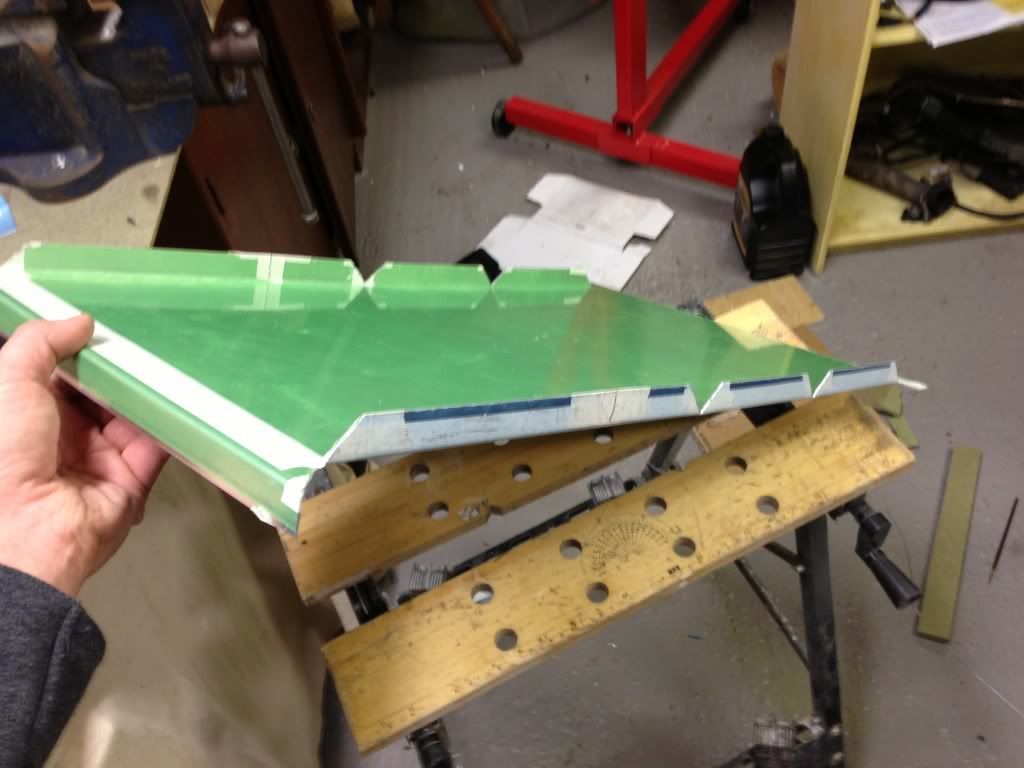
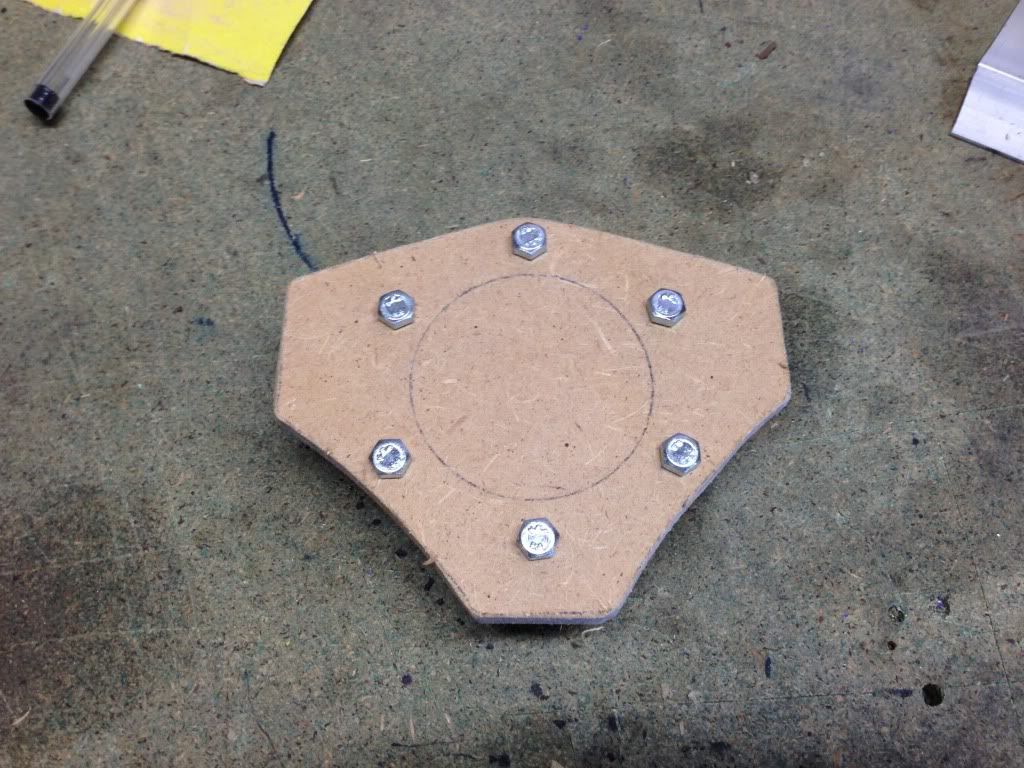
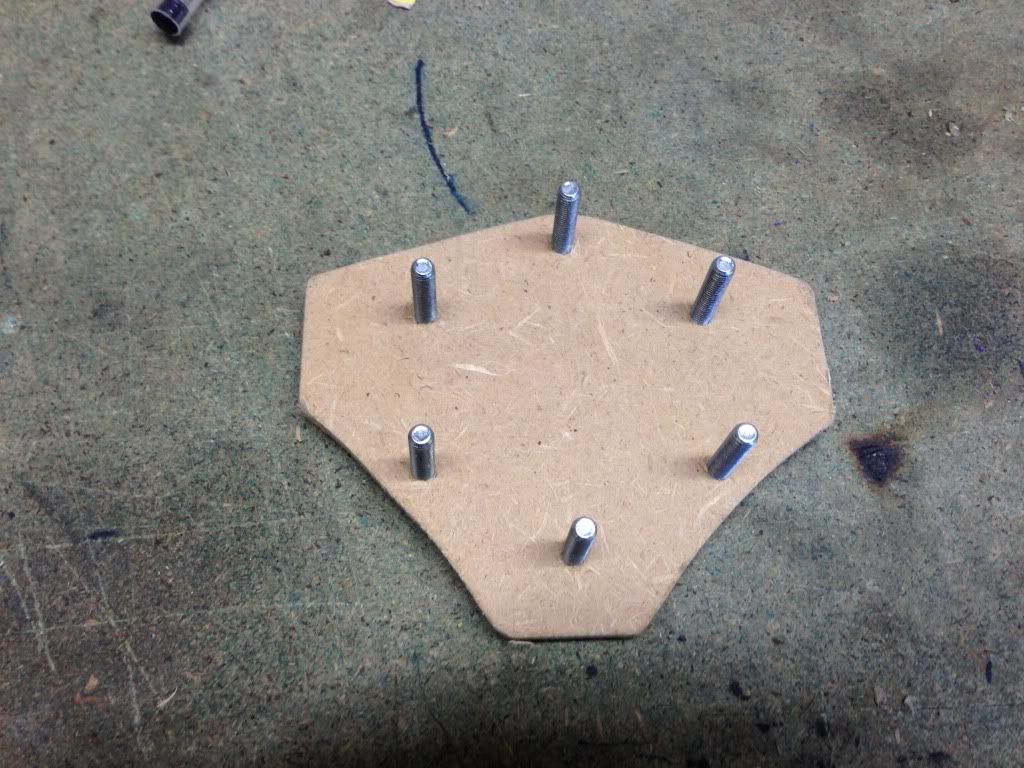
position.  The corners were bent and drilled and rivnuts fixed to the internal piece.  The other end will be held in by a small lip on the internal piece.

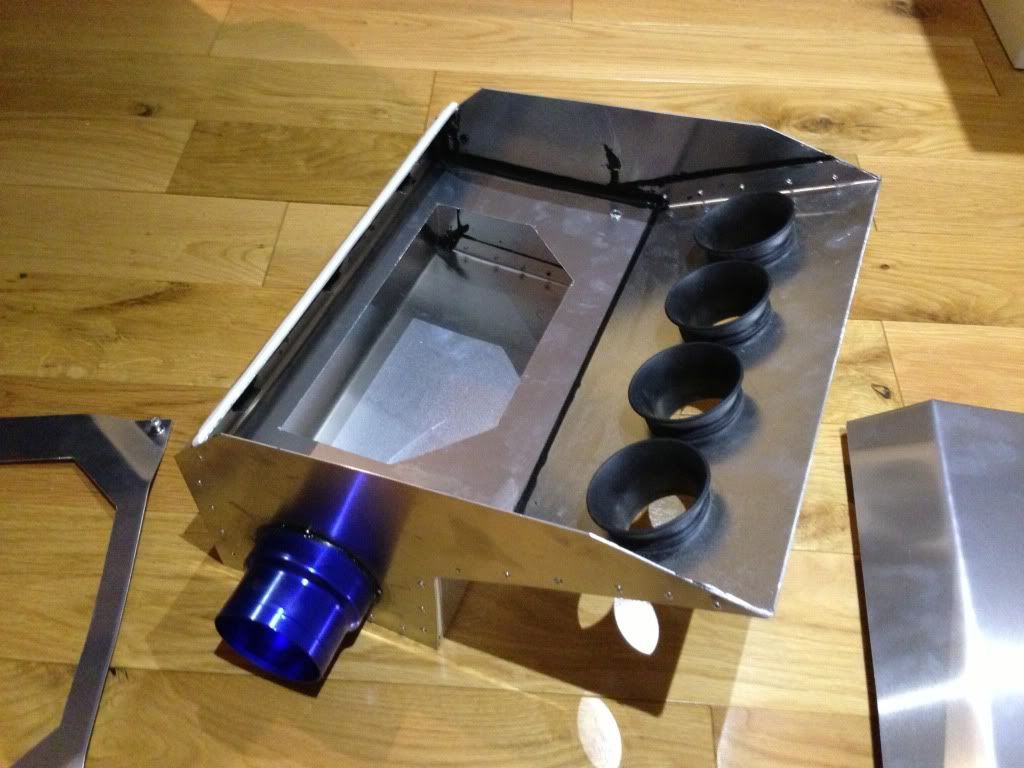
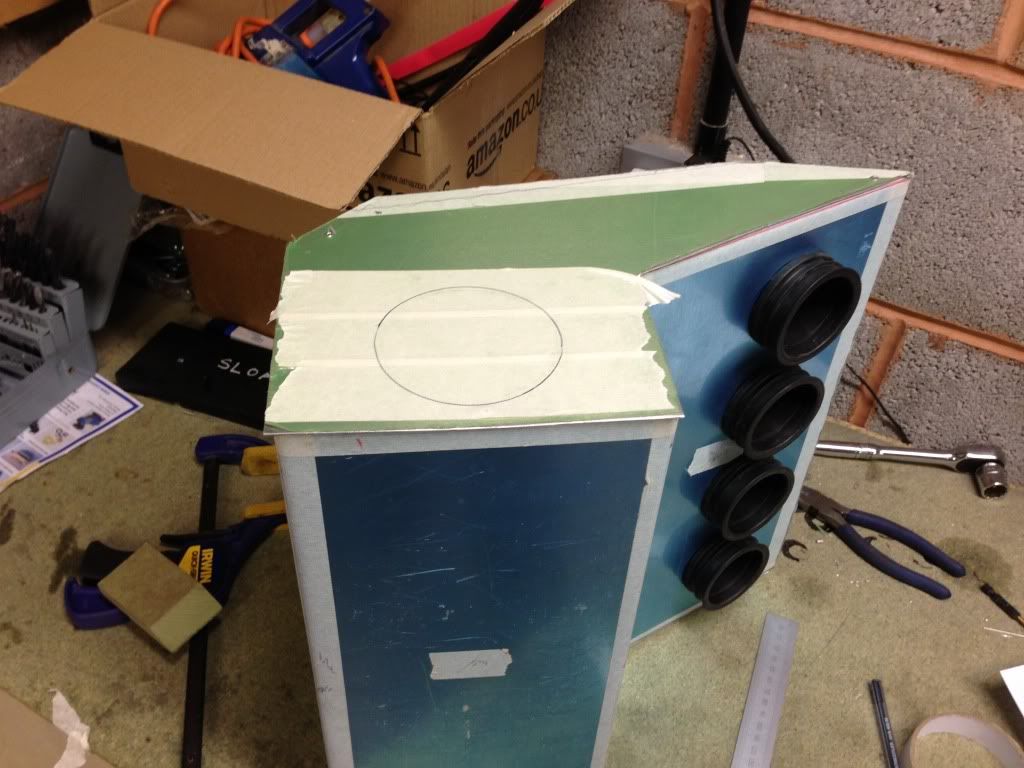
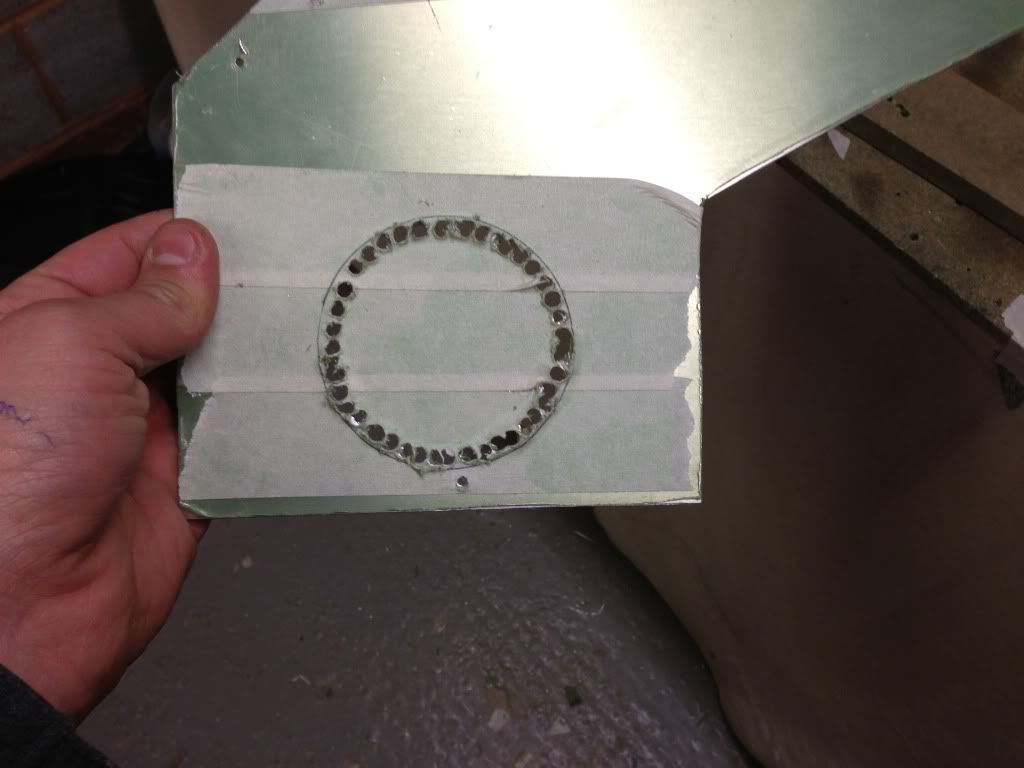
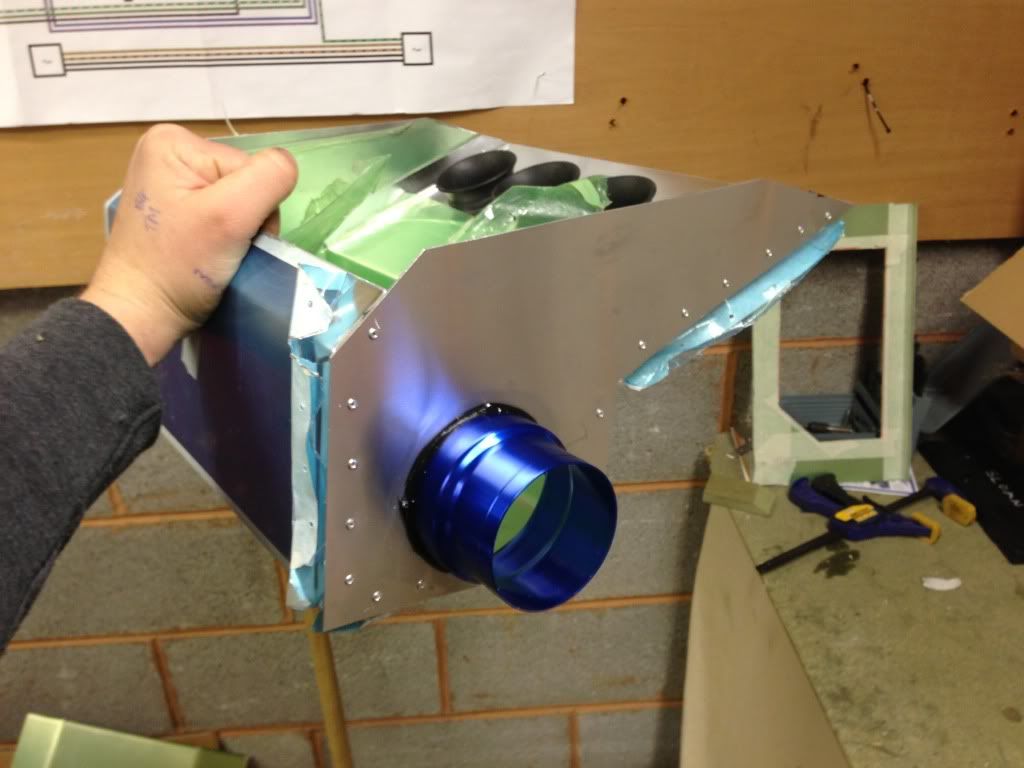
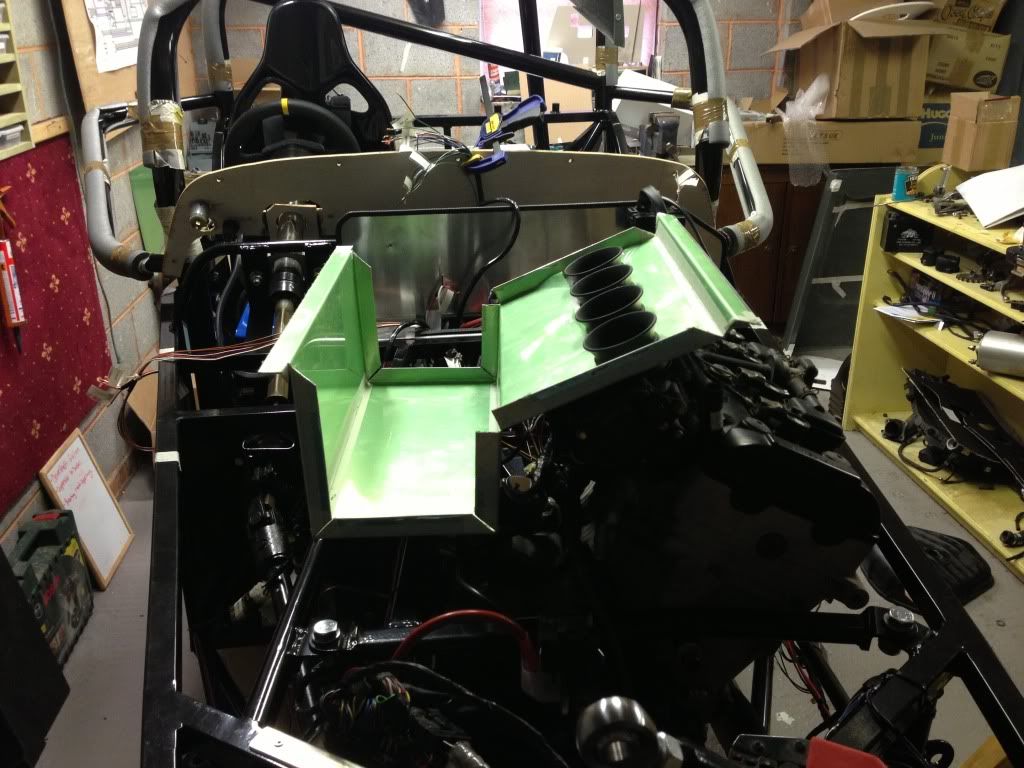
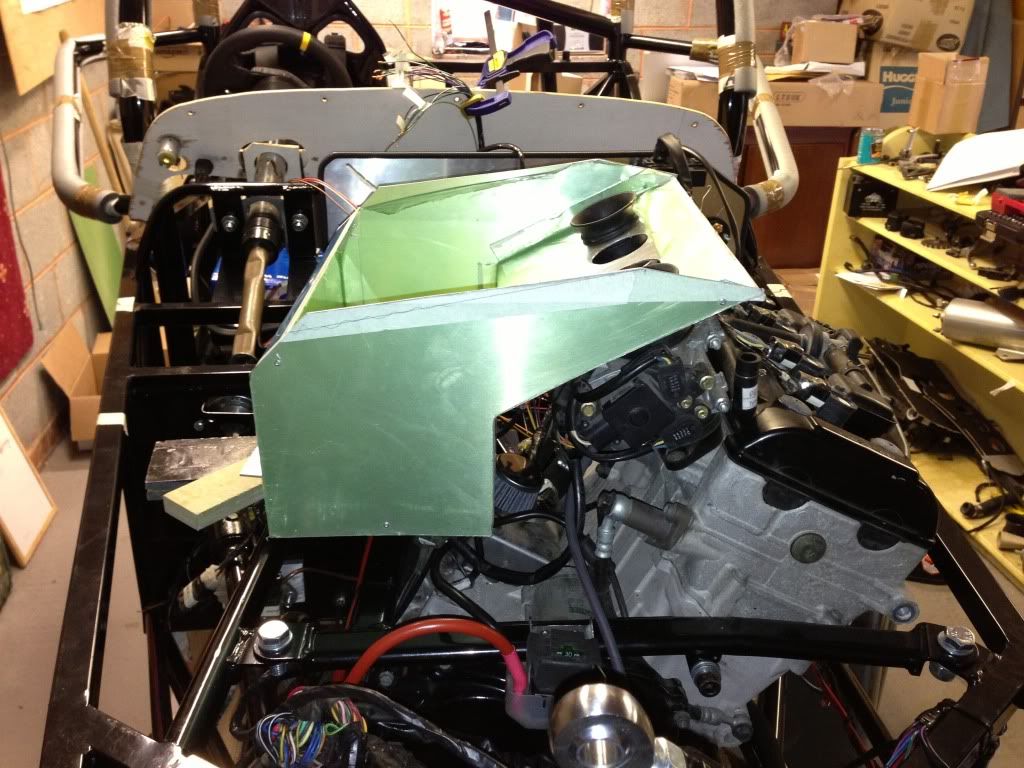
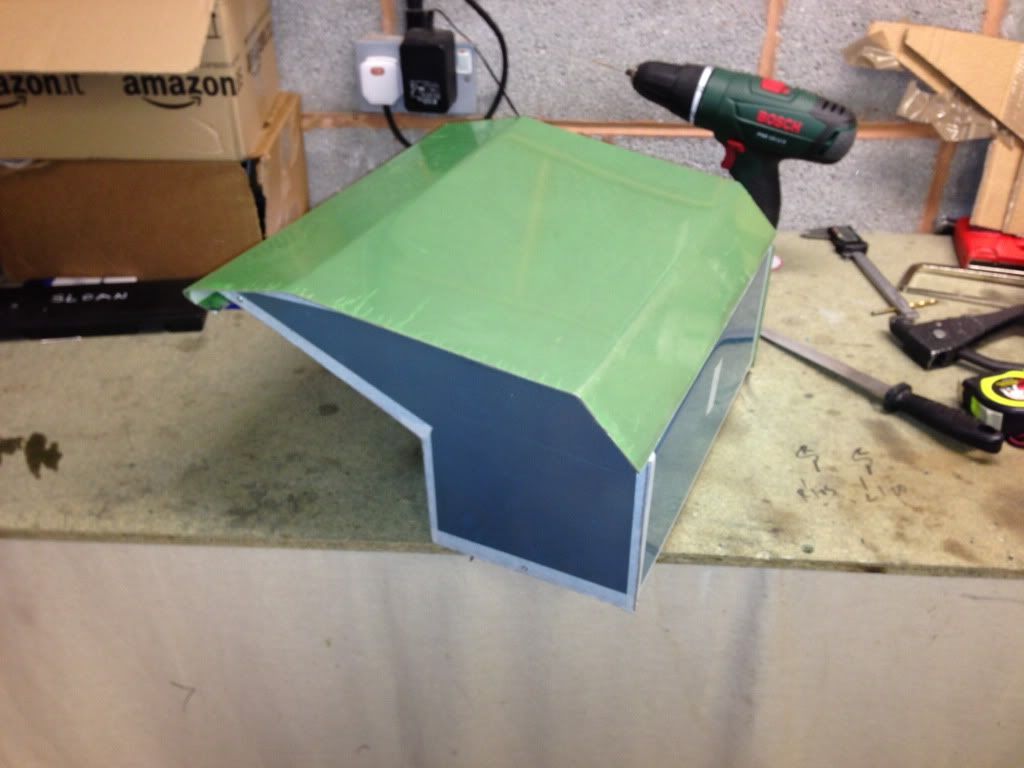
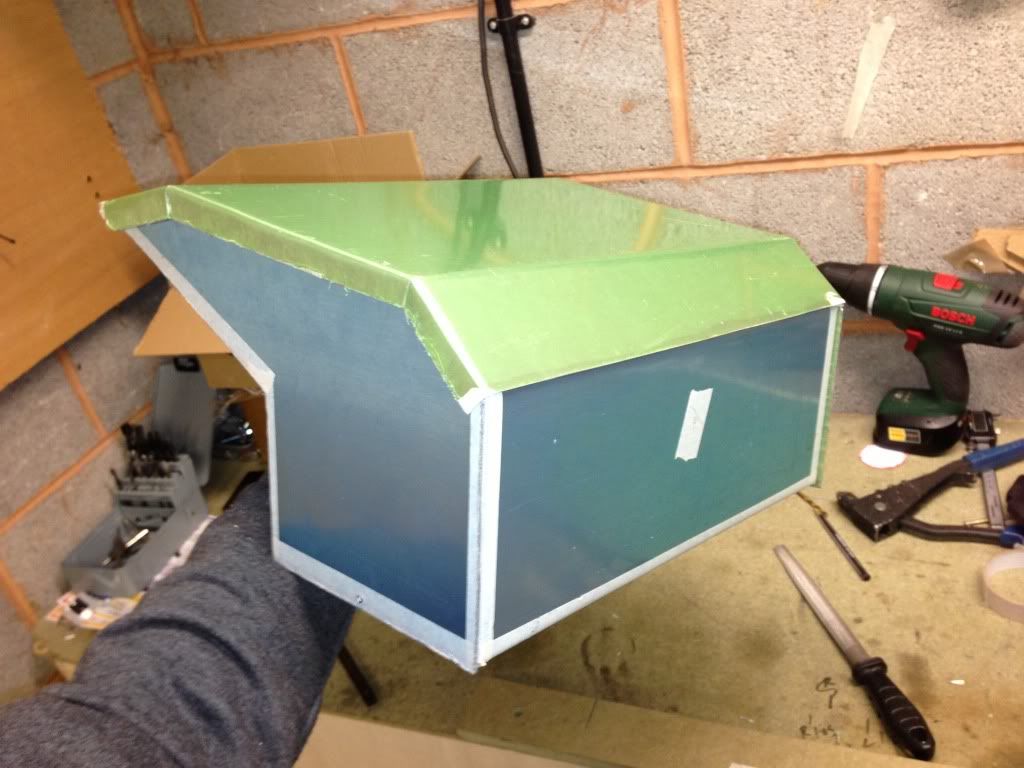
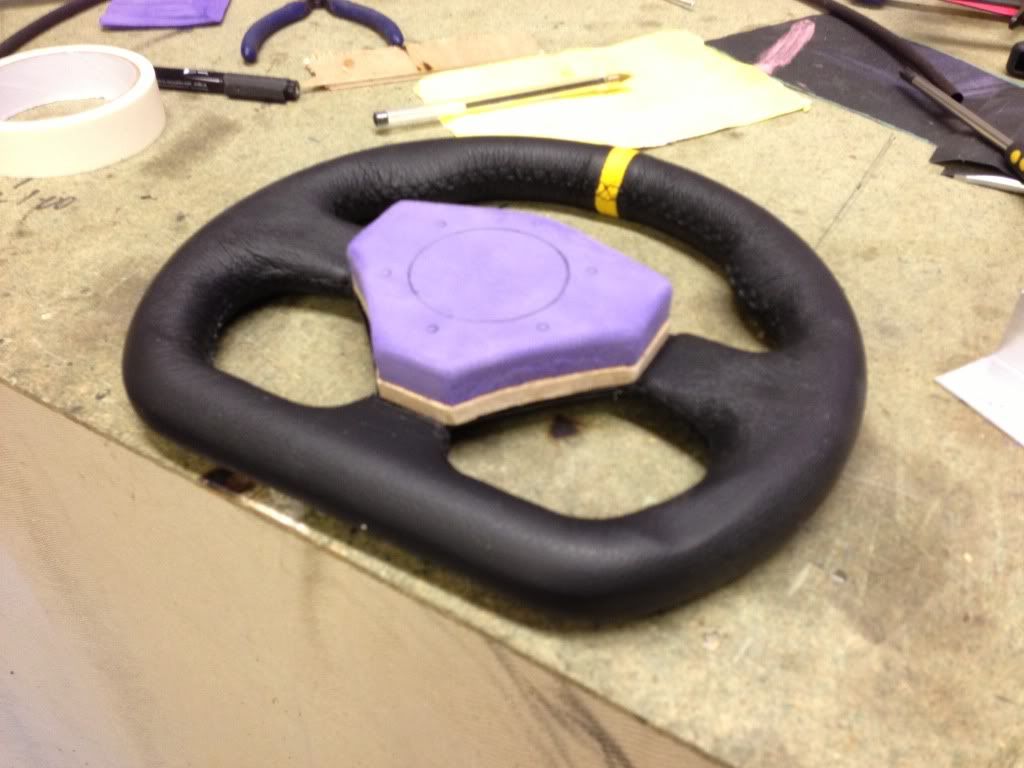
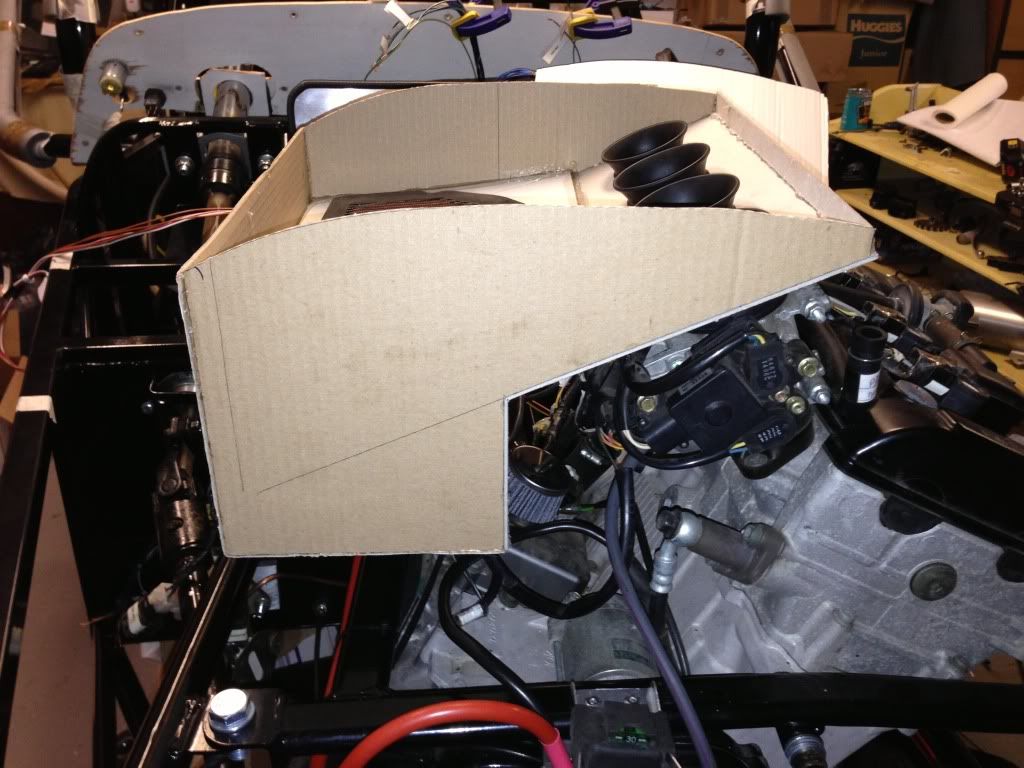
I fitted the internal piece again with sikaflex and rivets, ensuring that all gaps in the box were fully sealed.  It doesn’t look too pretty buy hopefully it should be airtight and not affect the smooth airflow through the box too much.


Wednesday 27 February 2013

Airbox continued

Again I spend the evening working on the airbox.  I started by making the internal piece that would hold the bike air filter.  This was done with the same sheet as the box, with a hole cut in it for the filter to sit in.  This piece will be fitted with sikaflex and rivets.

I also fixed the otherside of the airbox.


Tuesday 26 February 2013

Airbox continued


 Spent the evening drilling a hole in the front of the airbox and fitting the air intake trumpet.  This was bought from ebay for £13 and will allow me to duct the cold air from either infronf of the radiator or to a vent elsewhere, e.g. side of nosecone.  This should ensure air is nice and cool.

I stitch drilled the hole and smoothed with a file.  The blue trumpet is fixed with Sikaflex and rivets.

I then fixed the side onto the airbox, again using Siakflex and rivets.

Ait intake from eBay


Saturday 23 February 2013

Airbox - Making from aluminium


I spent the day making the airbox I modeled out of cardboard from aluminium.  I chose 1.2mm sheet as this was strong enough but also easy to bend into shape. 

The box was bend to shape using MDF as a guide and G clamps to hold.  The aluminium was then bent by hand.

I marked out the 4no holes for the trumpets (55mm holes at 80mm centres) and filed the edges smooth.  I installed the trumpets and put the box on the engine to check the bonnet clearance.  The first few attempts didn’t fit and I ended up cutting off the 20mm lip I left for attaching the lid.  I also had to bend the box more than planned so as to ensure the bonnet didn’t catch.

I decided against sealing the airbox against the bonnet so decided to make a lid for it, again using 1.2mm aluminium sheet.  This is a tight fitting lid that will be held in place with screws and clips.  I will use some adhesive foam to form an airtight seal.  With the bonnet in position the airbox just catches but I couldn’t reduce the height any more or it would restrict airflow in the trumpets.  I can fix some foam to the top of the box to cushion it against the bonnet at a later date.

I have designed this airbox to use the original bike air filter.  I will also install an intake hose from the side and position it somewhere where it will get cold air from (possible infront of the radiator or a vent in the side of the nose cone.


Bend to shape

Sides cut to shape

Lid bent to shape


Sunday 17 February 2013

Steering wheel - Padded centre with embossed MK logo


I decided to have a break from the electrics today so got on with the steering wheel. 

The wheel I bought is a Mountney D shaped, 255mm diameter but it has a hard centre so will probably fail the IVA.  I decided to make a padded centre for this but also have a go at making one with the MK logo.

I started by cutting foam to the right shape (foam was a yoga brick) and sanded the edges.  I then cut out the MK logo from 3mm cardboard and again smoothed the edges.  Next I cut a piece of MDF to the same shape as the foam (wood needed as I plan on covering with leather and stapling it).  The MDF was drilled for the 6 fixing bolts and then a piece of 2mm steel plate was cut and drilled the same as the MDF.

I then welded 6 bolts to the steel plate so the nuts can be tightened as the heads will be hidden.  Then using contact adhesive spray I fixed a piece of leather from some old trousers (not mine!) to the foam with the cardboard cut out of the MK logo between the two.   I used some small craft tools to press the leather in the corners to ensure the logo was clear. 

I then stretched the leather around the back and fixed to the MDF with a staple gun, trying to keep any folds neat and even.  Excess was removed with a knife.

For a first attempt I think it looks ok but I wish I had cut the foam thinner as it sticks out a bit too far.


Saturday 16 February 2013

Airbox - Cardboard mock up modified

Today I modified the airbox mock up again, this time to allow use of the original GSXR panel filter which would mean I wouldn't need to have a cone filter under the bonnet sucking in warm air.  Instead I could duct the intake from the airbox to somewhere cooler, e.g. an intake in the top or side of the nose cone.


The plan would be to have the intake hole at the bottom of the front face


Saturday 9 February 2013

Electrics - Fuel pump and fan switch


Today I spent some time putting in some cables for various things.  I ran a 4 core cable from the bike look down to the fuel pump and cables to the rad fan and fan switch.  I also connected up the starter relay, running the cable back to the kill switch.


Fuel pump cable extended, soldered and heatshrinked