Sunday 23 June 2013

Cycle wings + rear brakes

Started the day with a couple of small jobs, first being fixing a piece of aluminium angle behind the top seatbelt mounts which will support the boot panel when I get round to making that.


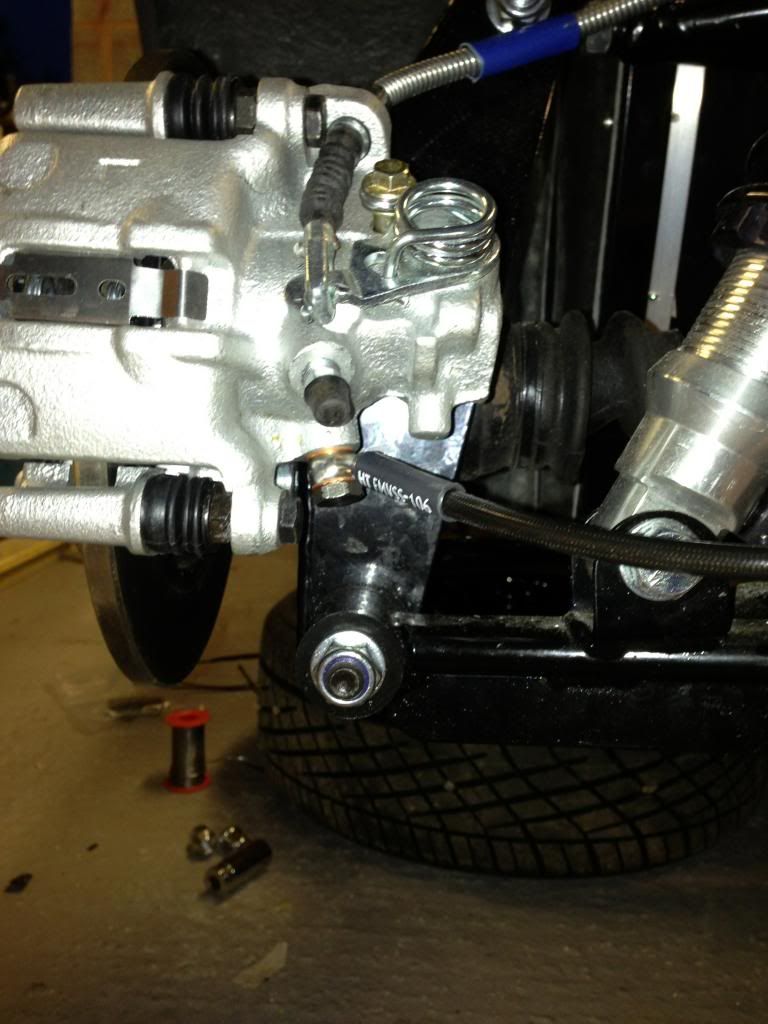
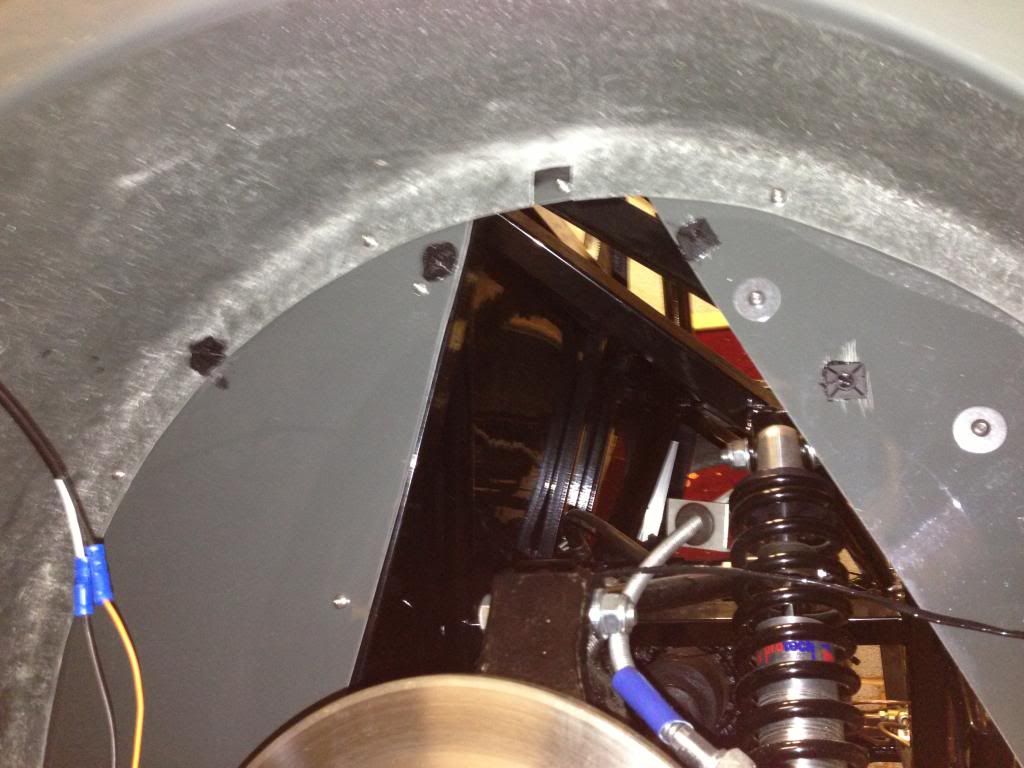
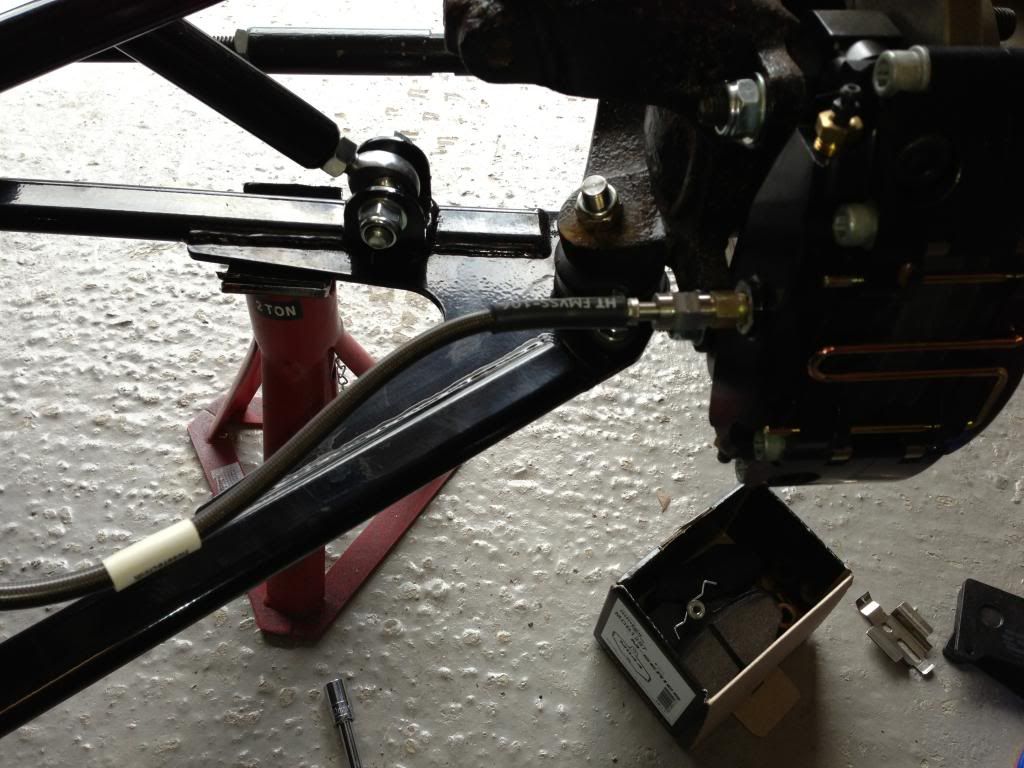
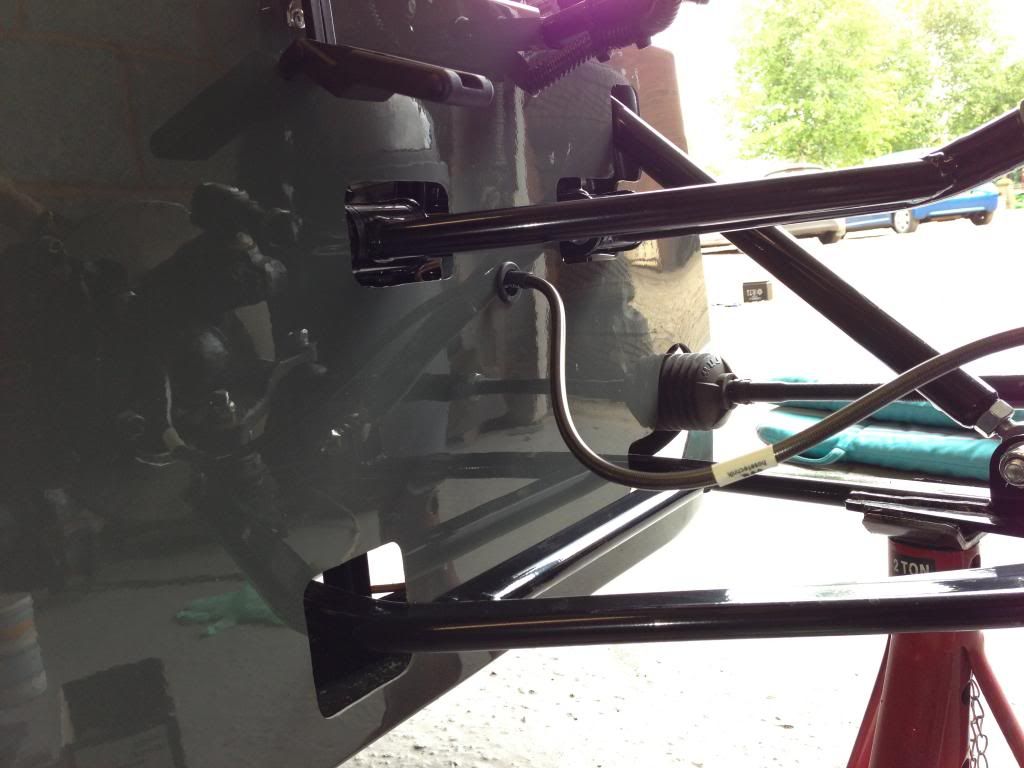
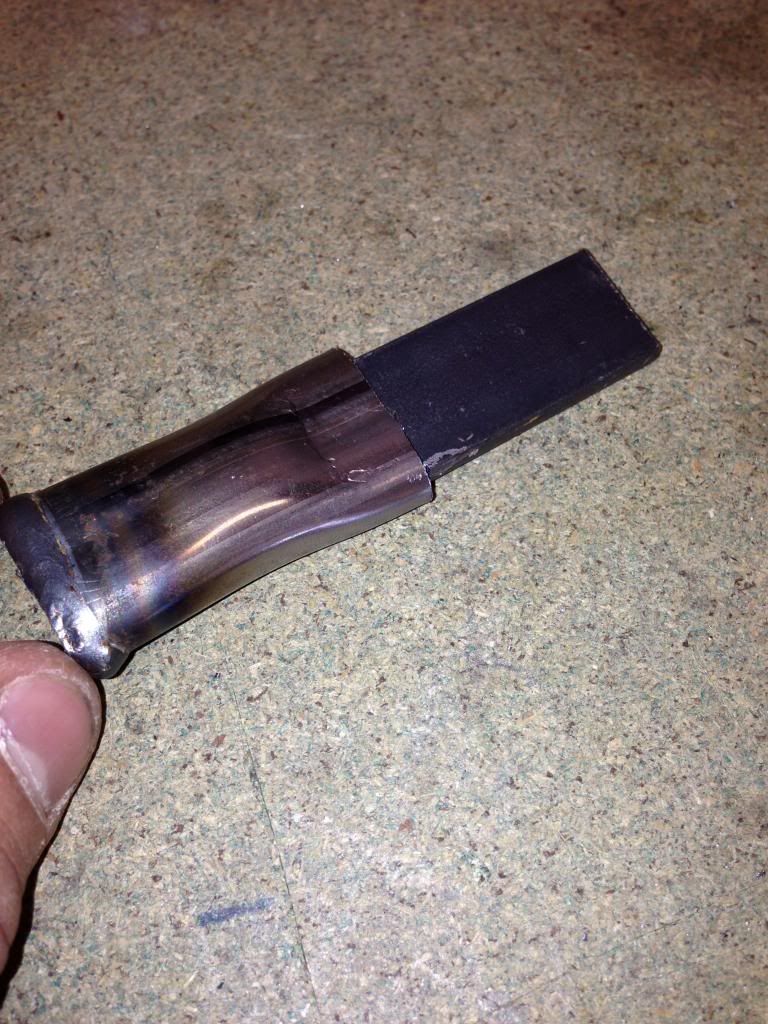
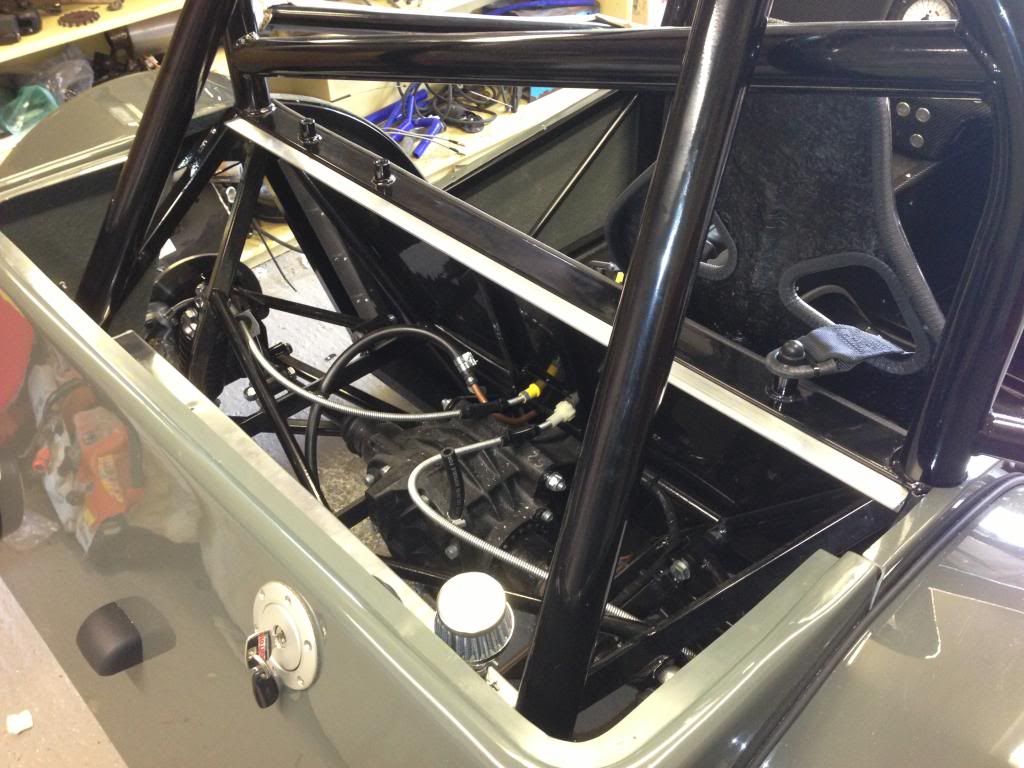
Next I needed to re-bleed the rear brakes as I changed the hoses for shorter ones.  As the caliper needs to be turned upside down to bleed it I needed to make a packer for the piston to press against as I couldn't mount them on the brake disc as I did before.  The thickness of the disc and two pads is 37mm so I cut a block of timber and some aluminium to make it up to 37mm which I then wedged in the caliper.  The brakes could then be bled as before.

Before reassembling I changed the rubber gaiters on the caliper slider bolts.  All four of these gaiters had perished in the 6 months they had been on the car.  Rally Design sent me some new ones after I complained about them.

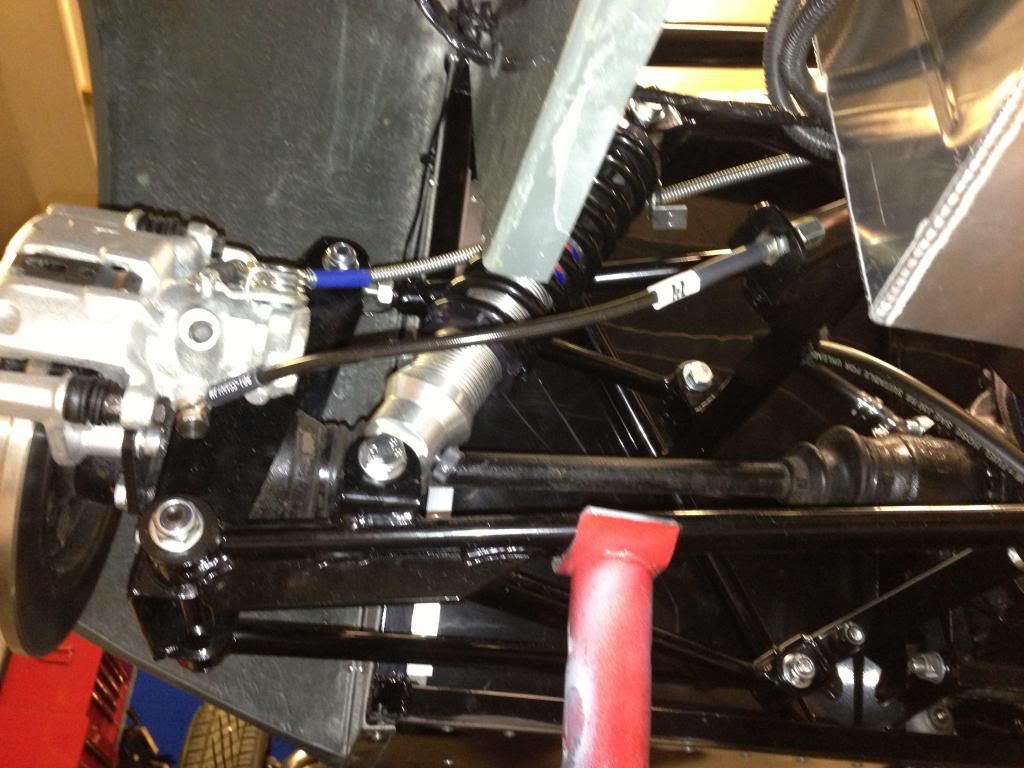
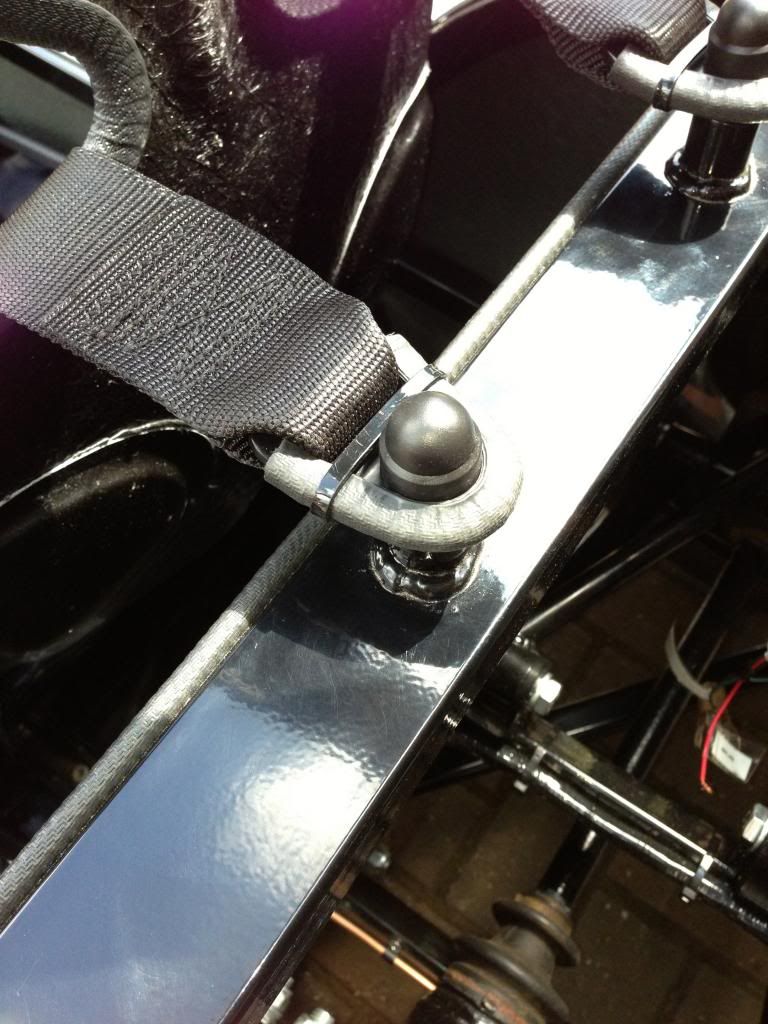
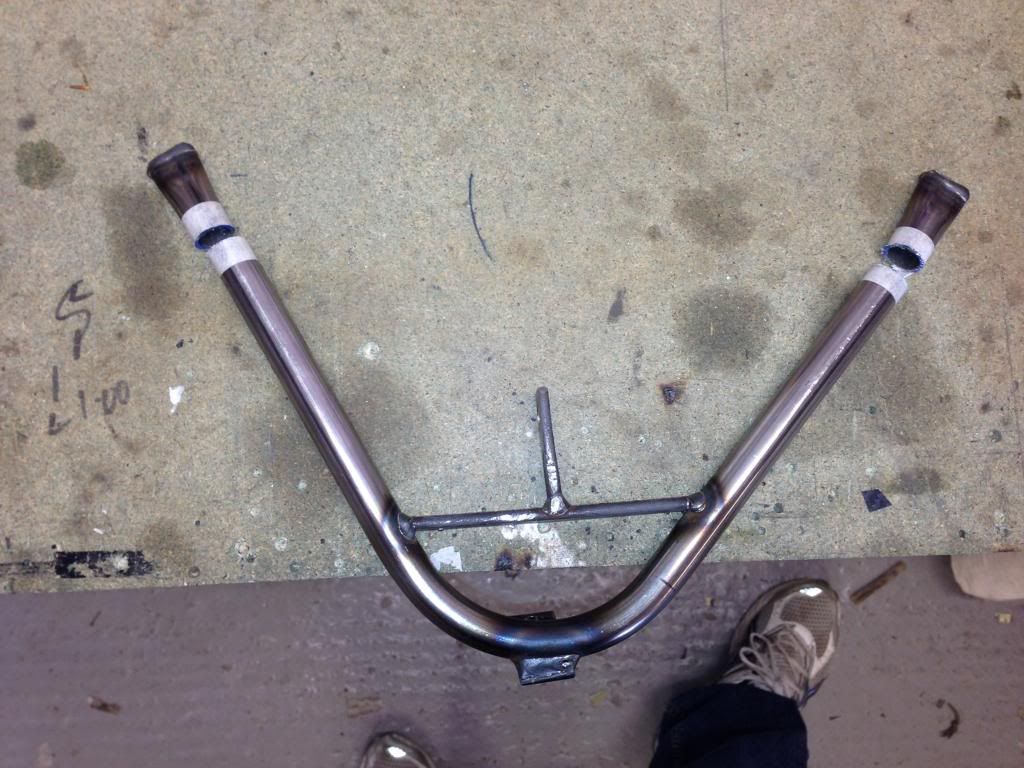
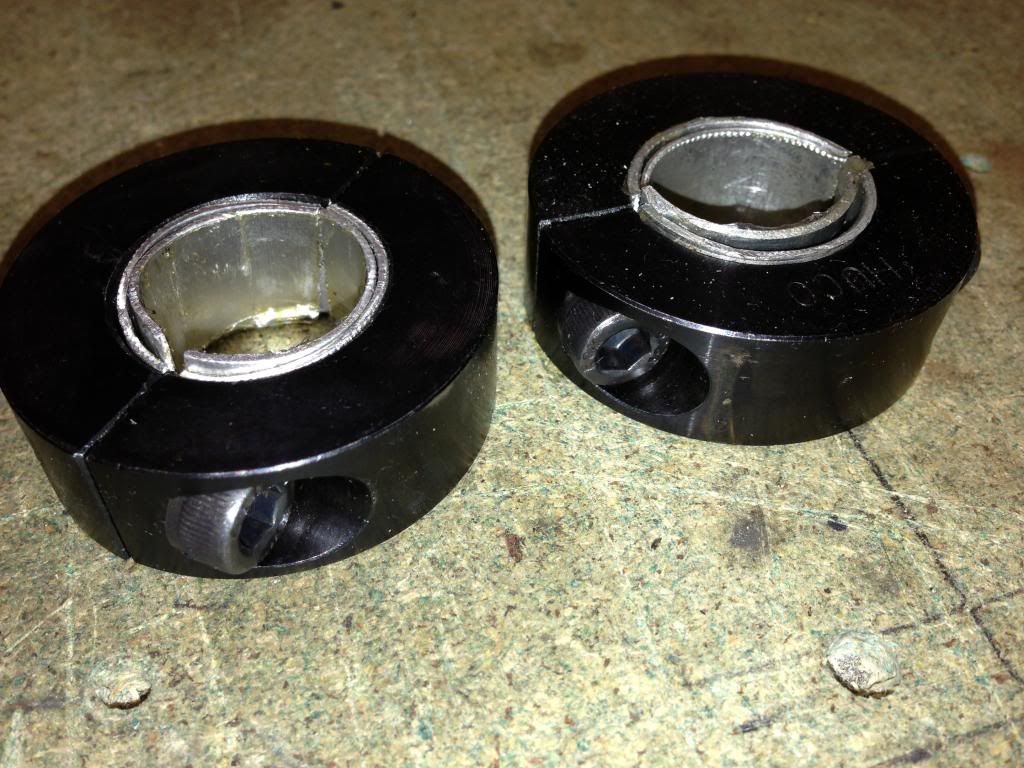
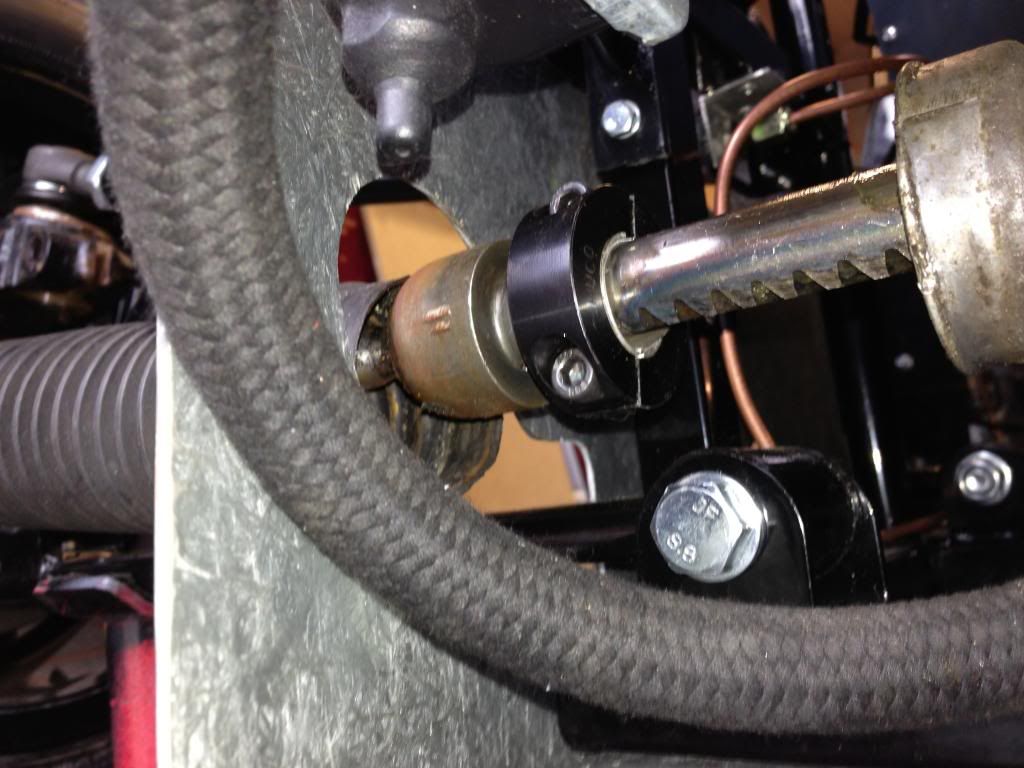
Next I fitted the steering lock restrictors I bought to replace the jubilee clips I installed the other week.  This created a problem in that the gaiters don't slide over the adjusters causing them to trap before full lock, therefore restricting the steering. Not sure how to resolve this yet.


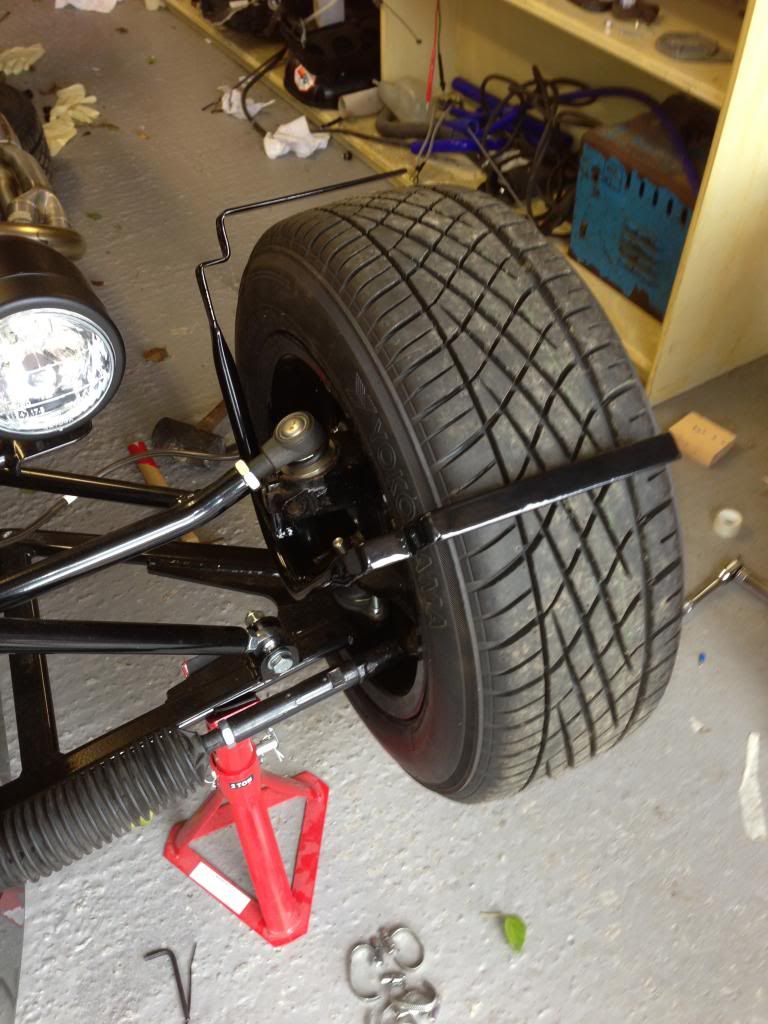
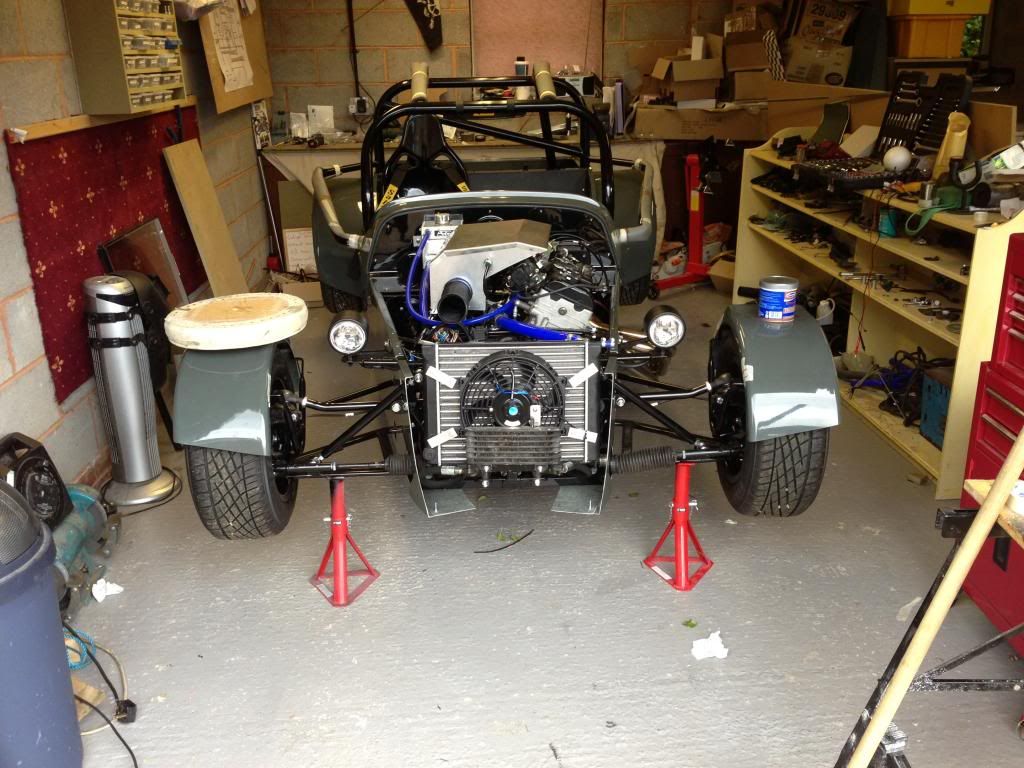
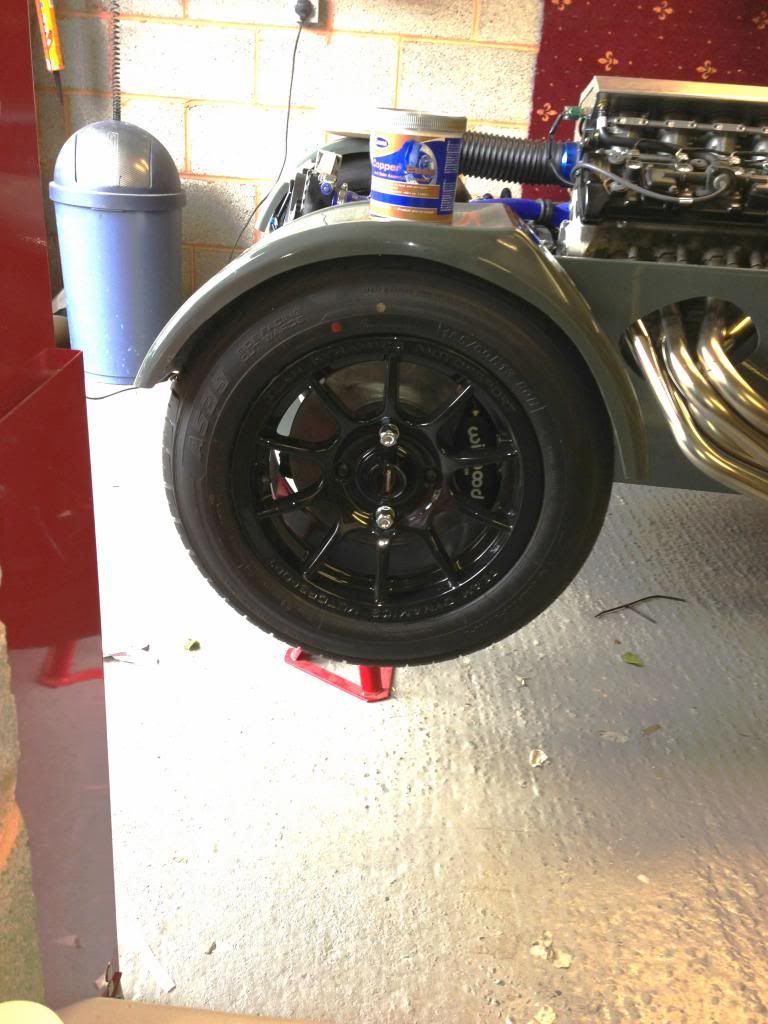
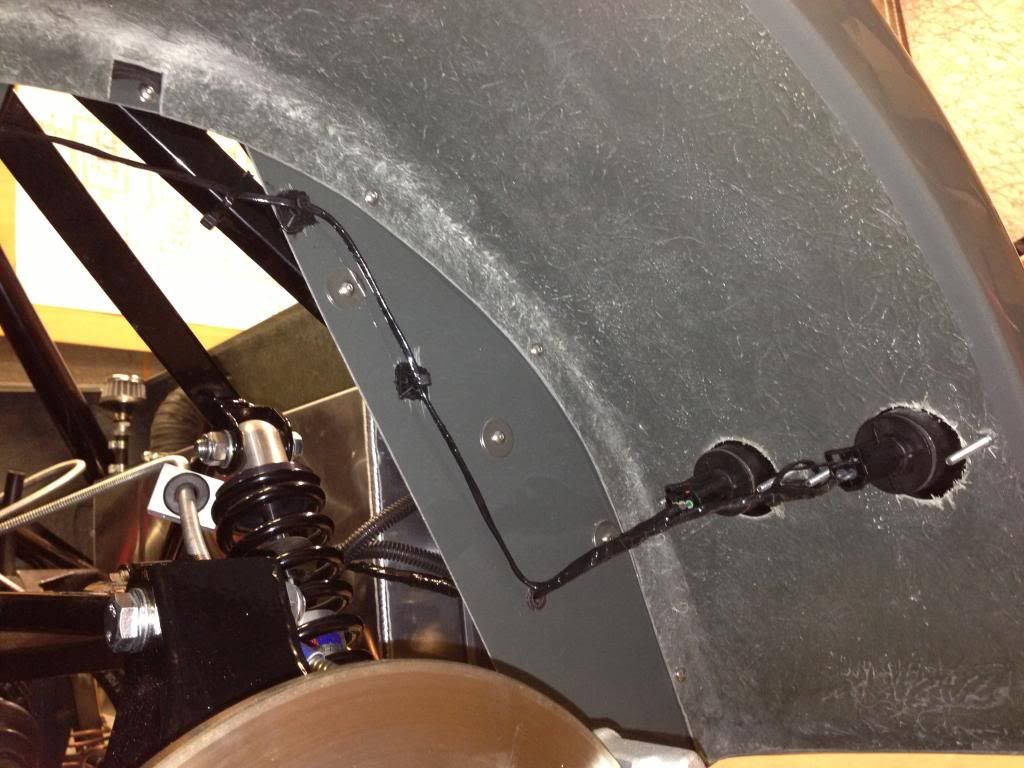
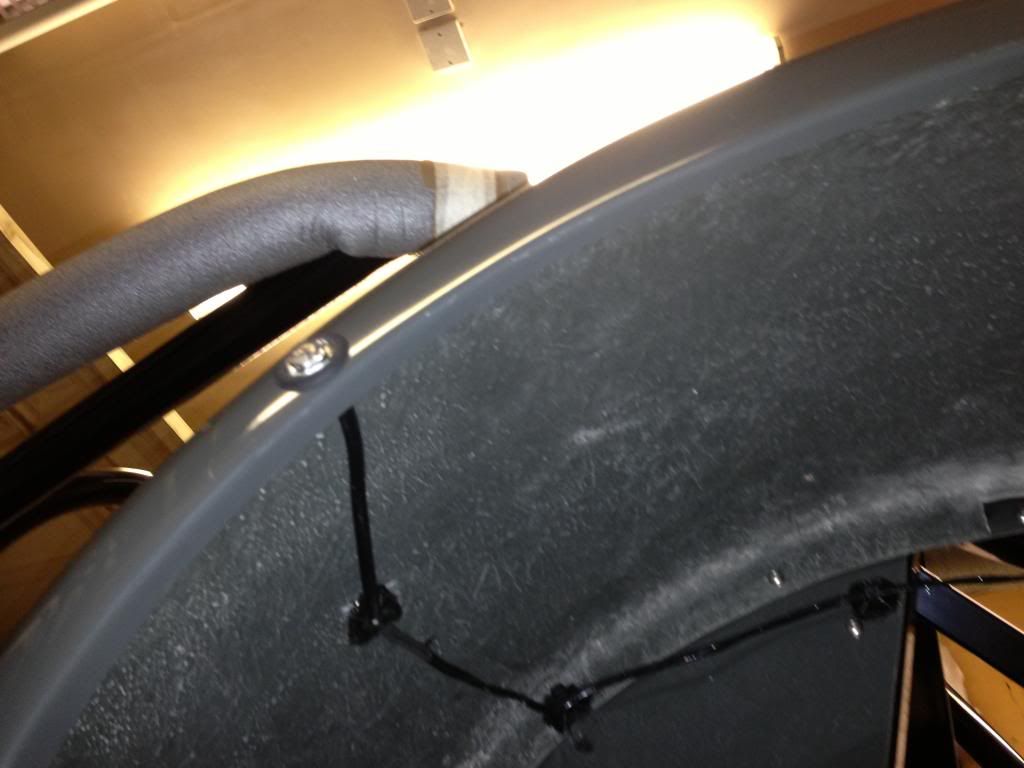
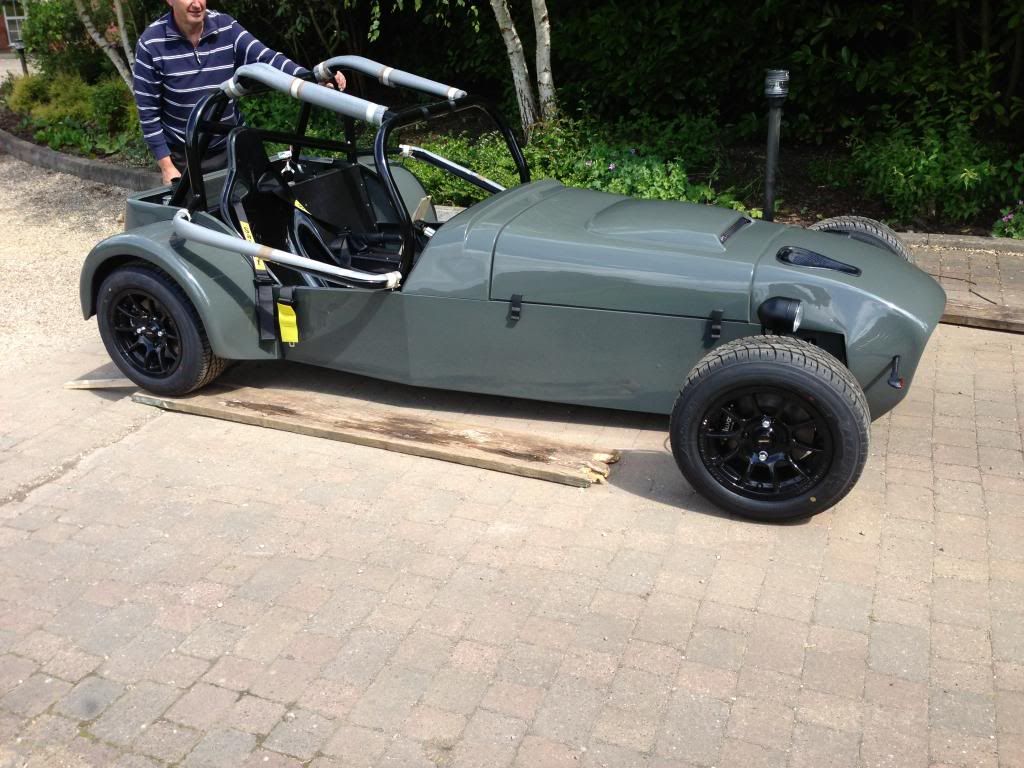
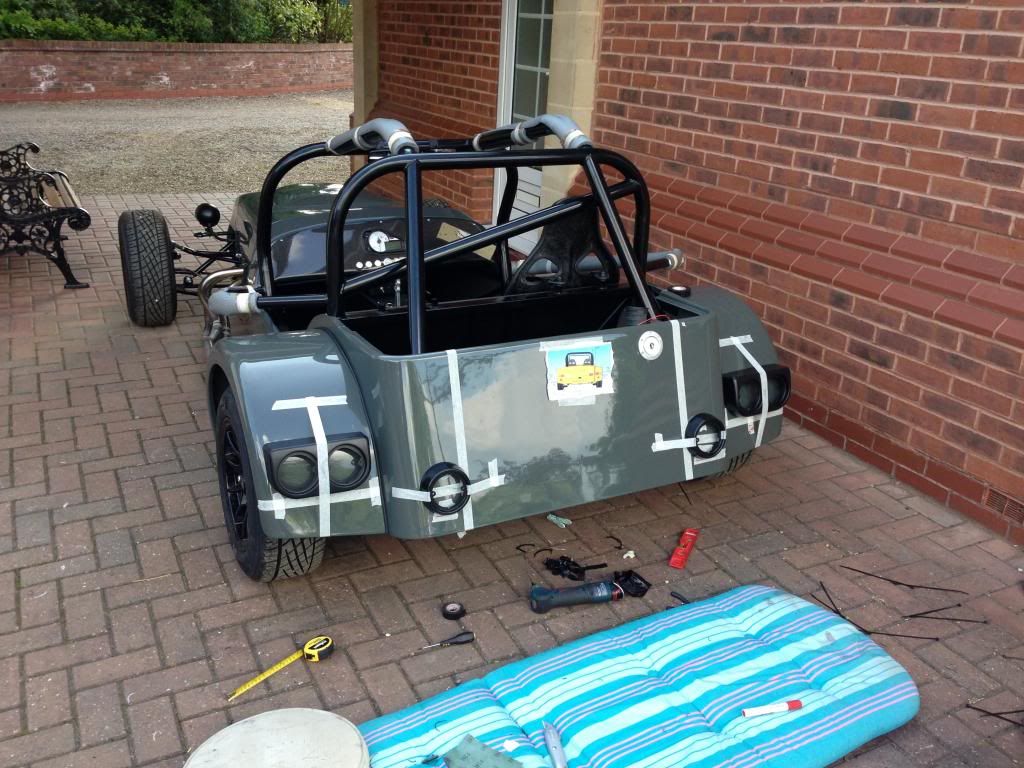
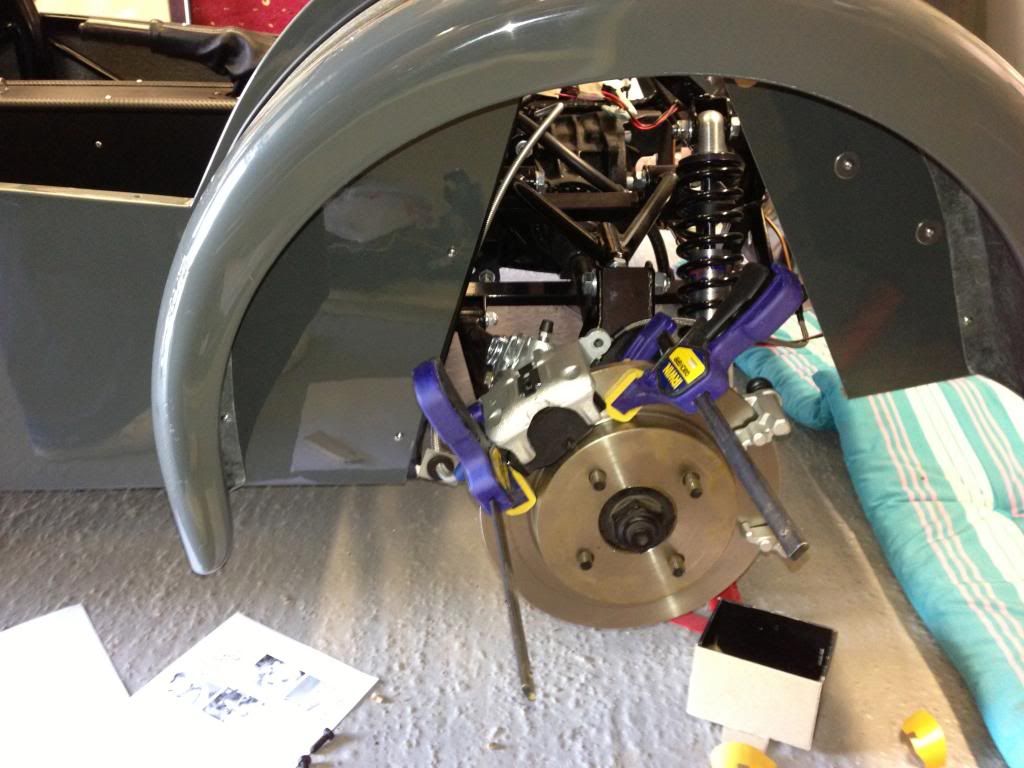
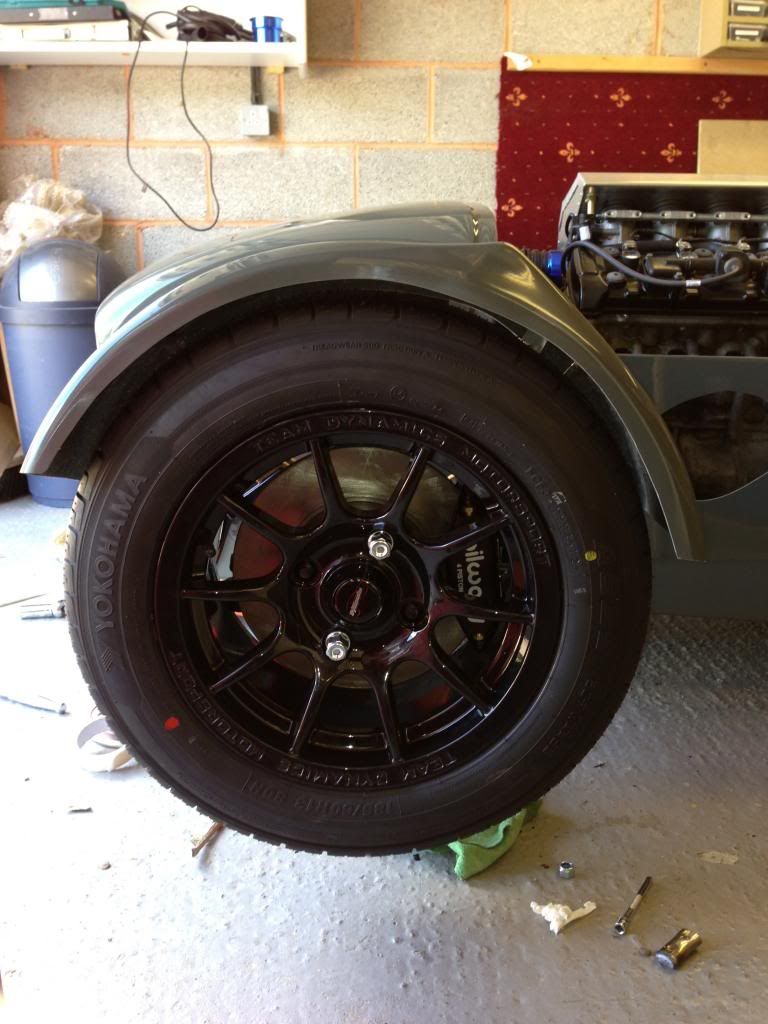
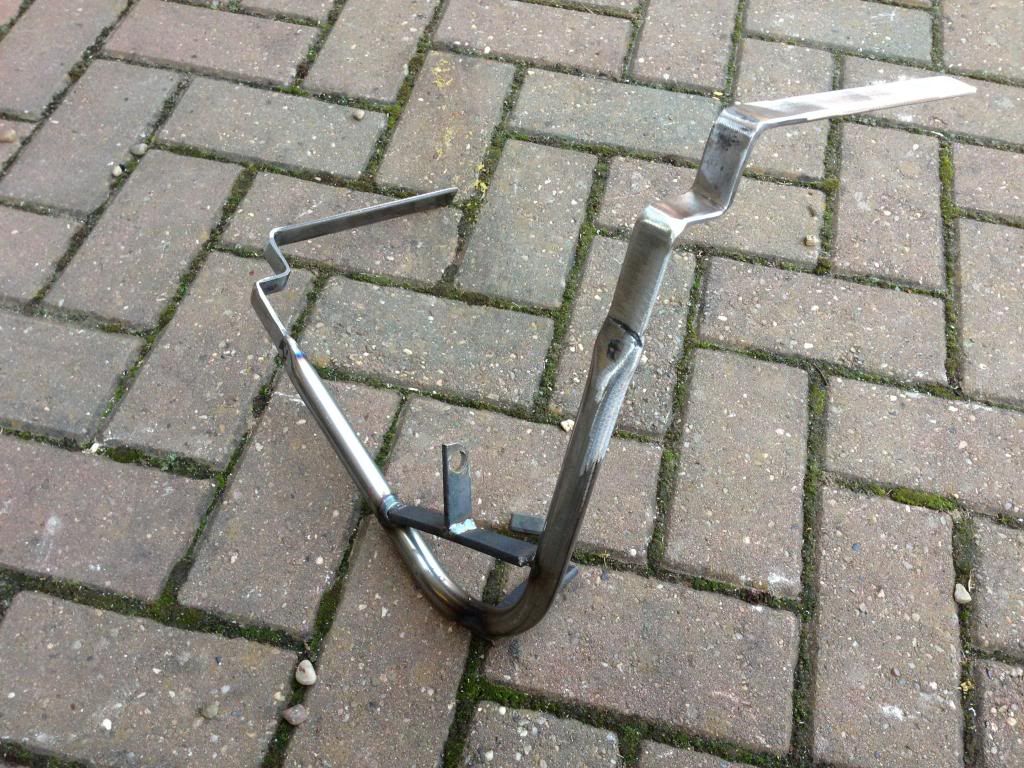
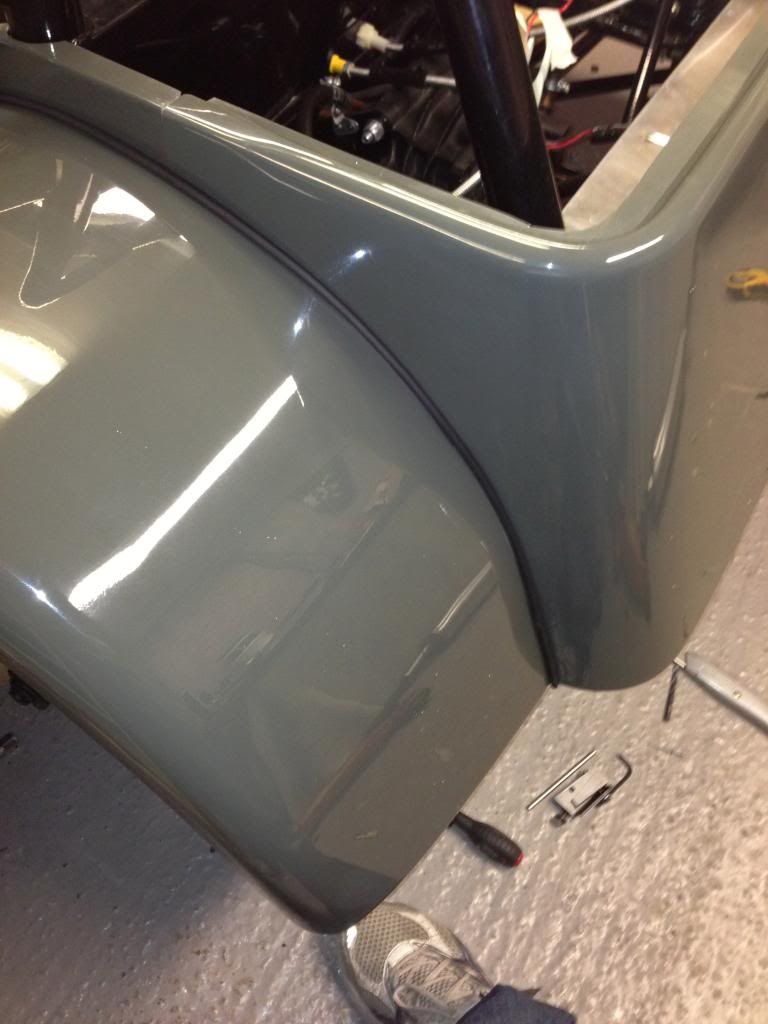
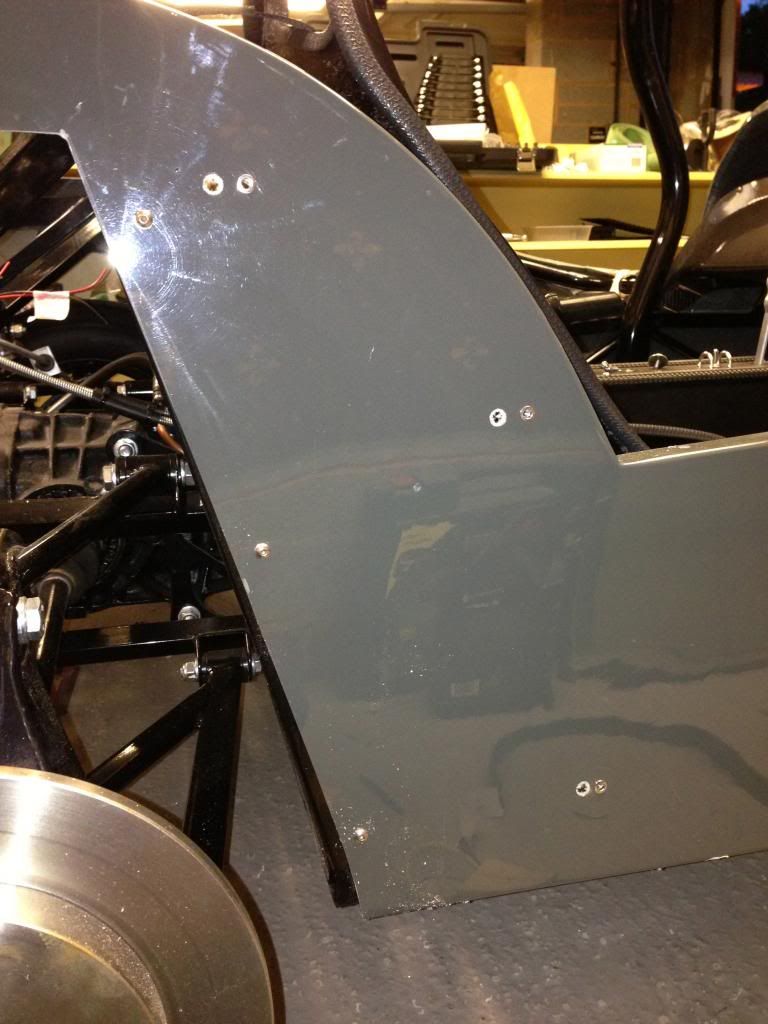
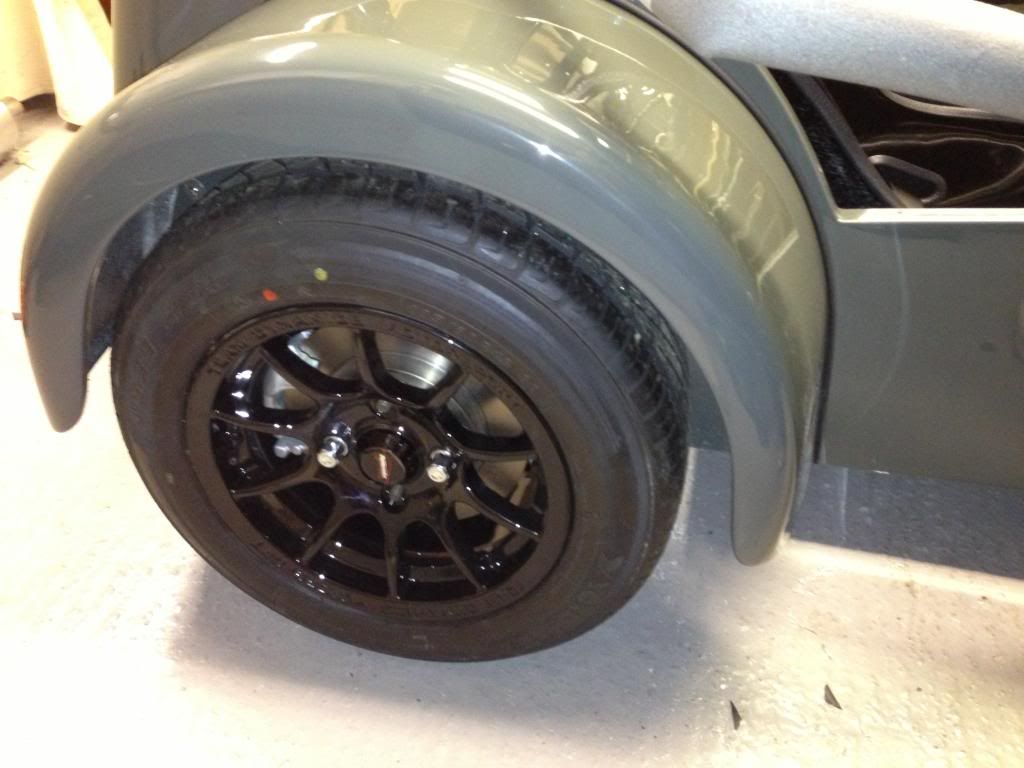
Final job for the weekend was the front cycle wings.  I fitted the recently powder coated brackets and bolted in position and used the dremel to rough up the top so the adhesive would bond.  I did the same to the underside of the arch.  I used Sikaflex to stick the arches on.  Once the Sikaflex has cured I will see how strong the bond is with a view to fibreglassing over the brackets under the arches if necessary.

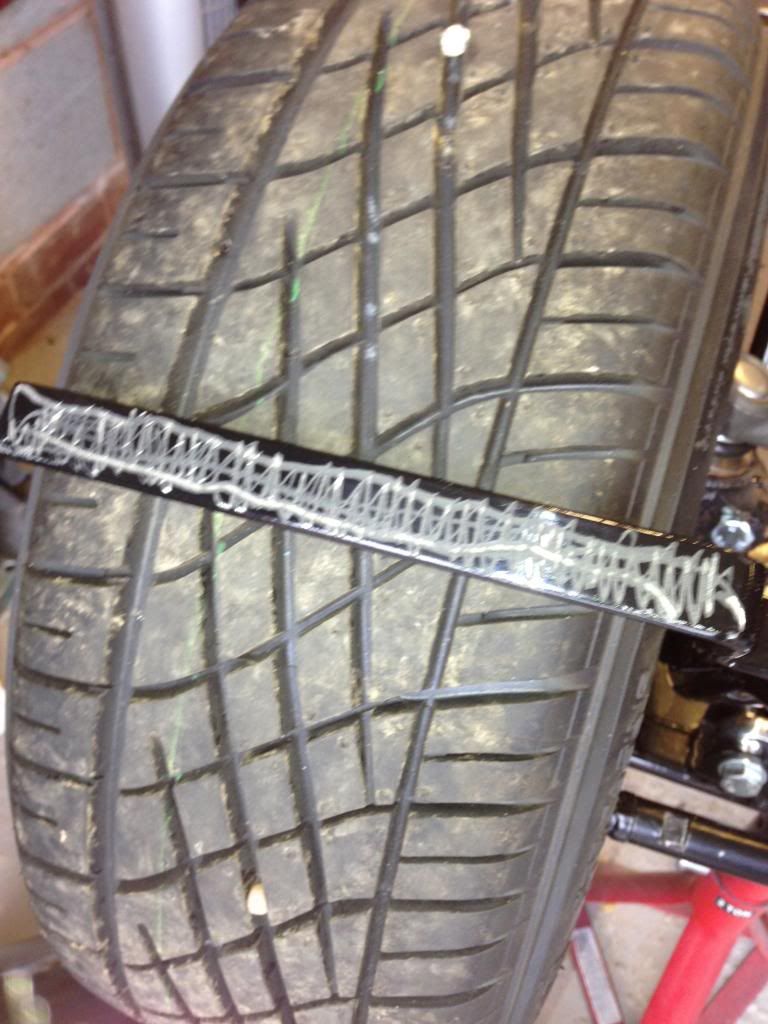
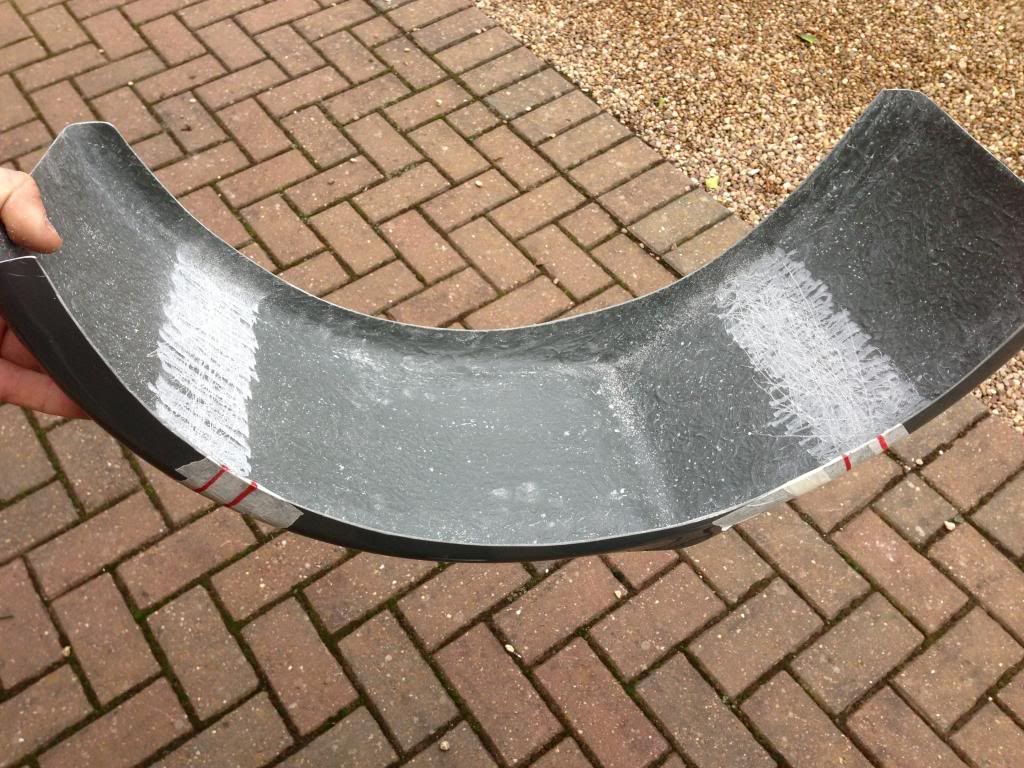
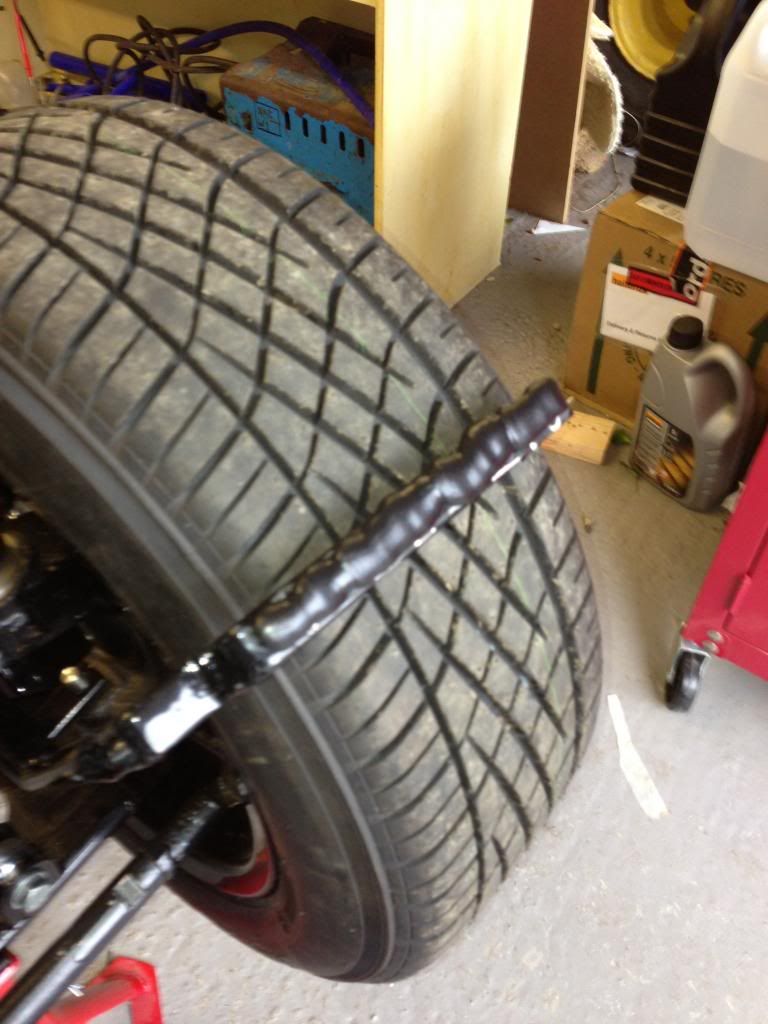
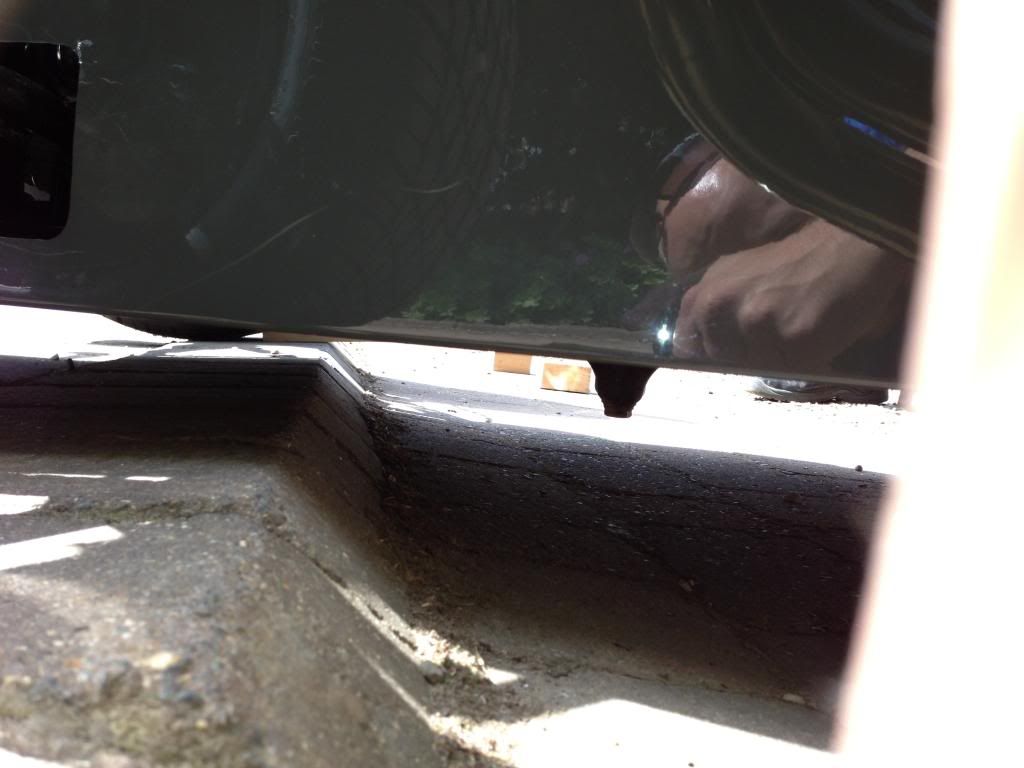
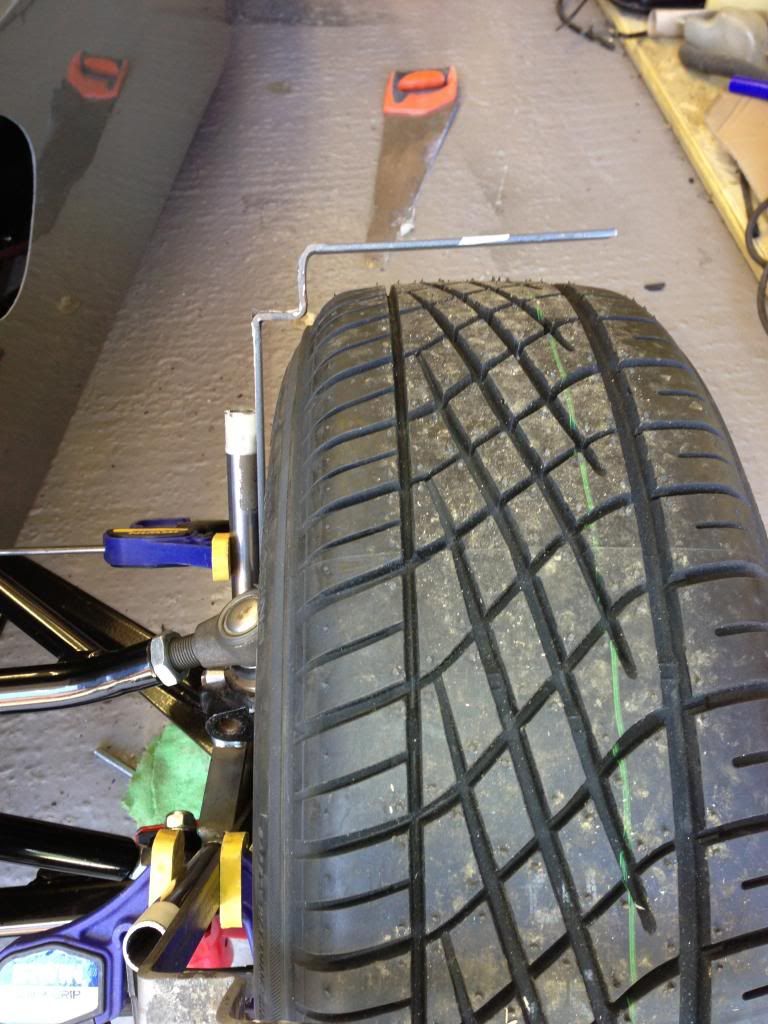
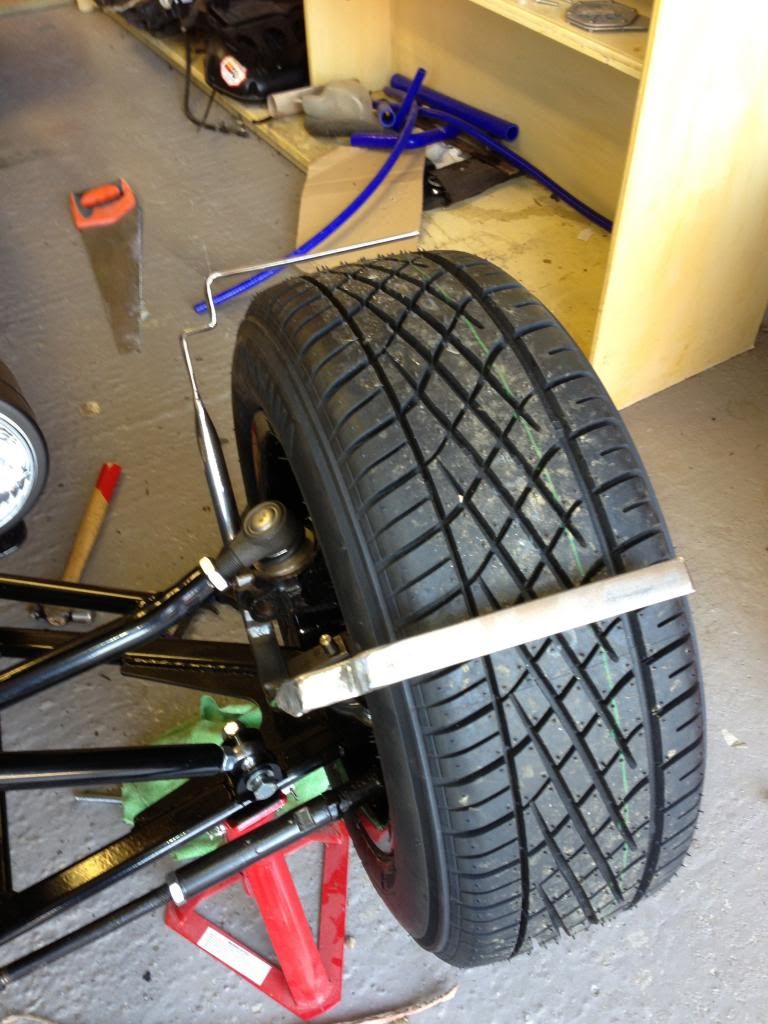
Cycle wings were positioned so that the aero part was flat on top.  Also when viewed from the top the cycle wings cover the entire width of the tyre.  A final check with the glass template I made the other week showed they extend beyond 30 degrees at the front, 50 degrees at the rear and finish below 150mm above wheel centre at the rear.


Wednesday 19 June 2013

New rear hoses + final tidy of electrics

As previously mentioned I ordered some new brake hoses for the rear as the standard ones clashed with my wheels.  I bought 300mm long hoses with a male bulkhead M10x1.0mm at one end and a M10 banjo with a 20 degree bend at the other.  These allow the hose to point away from the wheel and not clash.  I need to re-bleed the system but I will do this at the weekend.

I also finished tidying the electrics.  Under the arches I soldered and heatshrinked the side repeaters onto the loom, wrapped in tape and secured to the cable tie bases.  I also wrapped the wires going to the fog light so 100% of the electrics are now complete.


Tuesday 18 June 2013

Fuel filler hose + tidying electrics

Tonight I fitted the fuel filler hose.  This was the ultra flexible type from CBS which comes with the necessary paperwork stating it is ok to use with petrol - this is needed for the IVA. I had already cut this to length (about 150mm) but forgot to fix it to the filler cap when I put the rear panel on which meant I had to remove the filler cap to fit in position.

It is an IVA requirement for the filler cap to be tethered.  To do this I used the old cable from the GSXR pillion seat release and looped it through a small hole at the end of the filler cap.  This cable was then trapped in position by the filler hose.  Once in position it was secured with two jubilee clips.

I also tidied a bit more of the electrics using split tube and loom tape.  Only the offside rear light cables left to sort now.


Monday 17 June 2013

Side repeater wiring

Not much progress as Ive been away all weekend.  Tonight I stuck some cable tie bases under the rear arches to secure the side repeater cables.  I bought the cheap self adhesive type, removed the foam, keyed the surface by sanding and stuck in position with Sikaflex.  Once this has cured I will solder and heatshrink the connection the the LED repeaters so they are waterproof and secure out the way with cable ties.


Sunday 9 June 2013

MK Indy GSXR - First drive!!

First test driving!!! Also installing rear lights

Today I pushed the car out onto the drive for a test.  Fortunately my parents have a long drive at their house - unfortunately there is a speed bump that the car wouldnt clear without a few timbers being put down to roll on - must get that sump issue sorted asap!


The car has a very high bite point so I stalled it a couple of times but once it was rolling it put my foot down and it got up to 30mph (approx) fairly quickly.  The speedo healer is not set up yet so the speed shown was wrong.  Showing any speed at all was a good sign that my positioning of the speed sensor was ok!

Next job was the rear lights.  I studied the IVA manual and a very helpful Westfield drawing I found online.  I marked the positions ensuring spacings, heights and edge distances were ok and then drilled out for the lights.  The lights I am using have plastic surrounds which needed some trimming to accommodate the curved shape of the wheel arch.  I also installed the reverse and fog lights.


For the IVA, as previously mentioned, the fog light needs to be E marked but also F marked.  I drilled out for the round fog light, similar to the reverse light but I have fitted the rectangular F marked one for the IVA.  This has been fitted so the lens is vertical.


Last job was to test a piece of edge trim around the harness mount.  I had seen this on Locostbuilders and people have passed the IVA with it so thought I would see what it looked like.  The bolt is covered with a cap and the metal edge is protected with edge trim that is cable tied in position.  Looks ok so I will do this for the IVA.


Saturday 8 June 2013

Brakes and exhaust

First job was to install the brake hoses and put some brake fluid in.   To begin I installed the new hoses for the front calipers.  These new hoses were needed due to the Wilwood Powerlites having a 3/8-27NPT thread - a tapered thread.  Rally design supplied an adapter for 3/8NPT to M10x1.0mm so I needed new hoses with a male bulkhead at one end and a female swivel at the other.  Another £45 I didnt know I had to spend!!

Once these hoses were installed I double checked everything was tight and fille the master cylender with fluid.  I am using Motul fully synthetic Dot 5.1.  I needed my dads help to operate the pedal while I opened the bleed nipples on the calipers, starting with the furthest away - NSR.

After a while some fluid was seen at the nipple so it tightened it back up and repeated for the other 3 callipers.  The Wilwoods had two bleed nipples as they are 4 pot with pistons on both sides.

To bleed the rear sierra calipers I needed to remove from the cradle and clamp in a position so that the bleed nipple was at the top.  This is because on the MK Indy, the calipers are mounted upside down so the handbrake cable doesnt touch the floor, which means air gets trapped when trying to bleed them in their upside down position.

Once all 4 were bled I opened each one up and allowed more fluid to escape to get any last remaining bubbles out.  By this point the brake pedal would only press half way down as opposed to hitting the bulkhead as it did when empty.

I put the wheels on and had a quick test outside while pushing the car - they seemed to work.  They will get a better test once the car is running properly.

One other issue is that the standard MK hoses on the rear sierra calipers rub the inside of the wheels!!!  Looks like I am going to need to buy some new rear hoses now - an angled banjo will solve the issue as it will send the hose immediately out, not down onto the wheel.

Wilwood adapter and new hoses

Hoses are about 20mm too long but better to be long than short!

Rear caliper clamped so bleed nipple is at the top

Mintex pads installed - Antivibration rubbers stuck to brake pads

Brake hose clash with wheel


Second job for the day was the exhaust.  I fully bolted the manifold in position and tried to fit the silencer but there wasnt enough room - it was clashing against the rear arch.  I cut 30mm off the 4-1 section of the manifold, cut 60mm off the angled connection piece and then cut 30mm out of the silencer.  To do this I undid the 4no bolts holding it together, and cut 30mm off of the outside and inside parts.  I then drilled the holes for the bolts and bolted it back together.


Ground clearance is still an issue - the silencer sits about 40mm below the bottom of the chassis!!


Saturday 1 June 2013

Cycle wings, rear arches


Today I finished off the cycle wing brackets.  I wasn't happy with yesterdays efforts so I cut off the top of all the brackets.  I the bought a length of 20mm x 4mm steel bar from B&Q and cut it into 500mm lengths.  I carefully marked and bent each one in the vice - comparing the new brackets to the others it can be seen how much neater the bends are.

Next I cut 50mm off of each of the tube parts of the brackets which would allow me to crush in a vice and install the new flat bar ready for welding.  I needed to grind the flat bar to a point so it fitted but once it was in the tube it was a tight fit.  I tested this before I cut it to make sure it would work.

I then welded the new top half of the brackets in position  and cleaned up with the abrasive wheel ready for powder coating.

Next job was the rear arches.  I looked at a few pictures online and it appears that the front and rear of the rear arch are in line with the bottom of the side panel.  This meant I just needed to line these up and centralise the wheel to find the position.  The arch was then clamped in position and drilled through with a 2.5mm drill bit in 6 positions for the rivnuts.  These holes were extended to 7mm and stainless rivnuts installed in the side panel.  I am not quite sure how but the offside arch ended up 20mm too far back which meant I had to redrill for new rivnuts.  Fortunately the other 6 holes will be hidden so it wont be too much of a problem.

Finally I installed the rubber trim between the arch and side panels.


New bends compared to first attempt

50mm cut off tube of brackets


Testing position of cycle wing

Testing the flat bar in the tube

Welded in position and cleaned with abrasive wheel

New bracket in position - about 25mm clearance to wheel

Marking position of rear arch

Near side arch complete with rubber trim

Offside arch was installed 20mm too far back.  I had to redo the rivets.  Holes cant be seen though

Completed offside arch