Today
I completed the dash. I started by
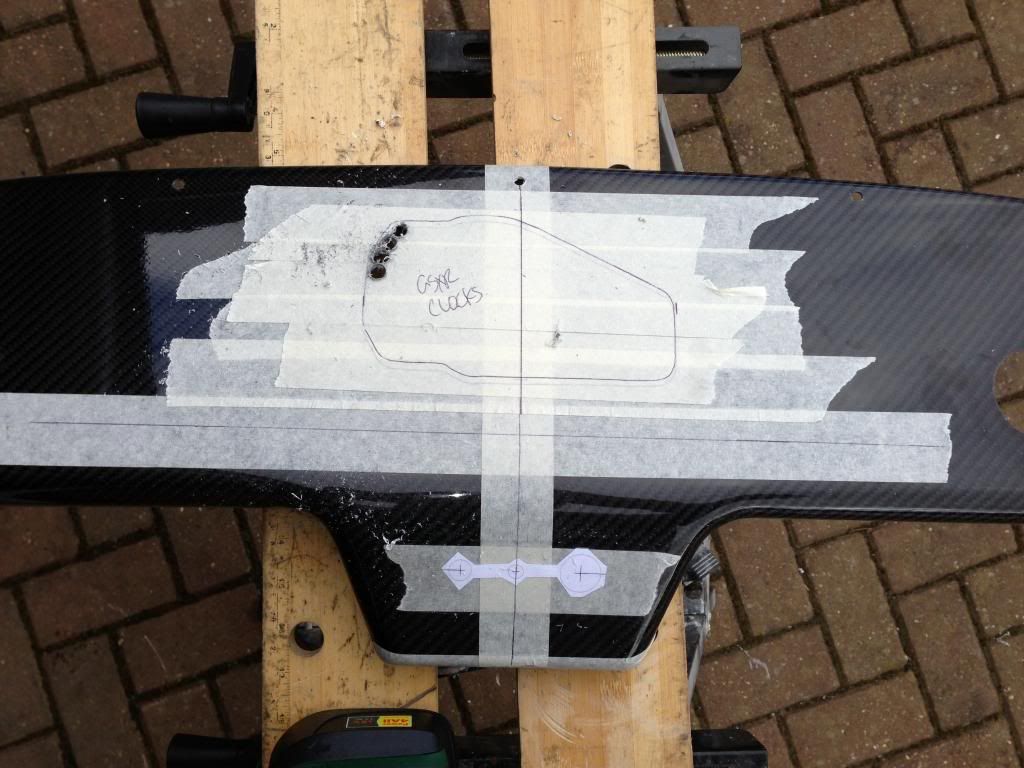
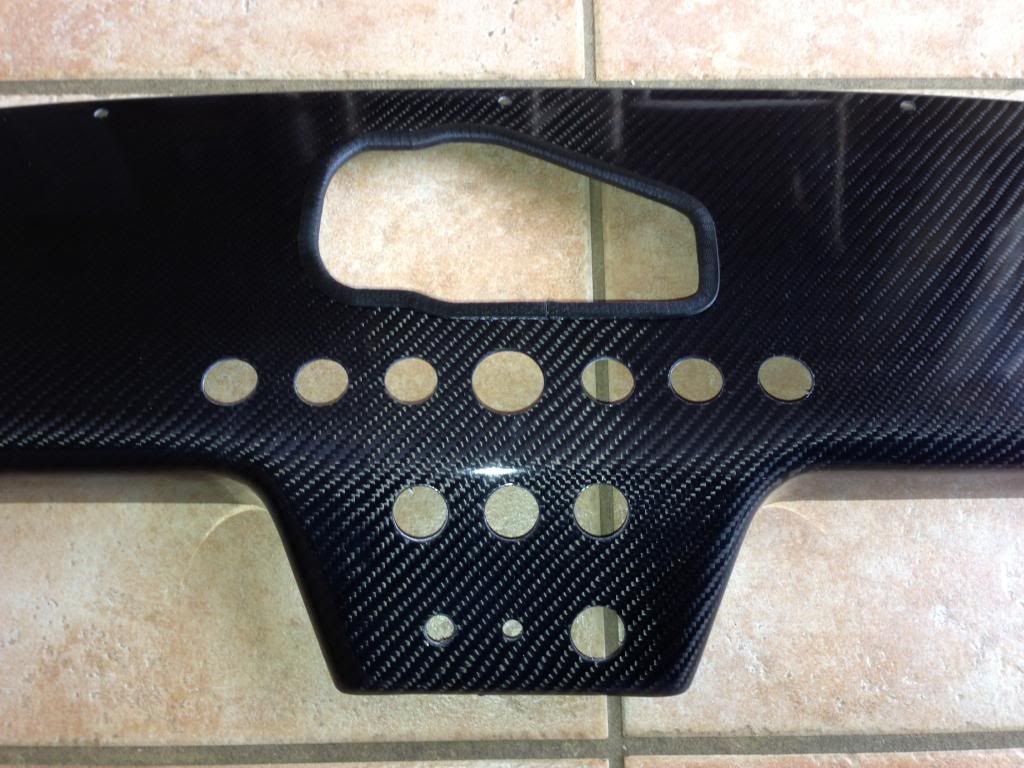
cutting out for the clocks by stitch drilling, cutting out with a hacksaw
blade and then filing carefully by hand to the required shape (shape taken from
the template I made some weeks ago). I
then used some small edging trim on the edges ensuring it was pushed fully into
the corners. Doing this inside where it
was warm helped with this.
Next
I marked out all the switch locations.
It took a while to decide the layout but eventually settled on having
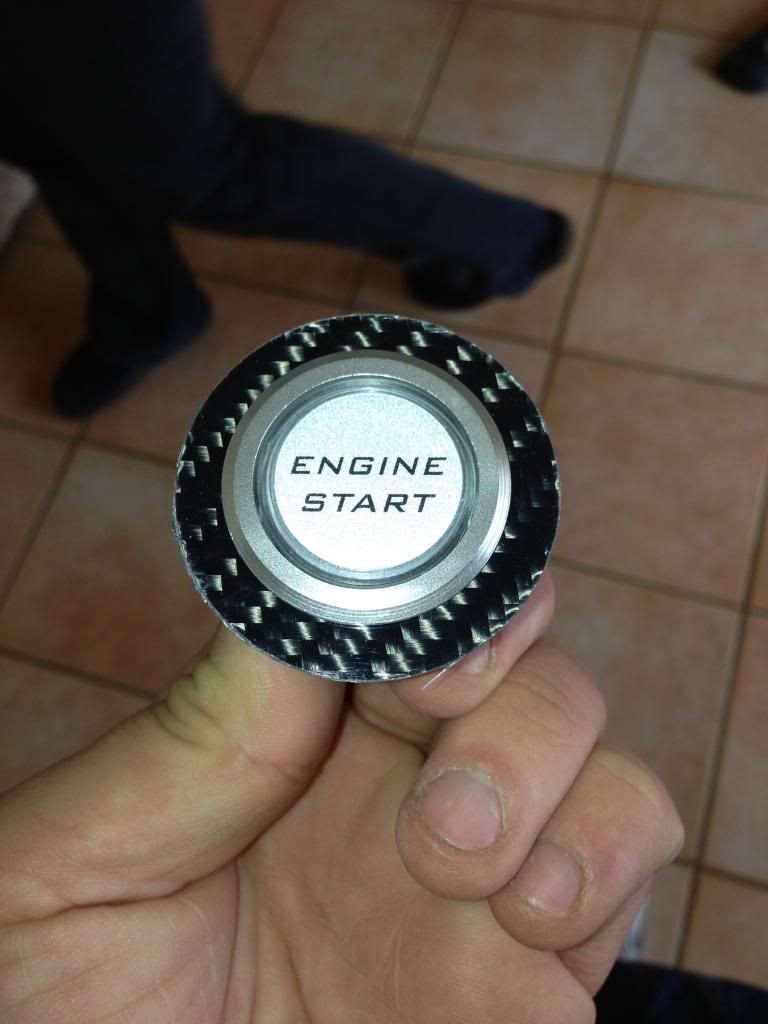
the start button as the centre piece with lighting buttons to the left.... fog, fan
and horn to the right... hazards and handbrake below, along with indicator
telltale. Reverse will be below all
these.
I
got my brother to draw out the switches on CAD so I could mark them
accurately. I proeceeded to centre punch
the positions and cut out with a 19mm hole saw.
I then used a stepped drill to expand the holes for 22mm (30mm for start
button). I also cut out for the ignition
switch, again 22mm.
Once
cut out I sanded the hole edges with fine sandpaper, removed the protective
masking tape and installed all the switches.
I then wired up all the switches according to the drawing I previously
made and connected 2 x 15 pin connector blocks.
The idea is that the dash can be completely separated from the loom
should I need to change or alter the switches.
This was the piece cut out for the steering column. Used it as a test for the stepped drill to ensure it stayed central when drilling. Worked perfectly!
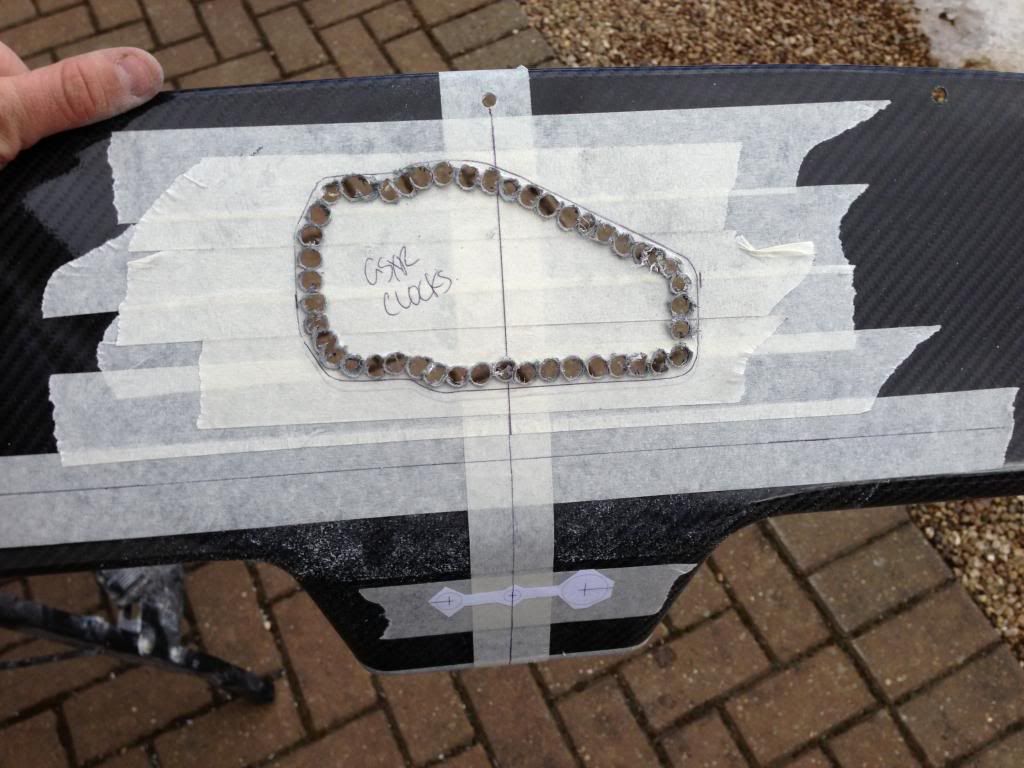
Stitch drilled
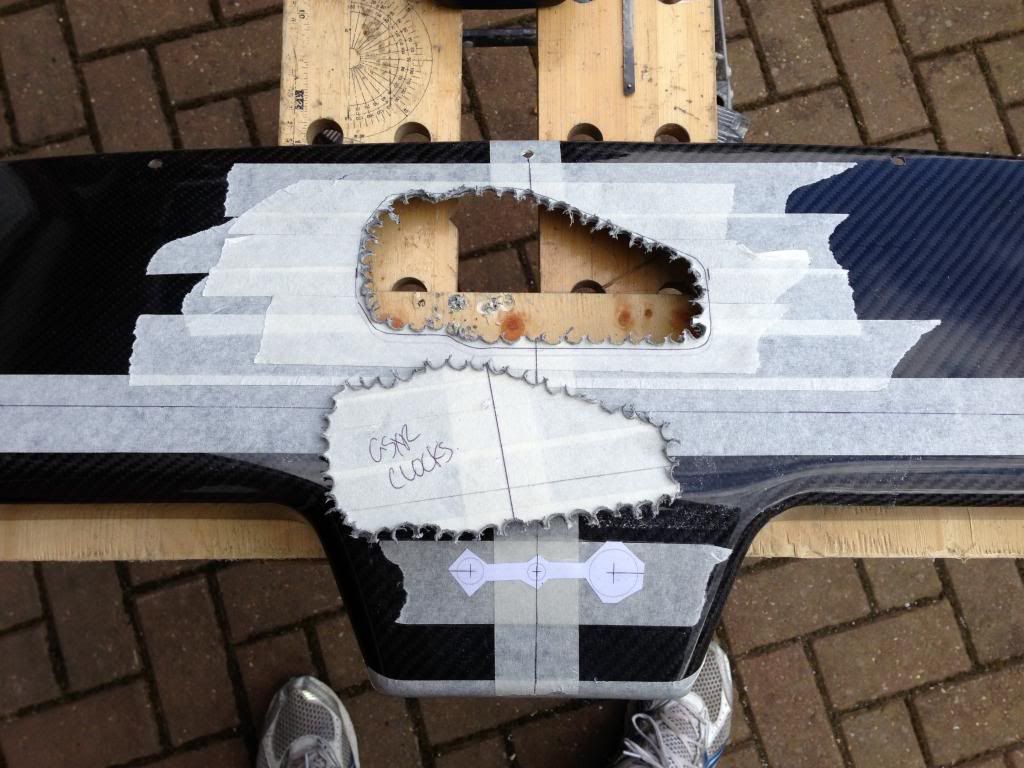
Cut out with hacksaw blade
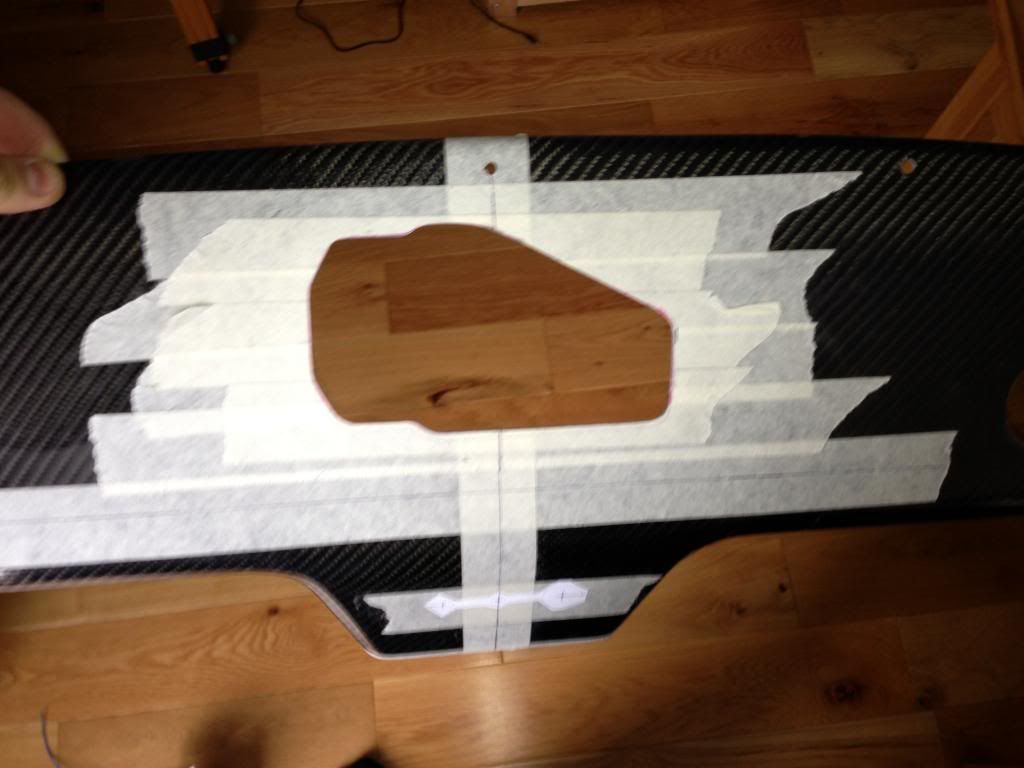
Filed smooth with half round file
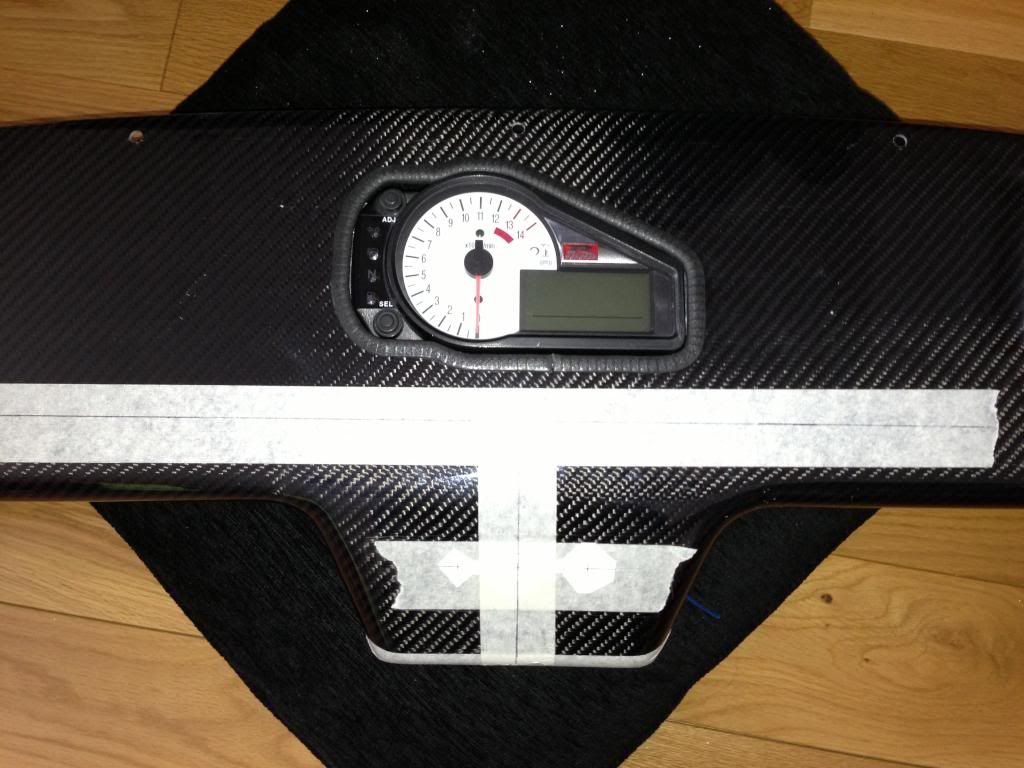
Edge trim installed
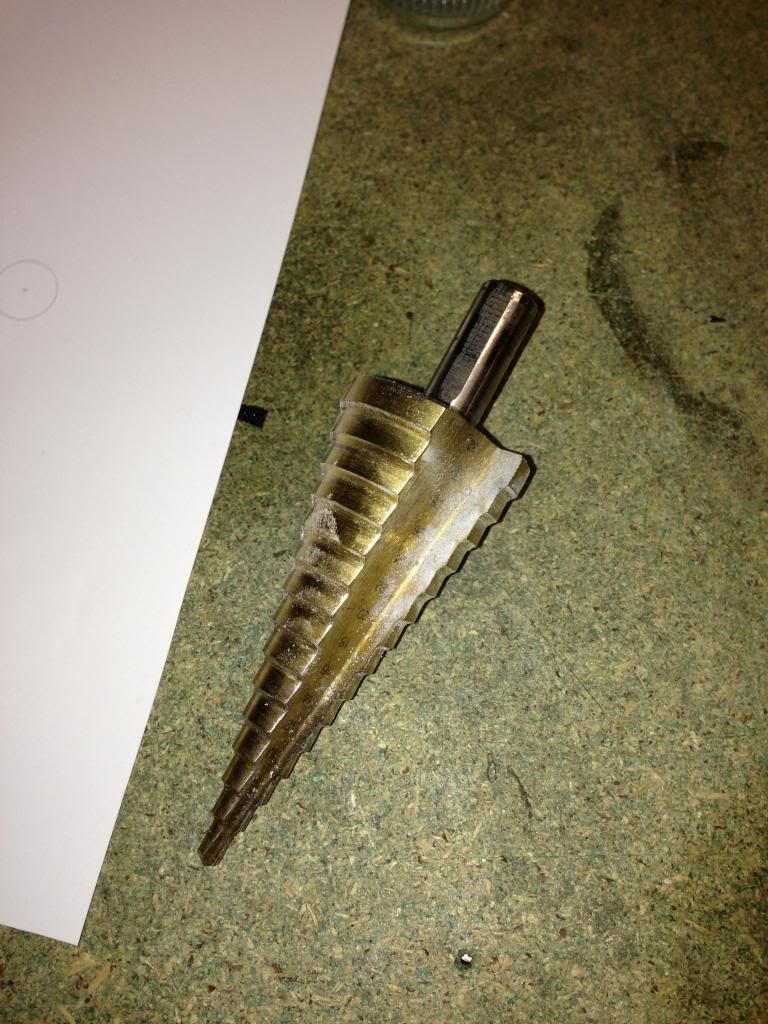
The stepped drill bit. Excellent bit of kit.
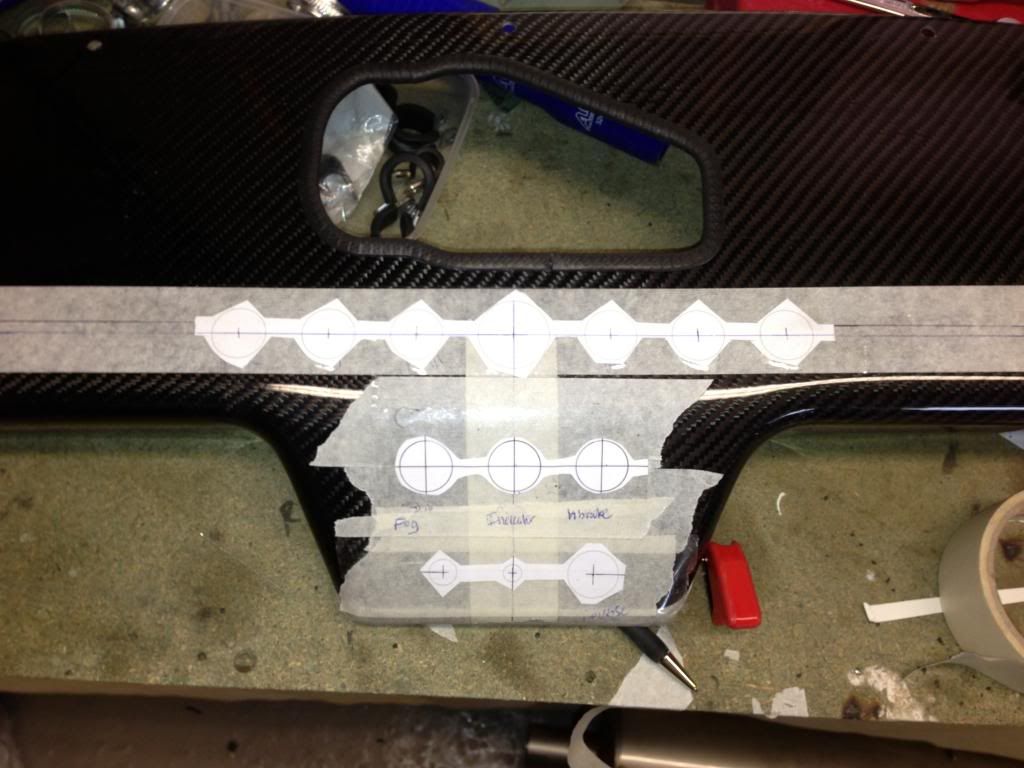
Switch location drawing on CAD, printed, cut out and stuck on as a template
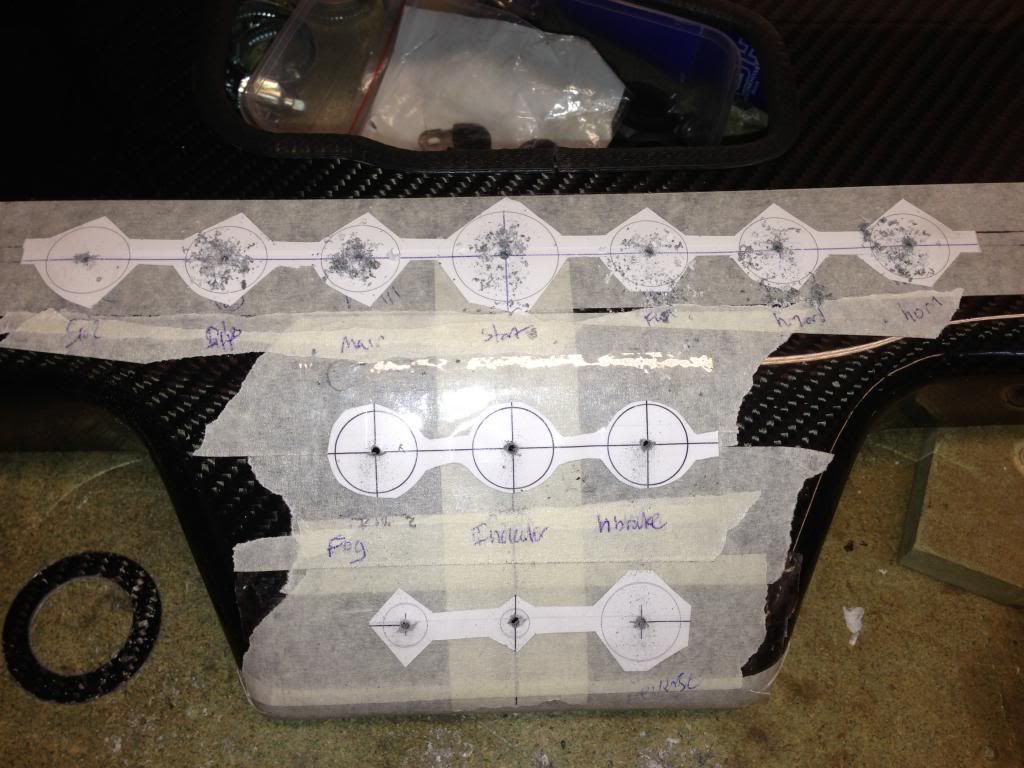
Pilot holes drilled
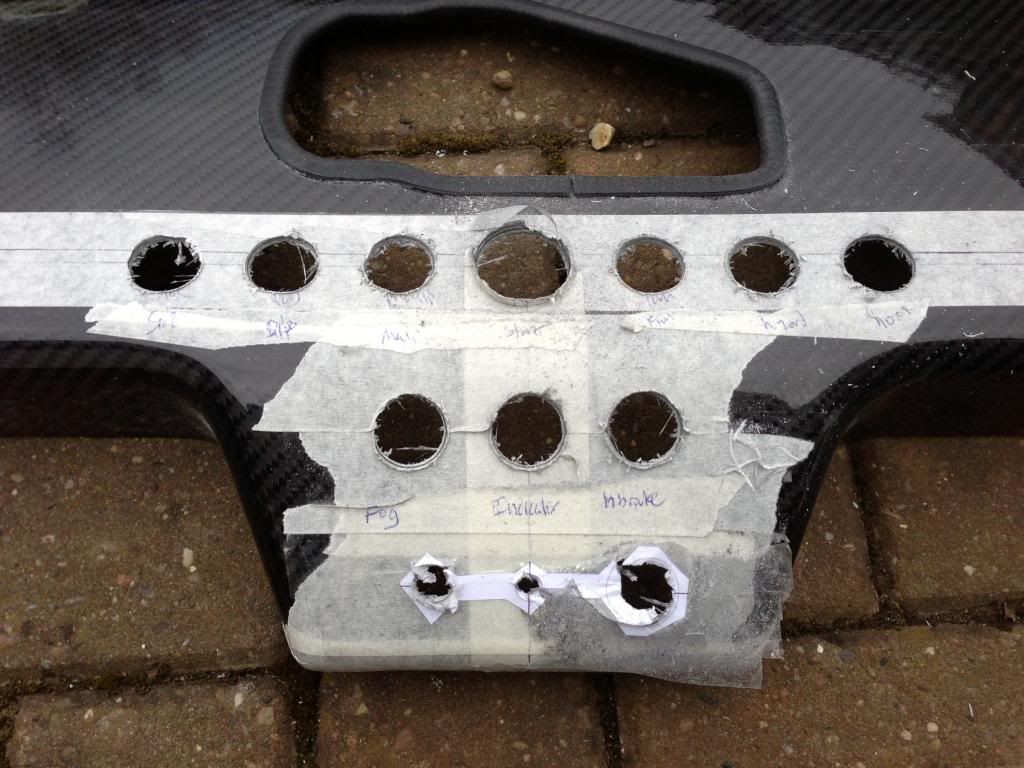
Hole sawed to 19mm, stepped drilled bit used to get to 22mm for switches, 30mm for start button
Bottom holes - 12mm for toggle switch, 8mm for LED, 22mm for savage switch

Switches installed!
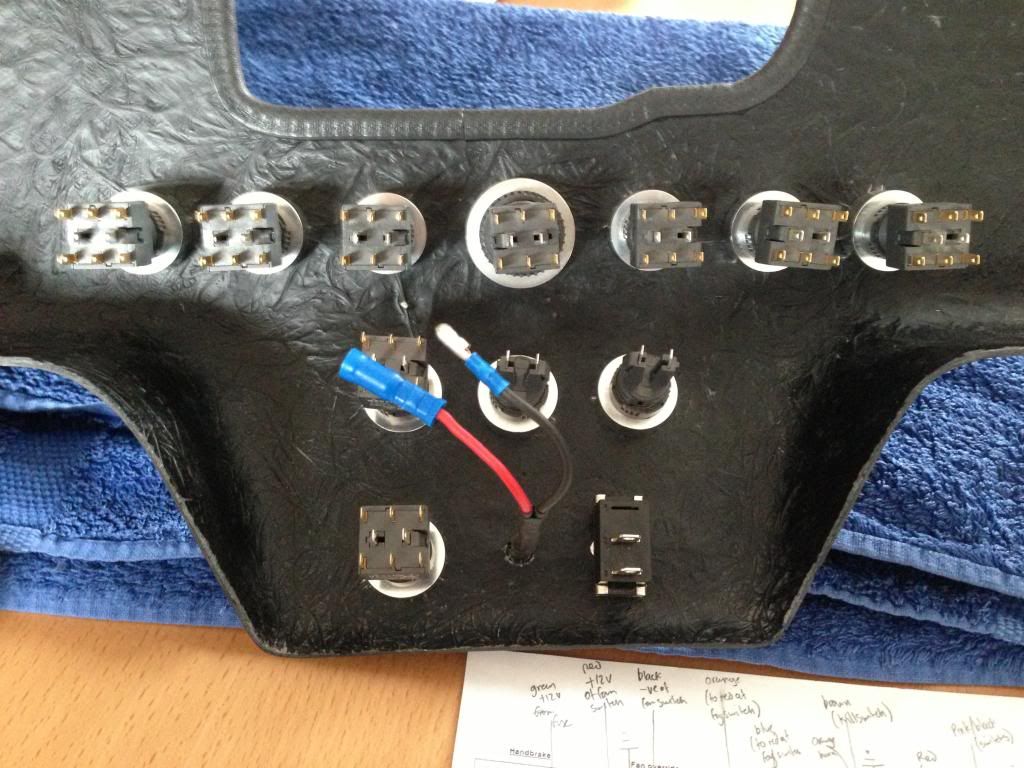
Before I removed the switches from the timber template, I drew up a couple of drawings that identified where each cable would go to on the 15 pin connectors. This was needed for the wiring in the next step.
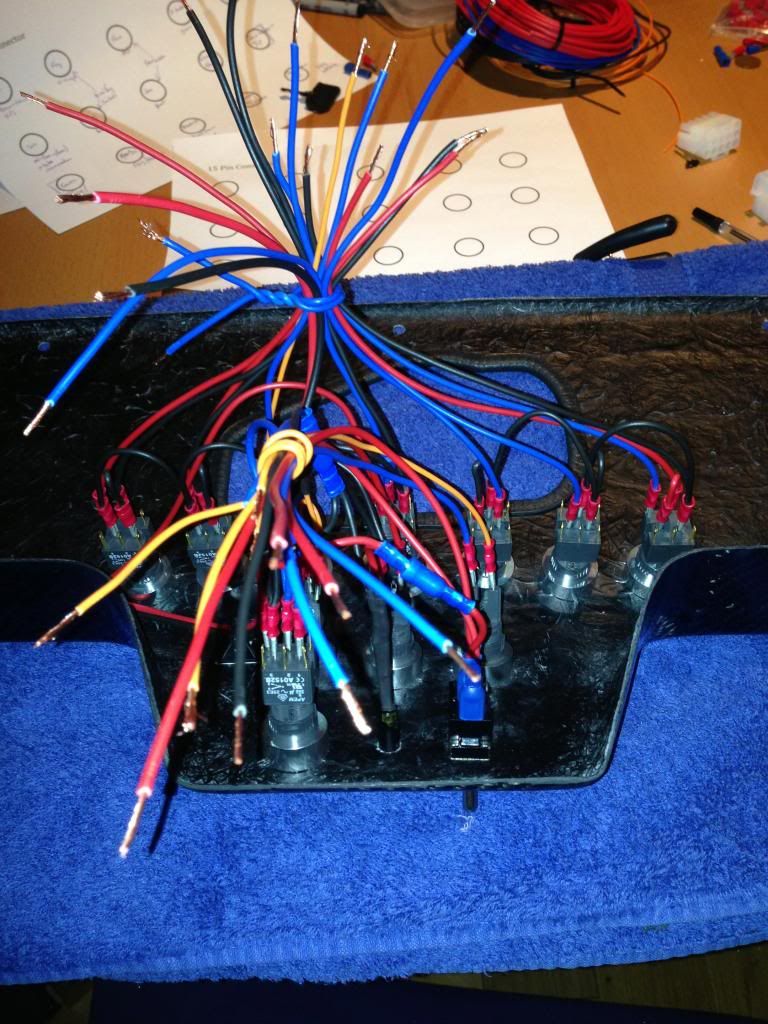
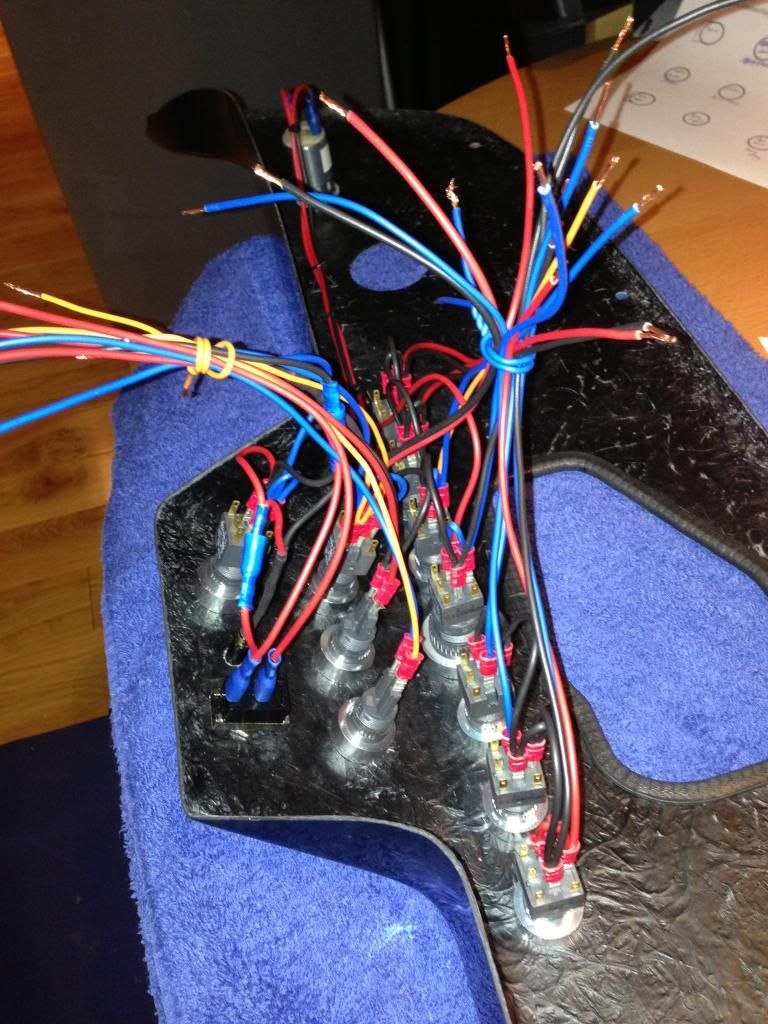
I daisy chained several earths together to reduce the number of earths needed at the 15 pin connectors
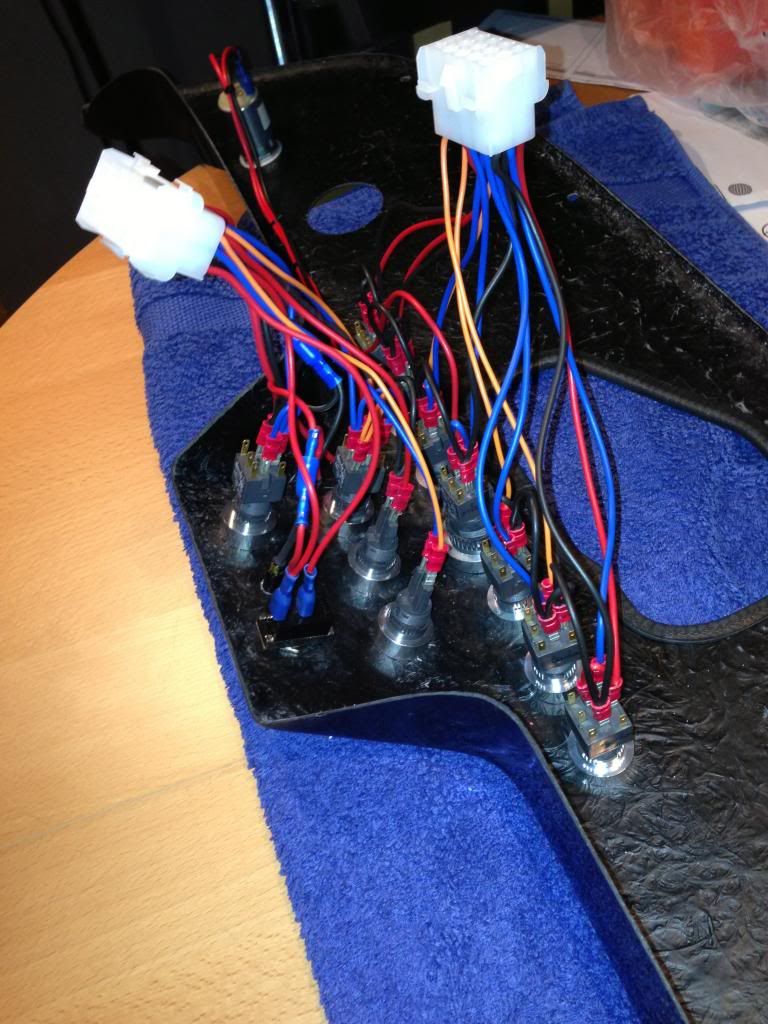
Complete! Two 15 pin connectors for all the wires to the dash switches including ignition
No comments:
Post a Comment