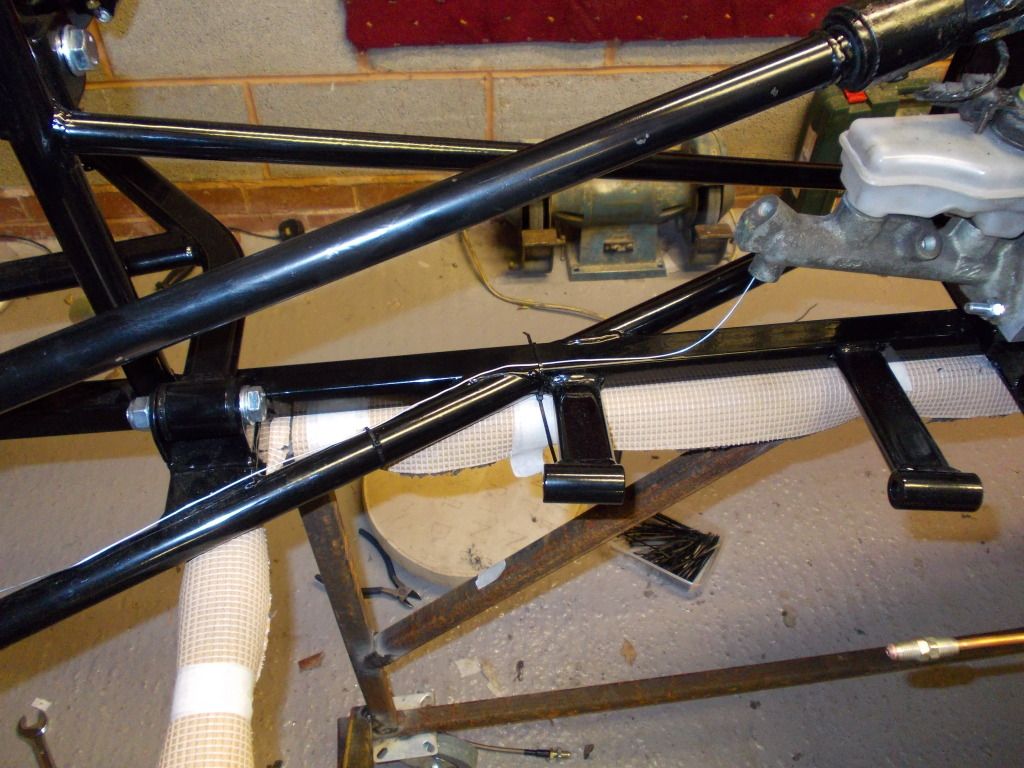
I was unsure of the route the brake pipes
should take but with a bit of research on Locostbuilders I found a couple of
pictures that shed some light.
As all the brake pipes came cut to length
with ends flared from MK, I needed to make sure the route I planned on taking was
suitable. I cut some wire to the same
length as the brake pipes and laid it out on the chassis rails where I planned
on fixing the pipes and cable tied it in place.
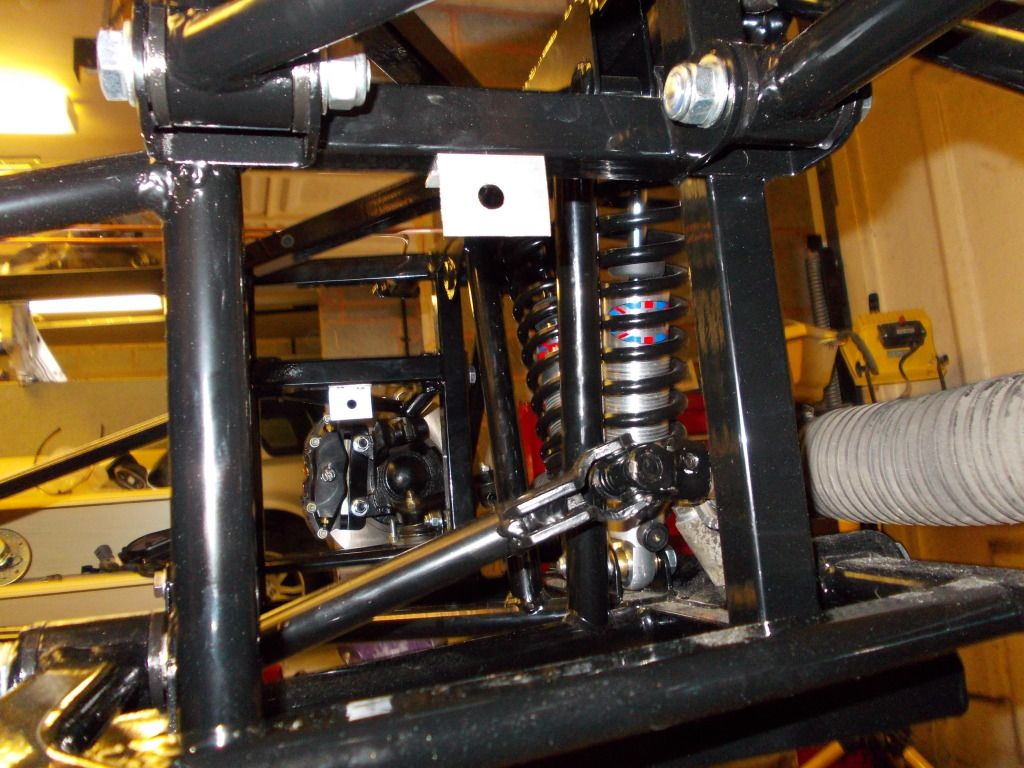
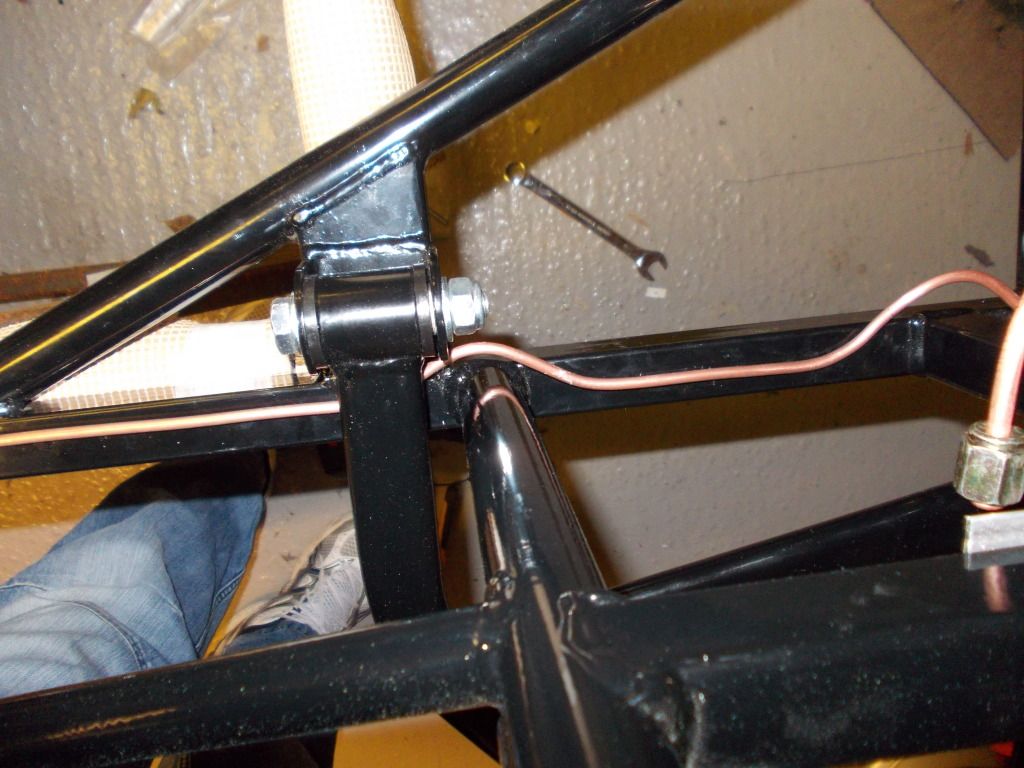
I made a couple of brackets to fix to the
chassis between the top wishbone fixing points for the braided hoses to fix
to. These were riveted to the chassis.
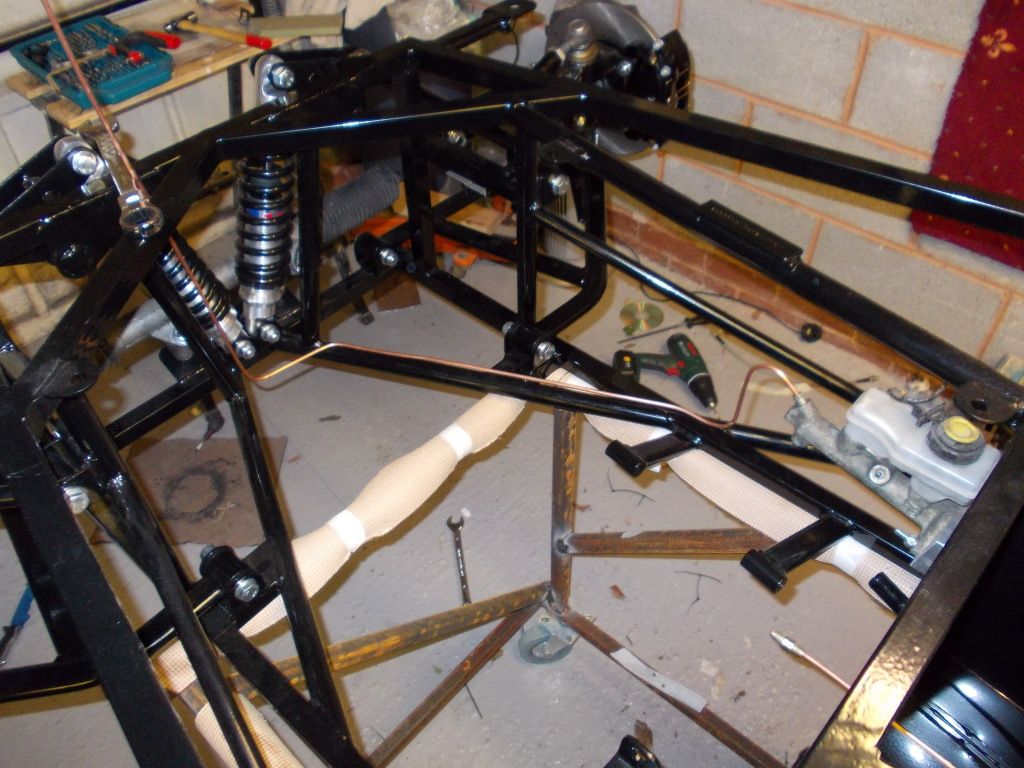
Once both routes were confirmed I started
bending the copper pipe. I purchased a
pipe bender from ebay for £7 which helped produce some neat bends. Once both pipes were bend, clip positions
were marked with masking tape, centre punched, drilled and riveted.
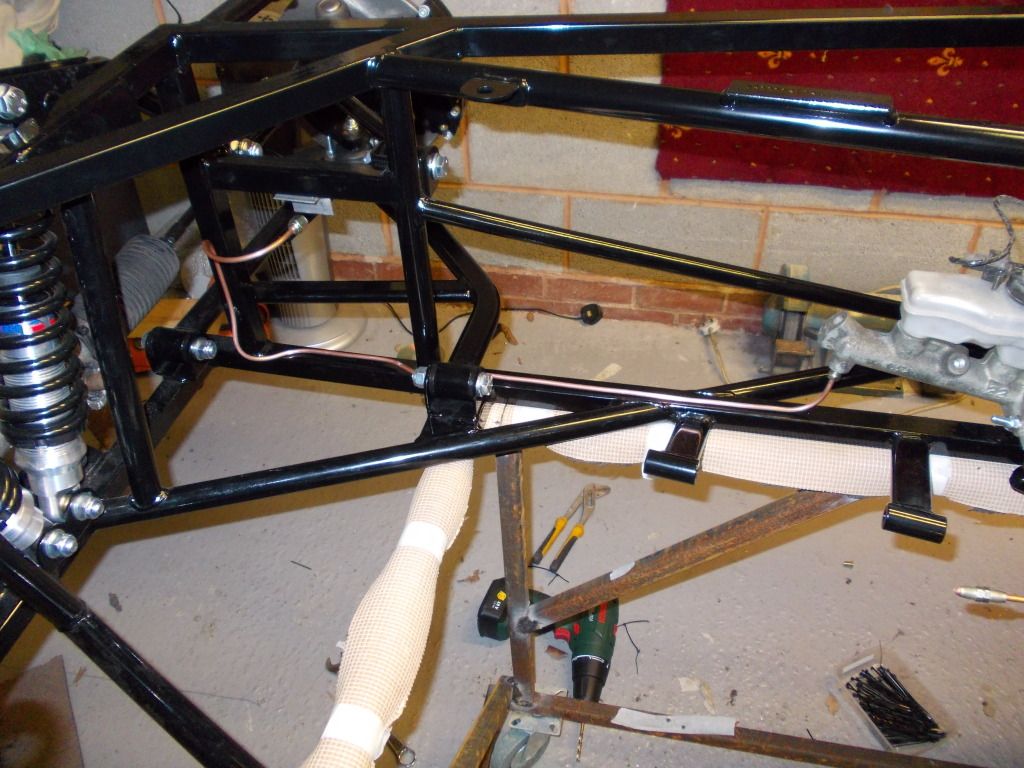
The brake pressure switch will be on the
rear brake pipe, as recommended by Danny at MK.
Still unsure of the route of the rear pipes…… the pipes in the kit are
either too long or too short for routes I have seen done on
Locostbuilders. More research needed.


Bracket for fixing brake tee. I have read about people failing IVA when using rivnuts and I didnt want to drill all the way through the chassis.

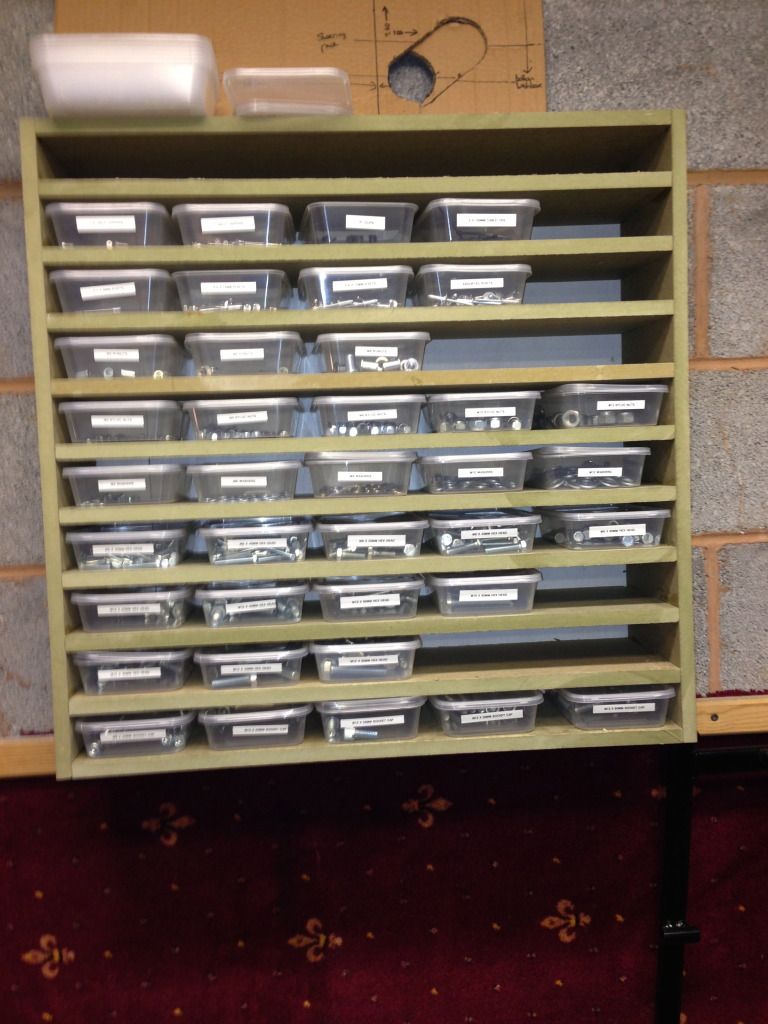
Shelf for takeaway pots with fixings!
No comments:
Post a Comment