The bolts I ordered for the engine cradle
arrived after a week of waiting but I had ordered the wrong ones. I had ordered extra fine 1.0mm pitch thread
when I need fine 1.25mm pitch thread.
Turns out I cant use a vernier gauge properly!! I found a small fastenings supplier in
Leicester so headed over to pick up 2no. M10 x 80mm x 1.25 pitch socket cap
bolts.
I fixed the cradle to the engine with these
new bolts and the long M10 x 250mm bolts for the lower mounts. I needed to grind a chamfer on this bolt and
hammer it through as the cradle didn’t quite line up.
To get the engine in I needed an engine
crane, which I didn’t have and didn’t want to pay for so I made “hoist” by
fixing a ladder to the garage door rails and supporting the engine with
rope. This was a three man operation,
two to lift and one to support with the rope.
Once high enough the weight could easily be supported and the engine
lowered in a very controlled manner, down on to the chassis. The second lower mount was again hammered
into position and the cradle secured with M12 bolts.
Before fitting the engine I fitted the propshaft. I cut a couple of spacers from the 25
x 50mm aluminium block I had and drilled some M12.5 holes. The propshaft bracket was then bolted in
position.
Also before I put the engine in, I fitted
the propshaft adapter. I used a decent
amount of blue Loctite and tightened the nut to 115nm which took a bit of
effort! This is a 2man operation, one tightening and one holding the prop adapter in the stilsons.
Also I applied adhesive grip tape to the
brake and clutch pedals. This was a free
sample from a skateboard company on eBay.


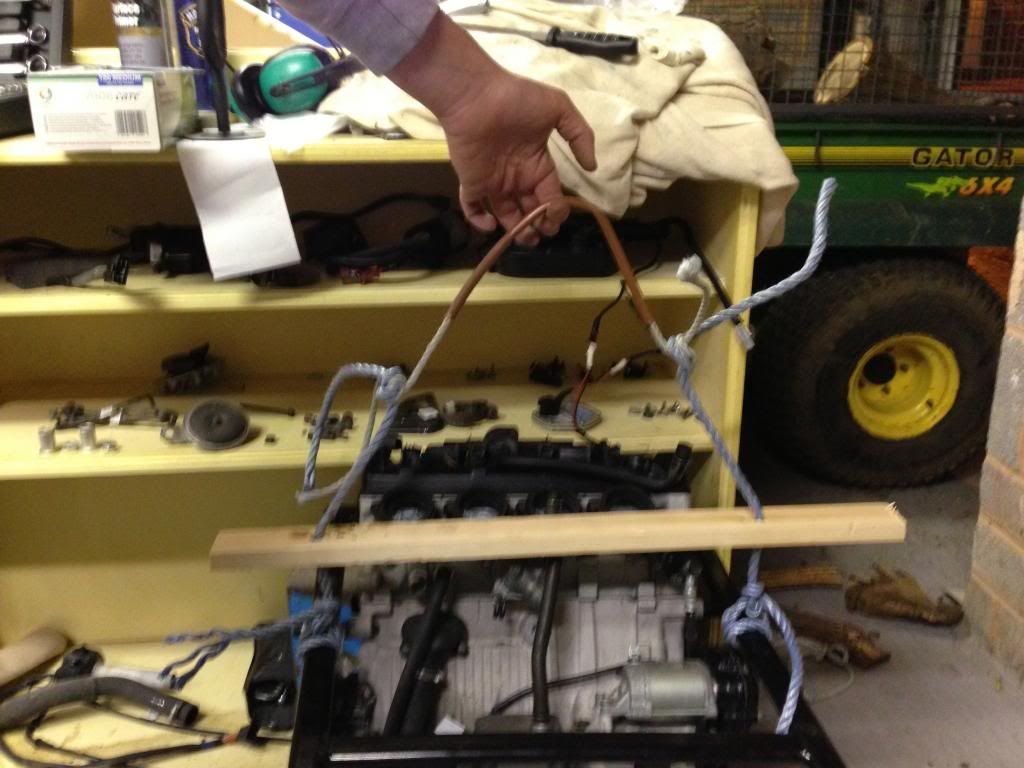
Rope + copper pipe "pulley"
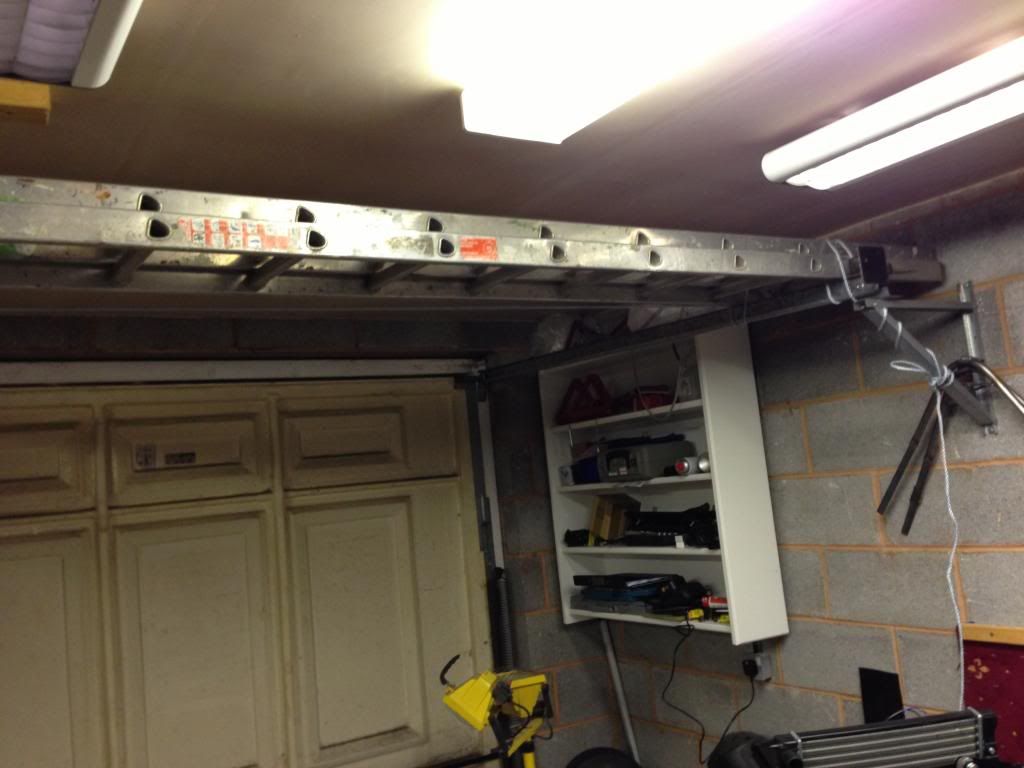
Ladder to support engine. It took my weight so will be fine for the engine!
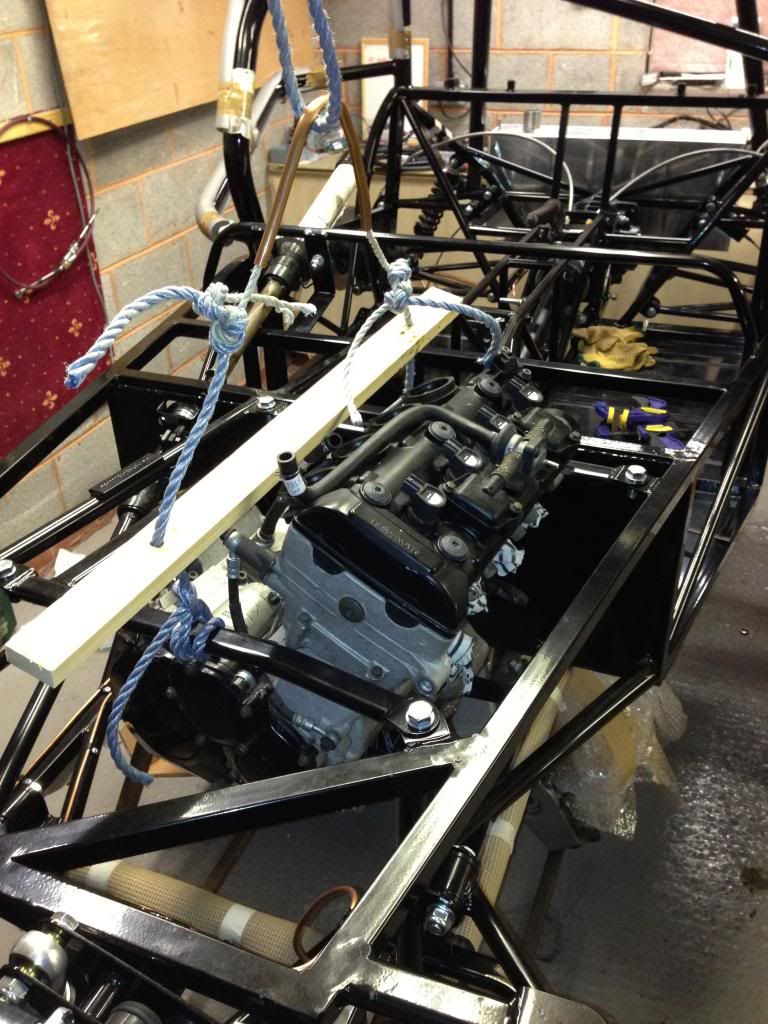
Engine in!

Skateboard grip tape on the brake and clutch pedals
No comments:
Post a Comment