I started the electrics by plugging in all
the connectors on the bike loom into the engine. After this
I was stuck again as I cant do anything on the MK loom without a drawing which I
am will waiting for.
Saturday, 15 December 2012

Friday, 14 December 2012
Fitting the sprocket adapter, propshaft and engine
The bolts I ordered for the engine cradle
arrived after a week of waiting but I had ordered the wrong ones. I had ordered extra fine 1.0mm pitch thread
when I need fine 1.25mm pitch thread.
Turns out I cant use a vernier gauge properly!! I found a small fastenings supplier in
Leicester so headed over to pick up 2no. M10 x 80mm x 1.25 pitch socket cap
bolts.
I fixed the cradle to the engine with these
new bolts and the long M10 x 250mm bolts for the lower mounts. I needed to grind a chamfer on this bolt and
hammer it through as the cradle didn’t quite line up.
To get the engine in I needed an engine
crane, which I didn’t have and didn’t want to pay for so I made “hoist” by
fixing a ladder to the garage door rails and supporting the engine with
rope. This was a three man operation,
two to lift and one to support with the rope.
Once high enough the weight could easily be supported and the engine
lowered in a very controlled manner, down on to the chassis. The second lower mount was again hammered
into position and the cradle secured with M12 bolts.
Before fitting the engine I fitted the propshaft. I cut a couple of spacers from the 25
x 50mm aluminium block I had and drilled some M12.5 holes. The propshaft bracket was then bolted in
position.
Also before I put the engine in, I fitted
the propshaft adapter. I used a decent
amount of blue Loctite and tightened the nut to 115nm which took a bit of
effort! This is a 2man operation, one tightening and one holding the prop adapter in the stilsons.
Also I applied adhesive grip tape to the
brake and clutch pedals. This was a free
sample from a skateboard company on eBay.


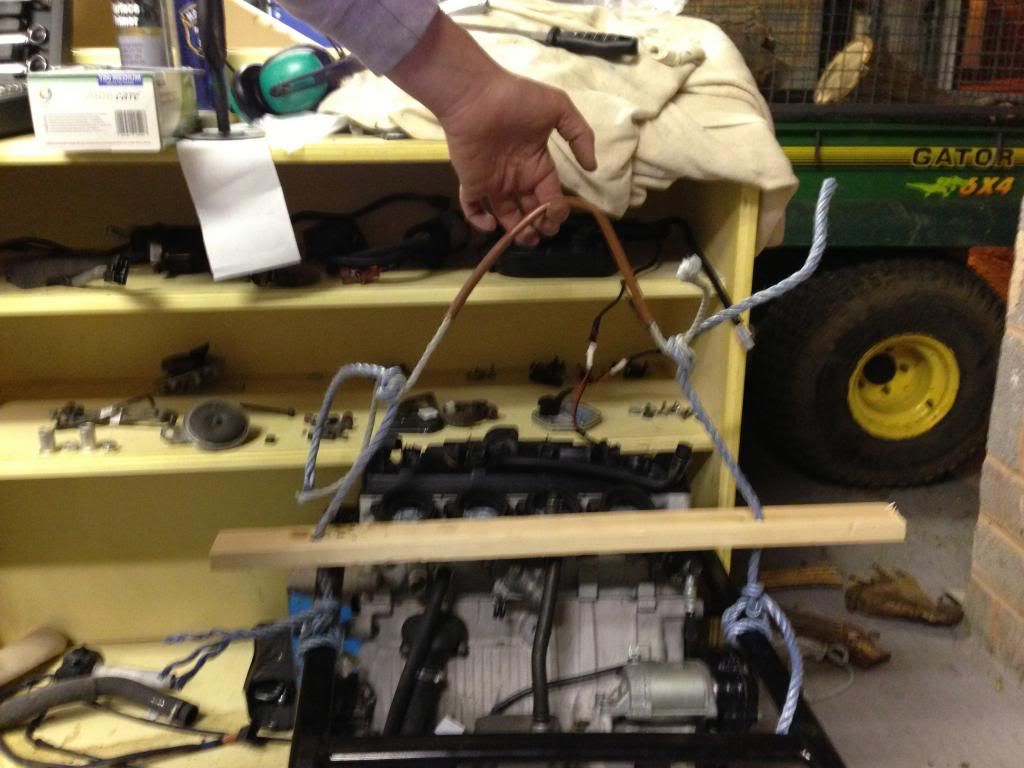
Rope + copper pipe "pulley"
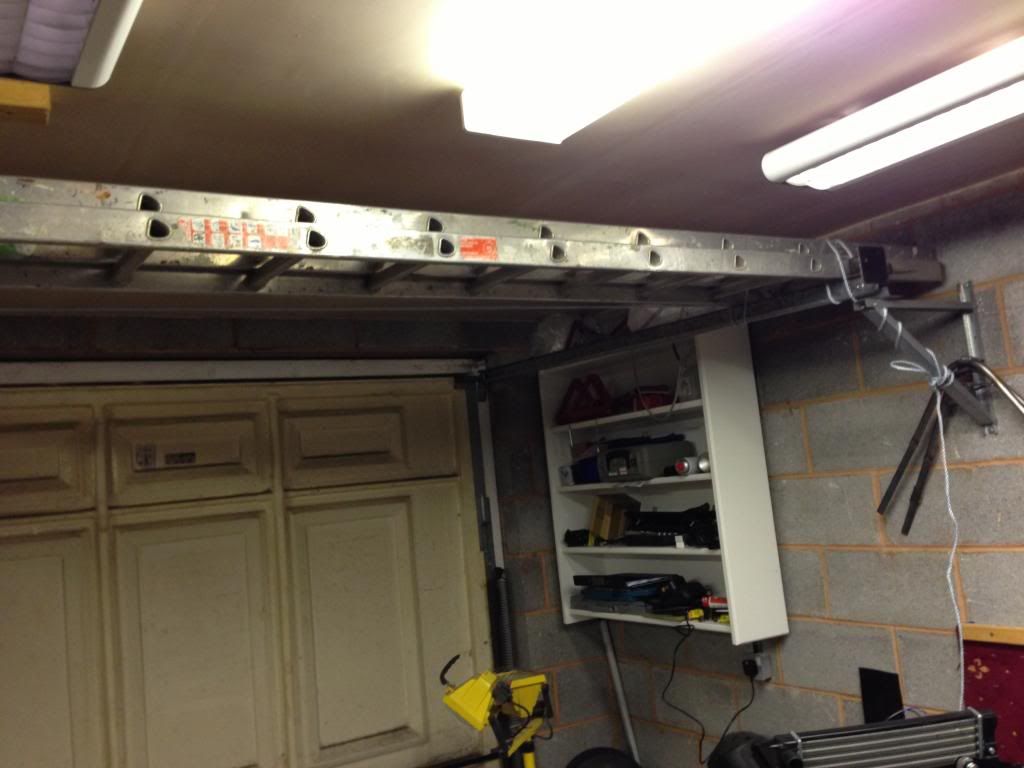
Ladder to support engine. It took my weight so will be fine for the engine!
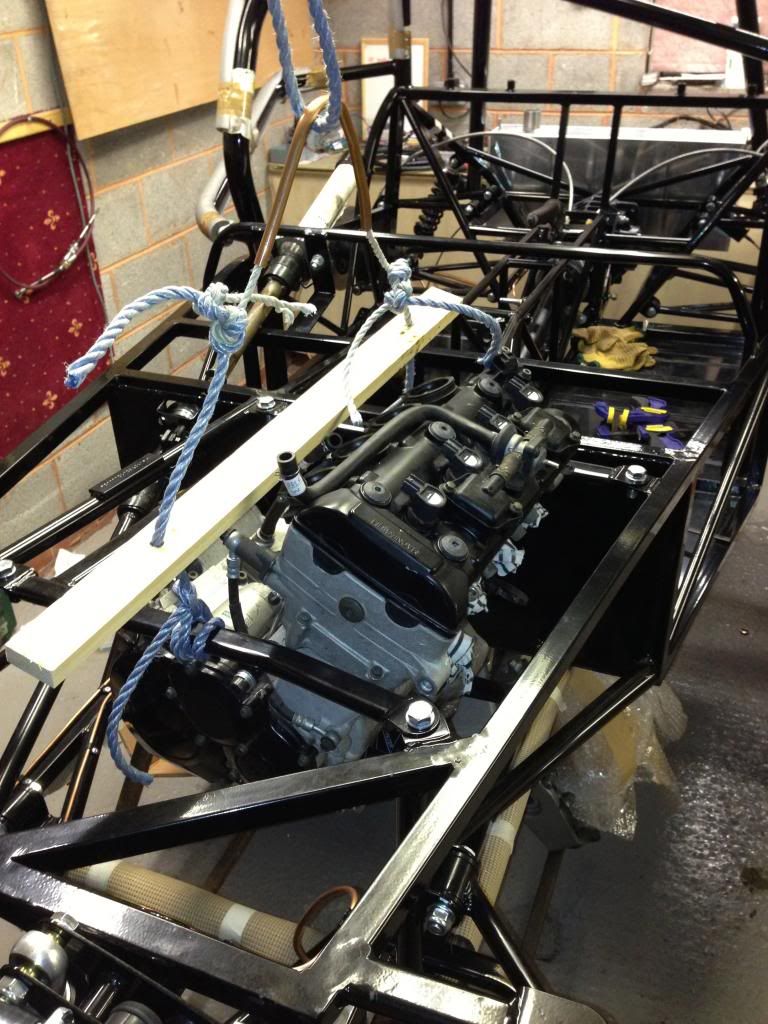
Engine in!

Skateboard grip tape on the brake and clutch pedals
Thursday, 13 December 2012
Edge trimming seats
I bought 17m of ET57 edge trim from Seals + Direct so I made a start by edge trimming the seats. This edge trim was the best out of a number
of samples from CBS due to its flexibility and ability to be installed in tight
corners.
I have trimmed all the holes where the
harness will pass through the seats as this is an IVA requirement. I have also trimmed all the way around the
seats, again for the IVA. This trim
presses on and holds itself in place quire firmly but I guess time will
tell. I may add a bead of glue to the
back to help keep it in place.


Tuesday, 11 December 2012
Reverse Gear, relay mounting panel, fuel pipe
Tonight I installed the reverse gear, which
fits between the propshaft and the diff.
When trial fitting it appeared that the recesses in the gear were
slightly too small for both the propshaft and diff which meant I had to file a
small amount from the circumference of both.
Once the gear fitted I could fix together
with the M10 x 20 bolts (1mm pitch).
This took a while to get lined up but I got all the bolts in
eventually. I will replace these 20mm
bolts with 30mm ones before fixing the tunnel sides on as they are a bit short
as they are and I have not installed washers.
I also made the aluminium panel for mounting fuses, relays etc. under the scuttle. This was a 600mm x 300mm x 1.2mm aluminium sheet, cut and bent to fit under the scuttle. A hole was cut in this for cables to pass through.

Panel under scuttle
I used some 10mm micro bore copper for the fuel pipe. This was mounted in the tunnel with P clips, ensuring enough clearance from the reverse gear. The connection from the copper to the fuel pump is flexible rubber (marked up as safe for fuel for IVA) again P clipped to the chassis.

Fuel pipe installed in tunnel

Aluminium bracket to hold fuel pipe
Subscribe to:
Posts (Atom)