Next it was time for another test drive. Videos are below. Still not used to the clutch bite point or clutchless gear changes but it was the first real drive at full throttle. Feels pretty quick!
Sunday, 25 August 2013
Test drive again
First job was to fit the cycle wings we painted yesterday, second job was to top up the oil.
Next it was time for another test drive. Videos are below. Still not used to the clutch bite point or clutchless gear changes but it was the first real drive at full throttle. Feels pretty quick!
Next it was time for another test drive. Videos are below. Still not used to the clutch bite point or clutchless gear changes but it was the first real drive at full throttle. Feels pretty quick!

Saturday, 24 August 2013
Fog light switch, cycle wing brackets + other small jobs
Another succesful day in the garage today. Had a couple of friends over which enabled us to get loads done. First job of the day was to install the Cartek fog light switch so to meet the latest IVA requirements for the fog light. New regs require the fog light to turn off when the dipped light are turned off and not turn back on when the dipped are turned on.


The Cartek device replaces the fog relay I had previously installed It requires a feed from main and dipped relays and then connects to the switch and the +12v to the fog light. Very simple to fit and works just as described.
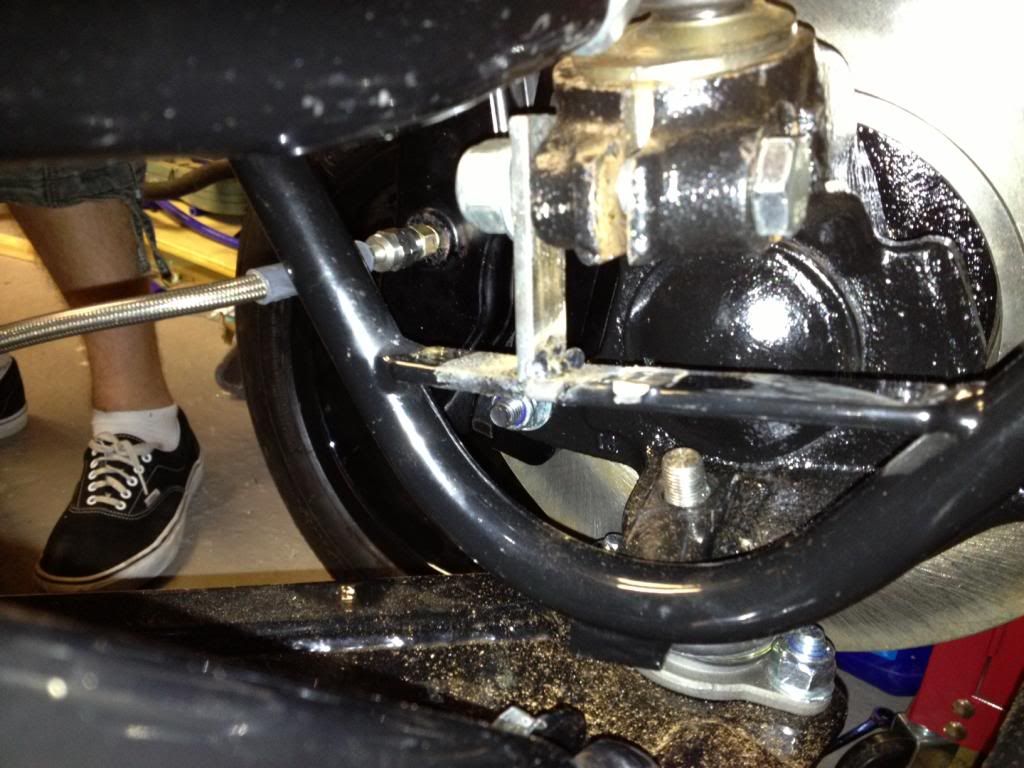
Next job was to rebuild the front suspension - I had stripped this down to paint the front uprights as they were looking a little rusty and to also replace the boots on the bottom ball joints as they had started to perish. I bought a pair of large universal ball joint boots from eBay and swapped them over. I also swapped the M8 bolts to M10 as I put the wrong size in originally.
Next job was the cycle wings. As mentioned previously I messed this up as i installed the bracket in the pinch point where the pinch bolt tightened on the mushrooms. Turns out I mixed up left and right brackets. The simplest solution was to cut this bracket off and re-weld a new one on. I installed the M12 x 80mm pinch bolts and measured the height from the bolt to the cycle wing. A new bracket was cut from 4 x 20mm steel and welded in position. The welding made a bit of a mess of the surrounding powder coating so they were cleaned with a wire brush, primed and painted gloss black.
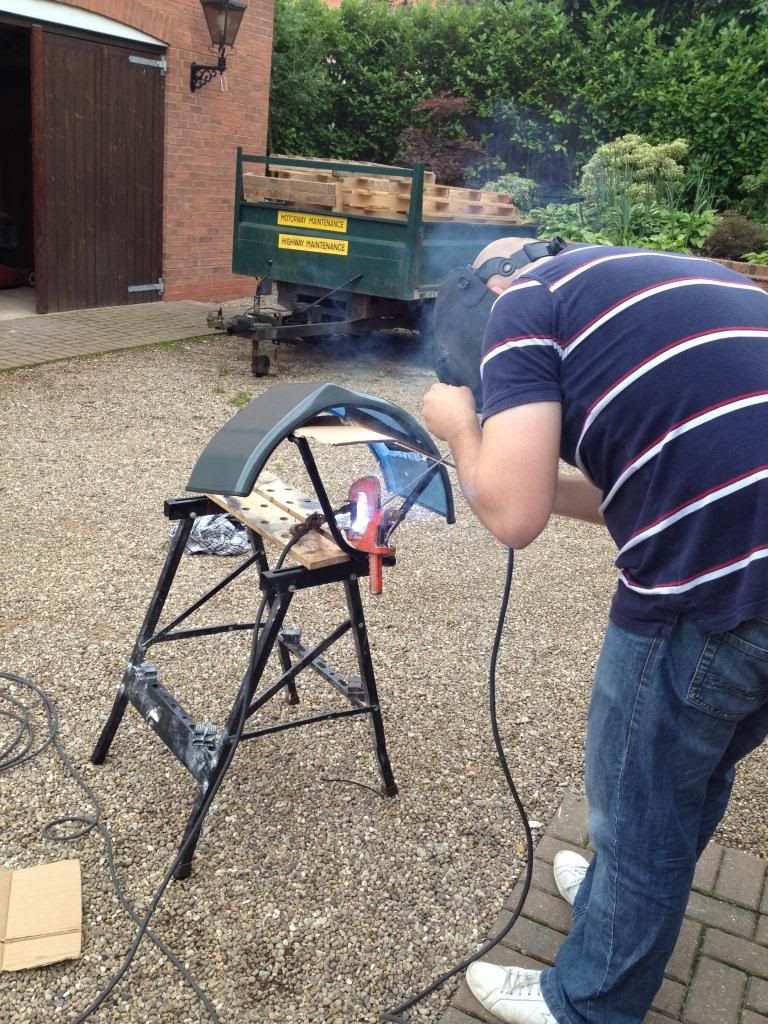
Other jobs included painting the exhaust bracket and tightening coolant hose clips that were loose.
Saturday, 17 August 2013
Trip to MK - exhaust, emissions, geometry, IVA check
Today I hired a trailer and took the car up to MK. First job was to sort the exhaust as there was only 60mm ground clearance to the silencer and it was blowing where it joins the engine. Danny chopped the manifold in half and rewelded it at a different angle. Now the bottom of the silencer is above bottom of chassis so there should be at least 105mm ground clearance. The blowing was caused because I hadnt tightened the bolts fully so Danny replaced them with new ones which solved the issue.
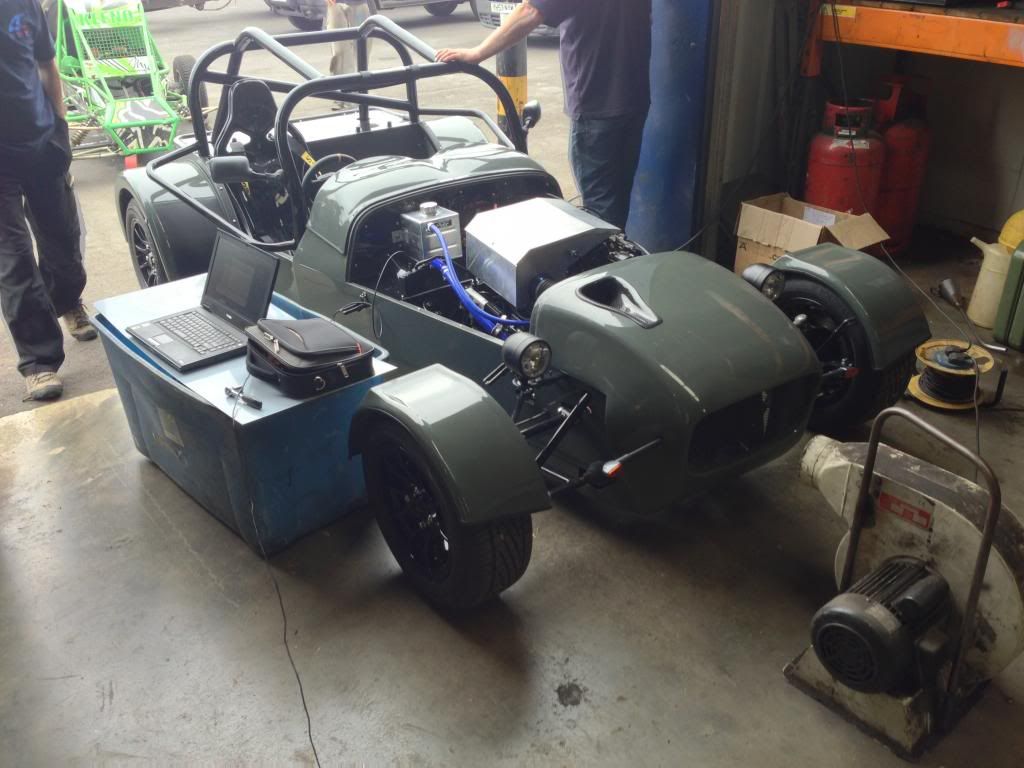
Next job was the emissions. Steve fitted my power commander and hooked it up to his laptop. It only took about 3 attempts to get the lambda and the CO readings within the limits at idle and 3k rpm.
Next job was to sort the speedo healer. I had installed the speed sensor some months ago but it wasnt working. Turns out it wasnt close enough to the prop adapter bolts. Steve adjusted it slightly and it started working. Once working it was programmed and tested until it was reading accurately.
Geometry next. Danny checked rear camber which was bang on. Front needed some adjustment. Undoing the mushrooms was a slight issue as I had installed my cycle wings incorrectly. I had wedged the bracket in the gap where the pinch bolts tighten instead of having it to the side. Turns out I have got the left and right brackets mixed up. Once the cycle wings were removed the upper ball joints were adjusted until there was 1.5 degrees of camber.
Final jobs were tracking and a quick IVA check which a couple of things were spotted, nothing major though!
All in all, a very successful day at MK.
On the way home I wrote up a list of jobs that still need to be completed - approximately 20 small items to resolve. I need to get these done in the next 2 weeks as my IVA is now confirmed for 4th of September!

Next job was the emissions. Steve fitted my power commander and hooked it up to his laptop. It only took about 3 attempts to get the lambda and the CO readings within the limits at idle and 3k rpm.
Next job was to sort the speedo healer. I had installed the speed sensor some months ago but it wasnt working. Turns out it wasnt close enough to the prop adapter bolts. Steve adjusted it slightly and it started working. Once working it was programmed and tested until it was reading accurately.
Geometry next. Danny checked rear camber which was bang on. Front needed some adjustment. Undoing the mushrooms was a slight issue as I had installed my cycle wings incorrectly. I had wedged the bracket in the gap where the pinch bolts tighten instead of having it to the side. Turns out I have got the left and right brackets mixed up. Once the cycle wings were removed the upper ball joints were adjusted until there was 1.5 degrees of camber.
Final jobs were tracking and a quick IVA check which a couple of things were spotted, nothing major though!
All in all, a very successful day at MK.
On the way home I wrote up a list of jobs that still need to be completed - approximately 20 small items to resolve. I need to get these done in the next 2 weeks as my IVA is now confirmed for 4th of September!
Saturday, 10 August 2013
Wing mirrors, exhaust bracket and ride height (front)
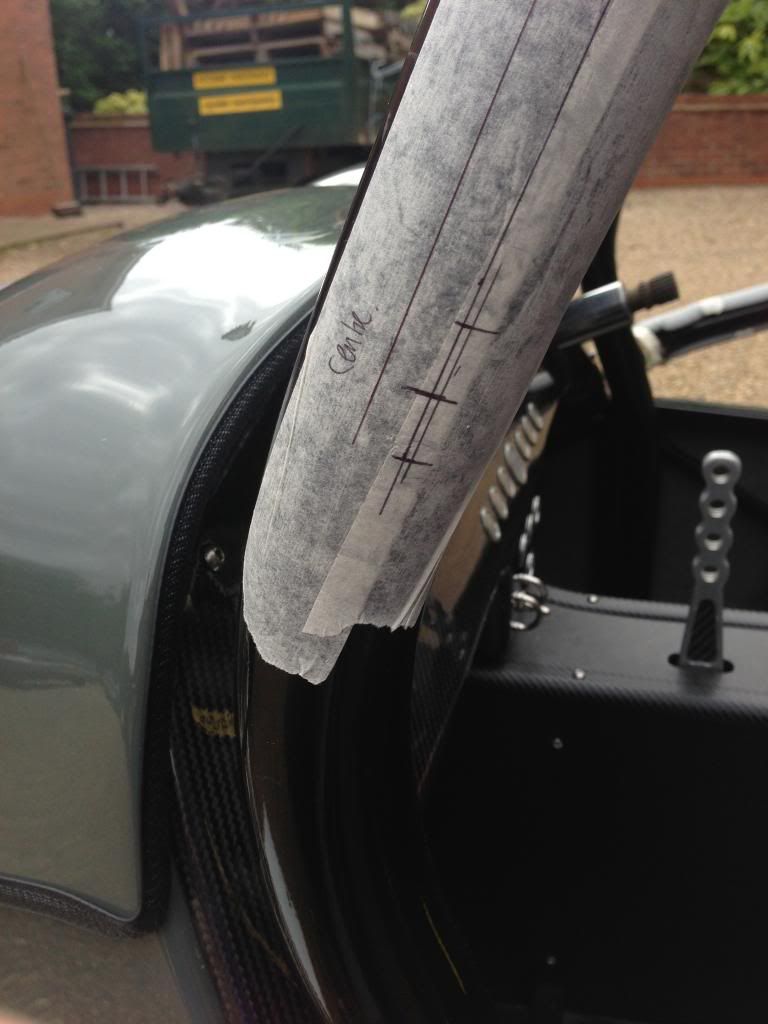
First job today was the wind mirrors. I marked the roll cage just above the bend and slightly to the rear from central. The holes were drilled at M5 and tapped to M6. The brackets were then fixed with stainless dome bolts with some loctite applied.


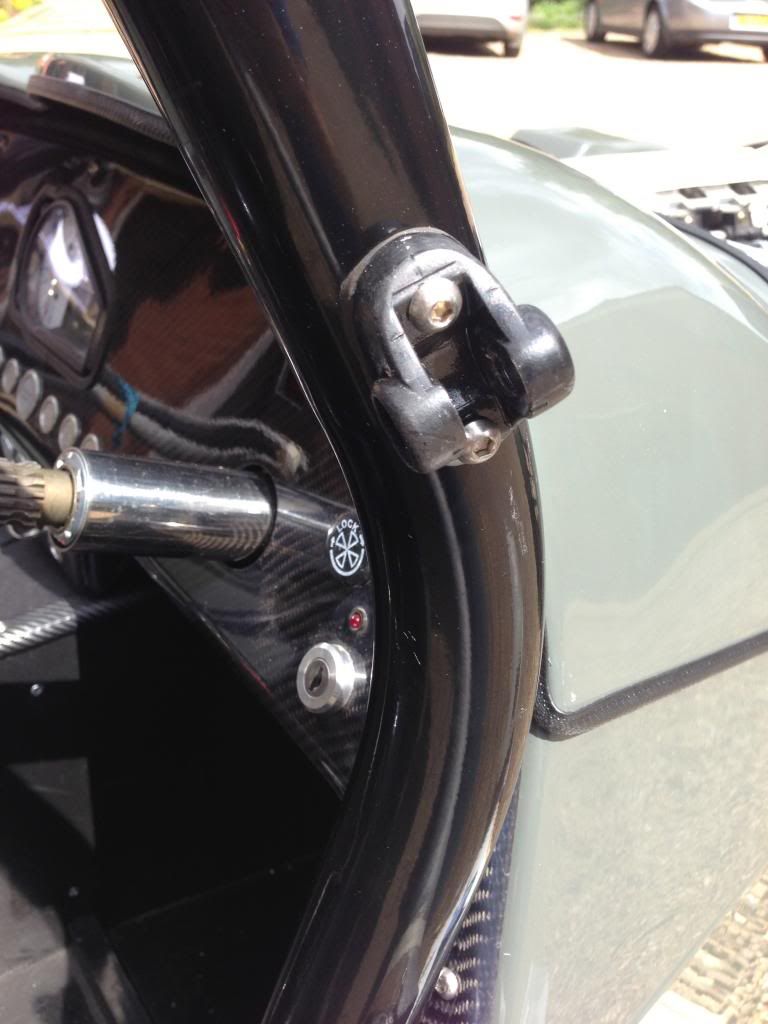
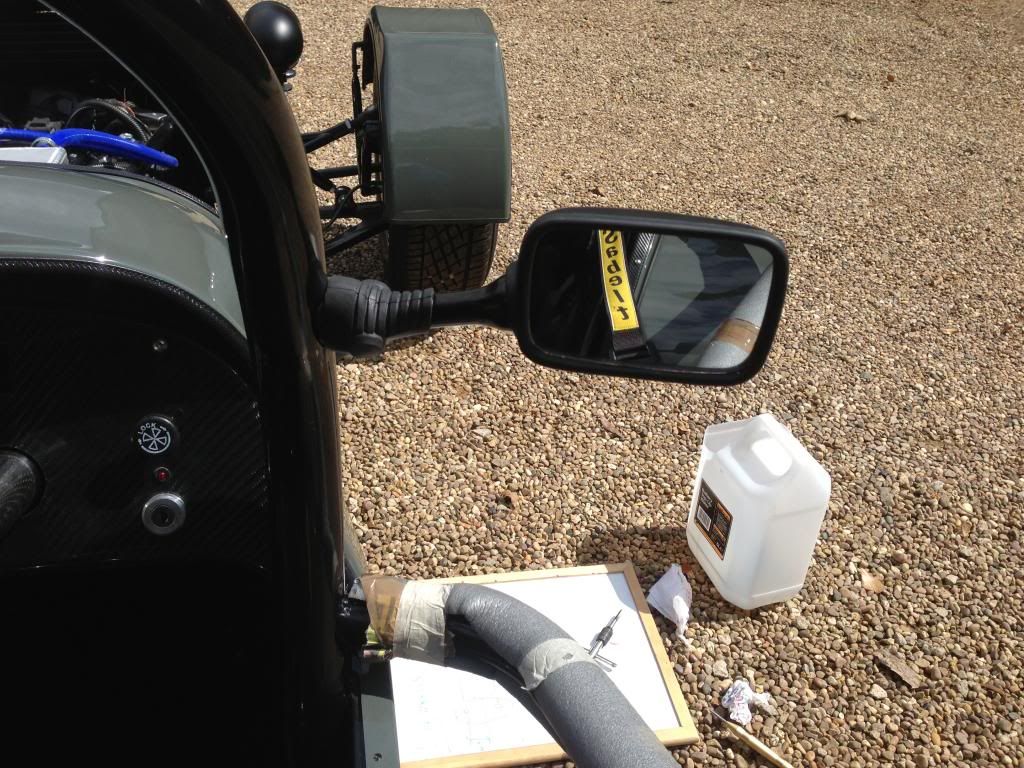
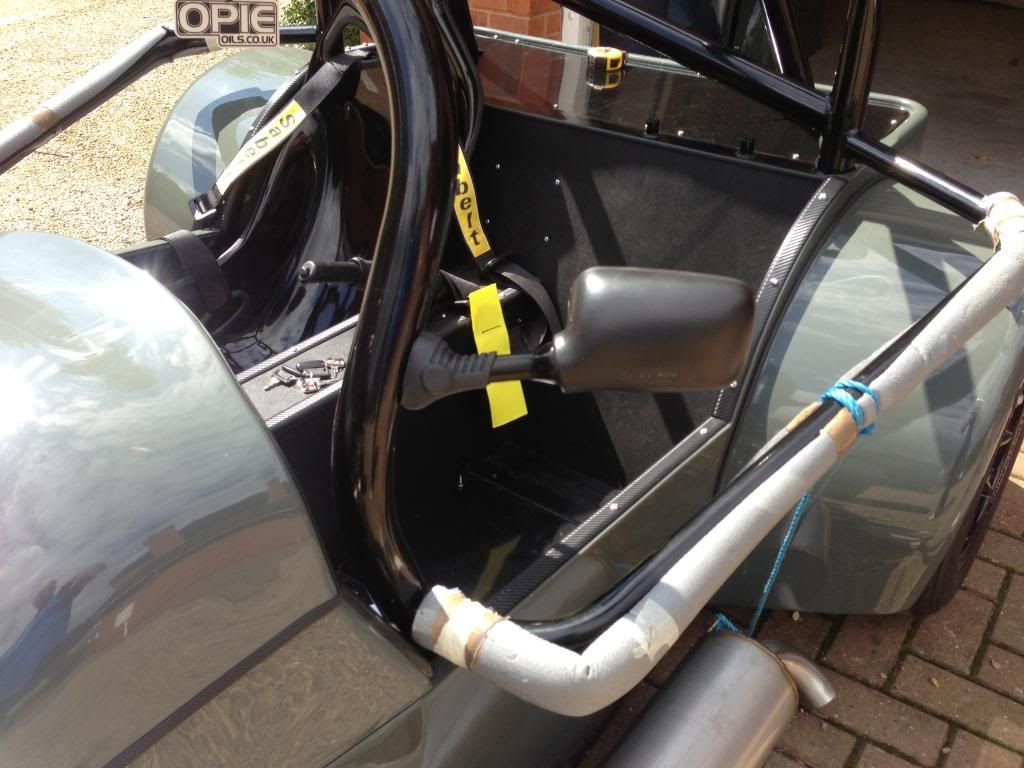
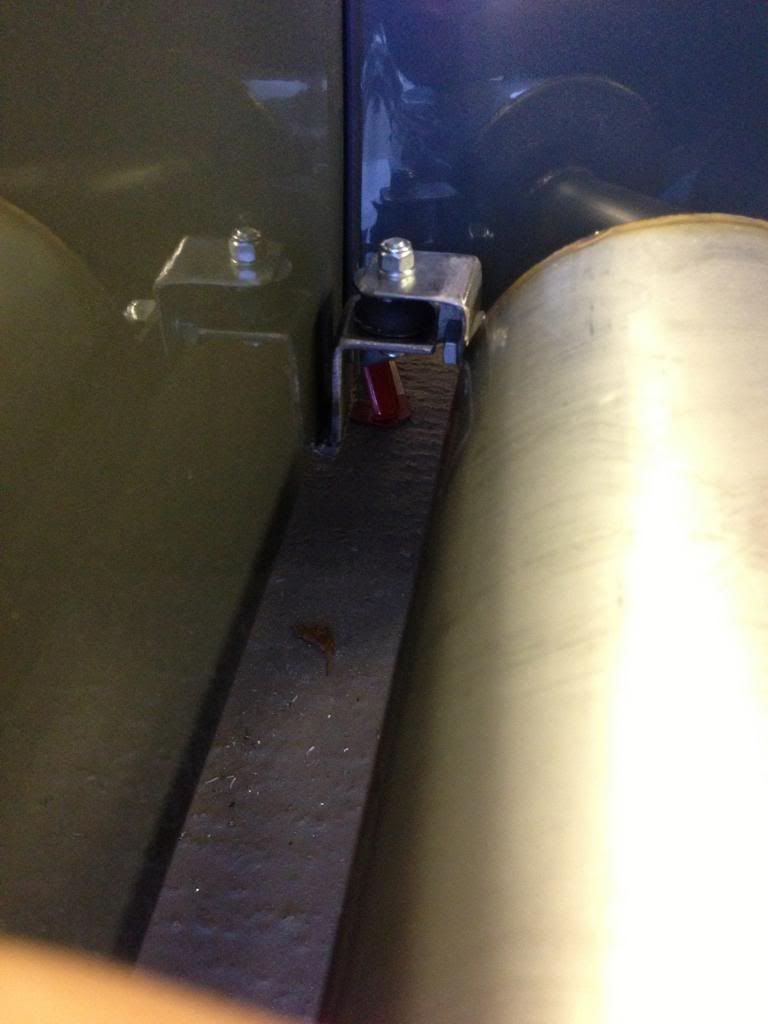
Next was the exhaust bracket. To begin with I cut a piece of steel square section and made a 90 degree angle bracket which would bolt to the bracket on the silencer. This angle bracket will then fix to an exhaust bobbin.
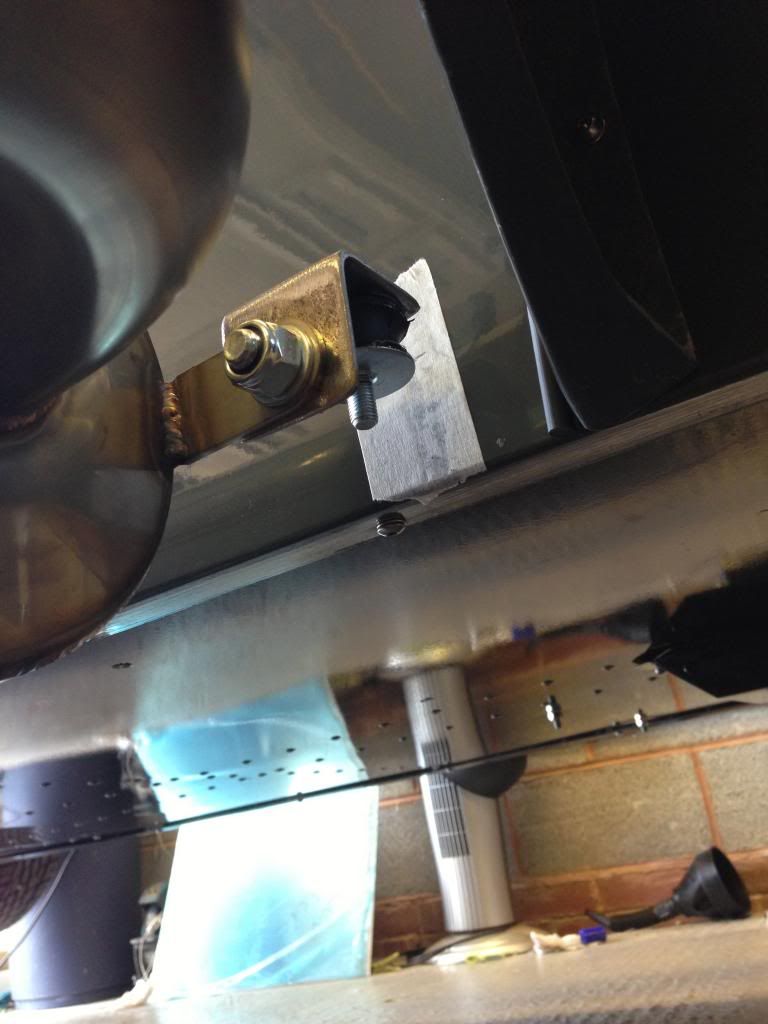
I then welded another angle piece to some flat steel - the idea being that the bracket mounts to the floor so I dont have to cut through the GRP.
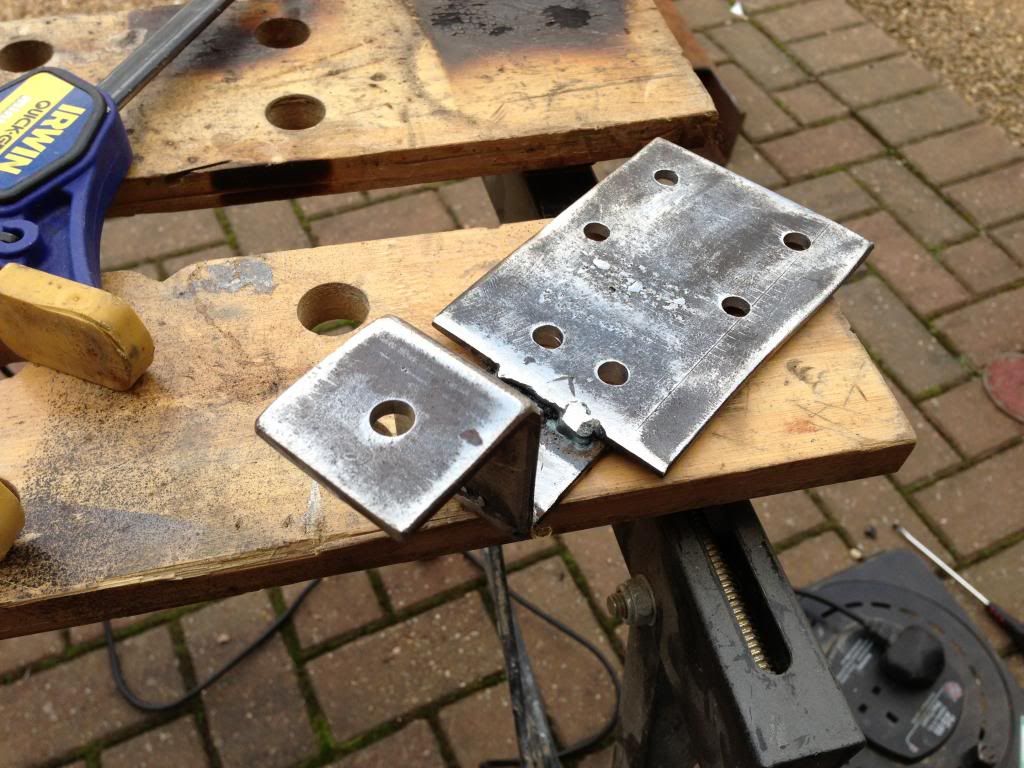
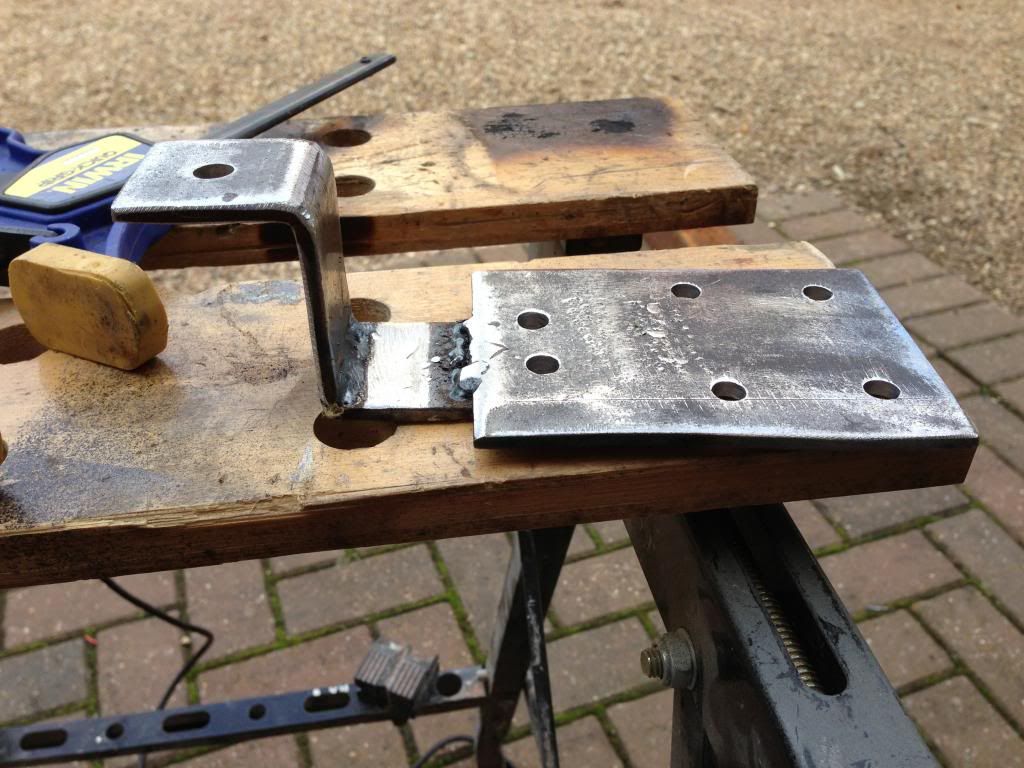
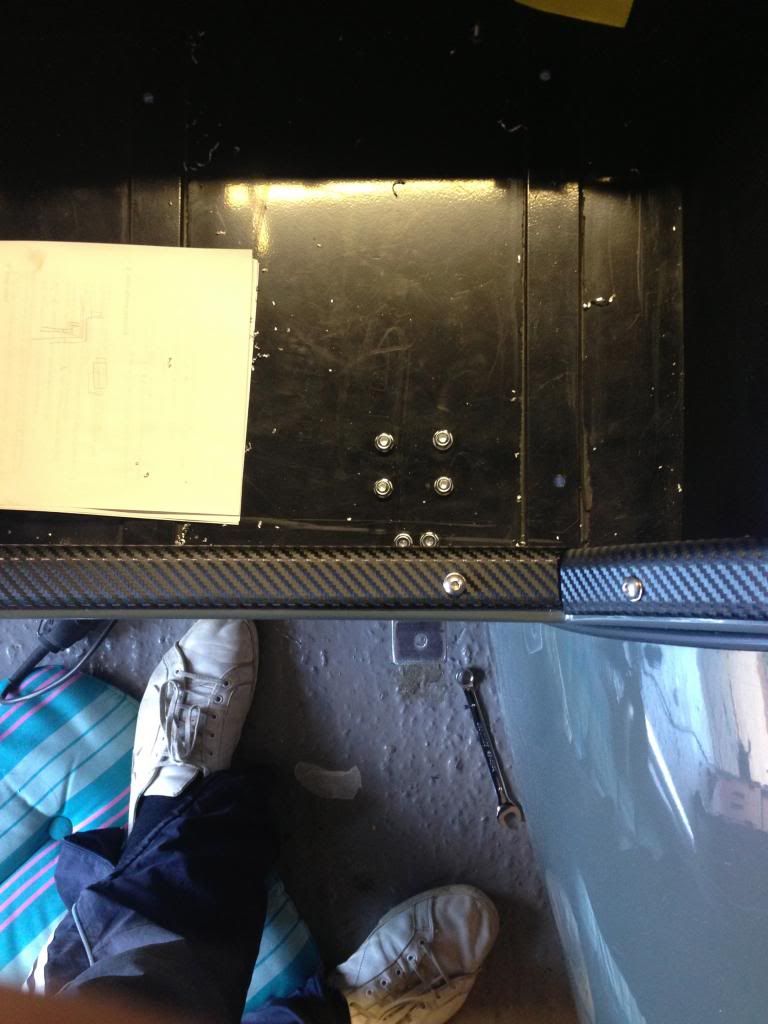
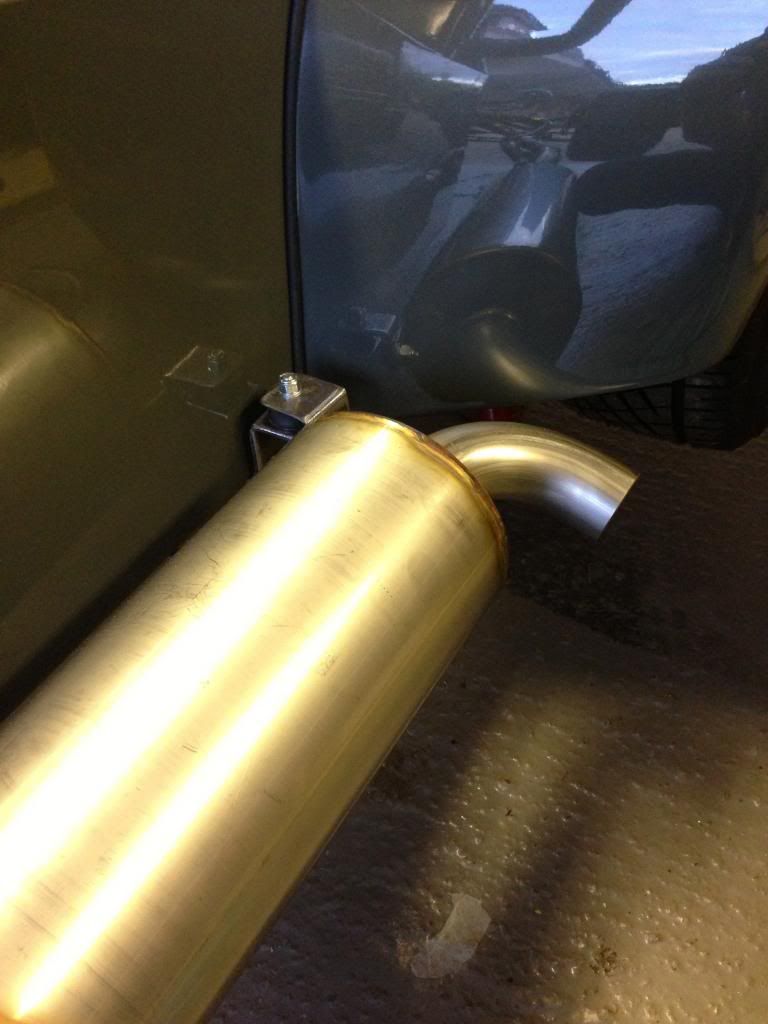
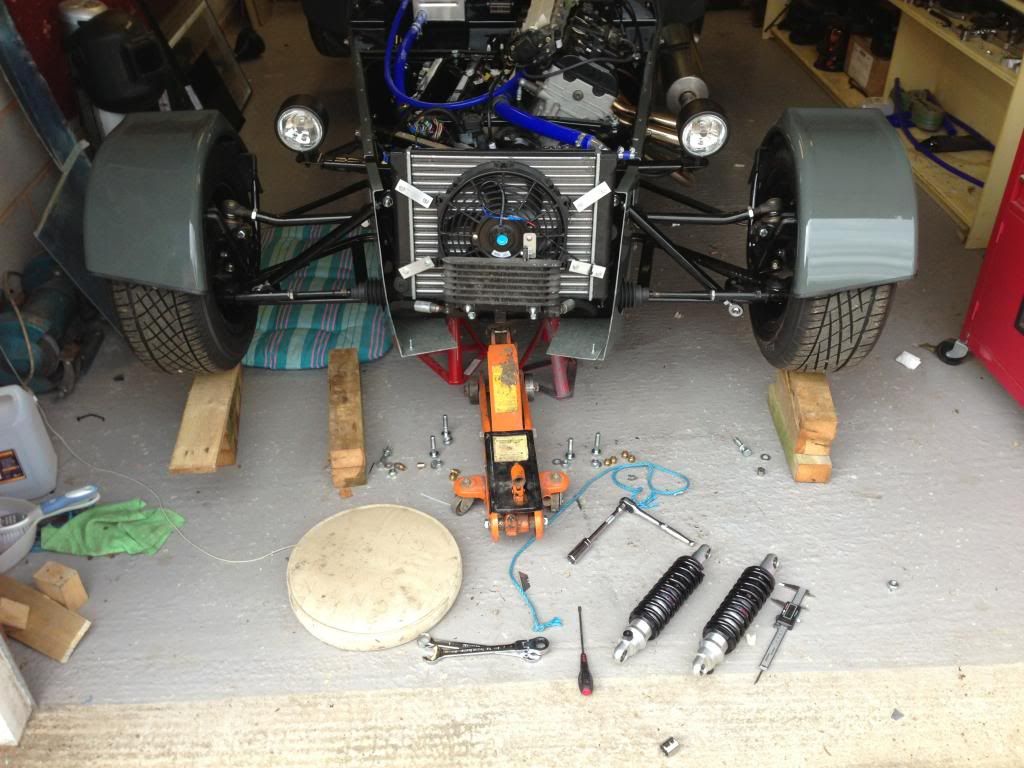
Final job of the day was to adjust the ride height at the front. Currently the ride height was about 80mm when it should be about 105mm. I tried to adjust the springs when on the car but because of the radiator I couldn't get in. I managed to adjust about 10mm by extending each of the rose joints on the push rods but it still wasn't enough so I removed the shocks. I then made a C spanner from a piece of steel angle and adjusted the shocks by about 15mm.
When I put the shocks back on the car and lowered it to the ground the ride height was 110mm. This is slightly high but it will be fine until after the IVA.
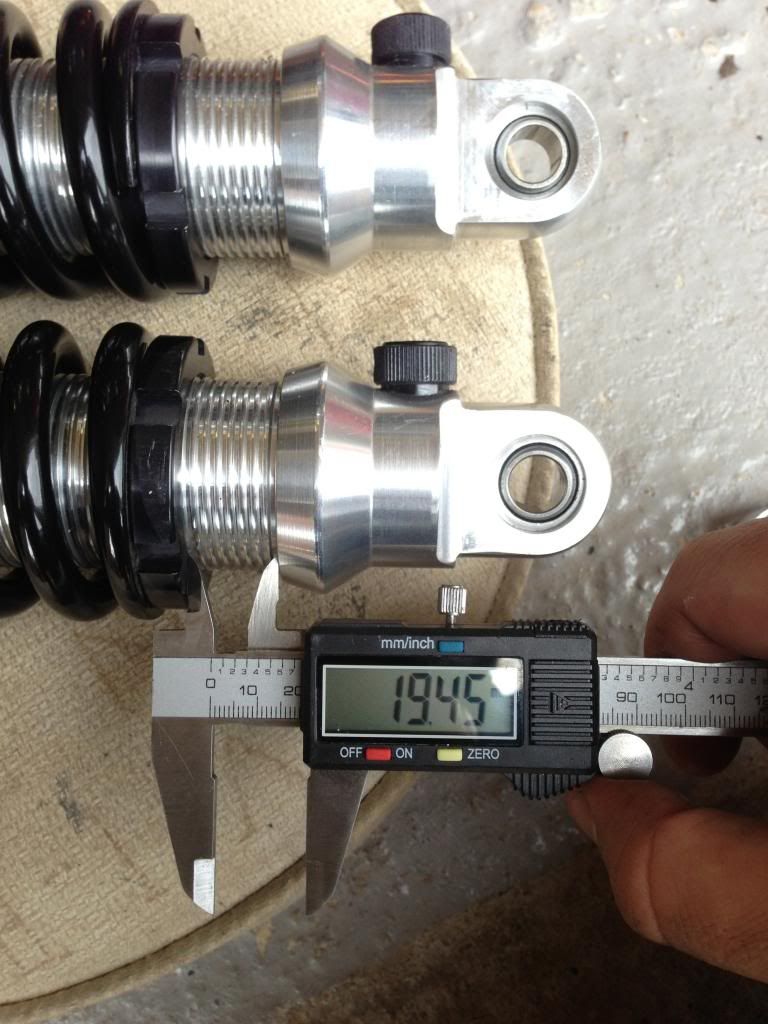
This was increased to about 35mm
Thursday, 8 August 2013
Aero screen
Tonight I started work on the aero screen. I placed in position on the scuttle and noticed the edge near the bonnet needed trimming. I marked with masking tape so it was parallel to the end of the scuttle and sanded away the excess with the dremel. Next I applied small edge trim to all the edges - this is needed to cover sharp edges in the interior and also tidy up the other edges where it sits on the scuttle.
I haven't decided whether to rivet this to the scuttle or sikaflex it.
Wednesday, 7 August 2013
Fixing handbrake cables
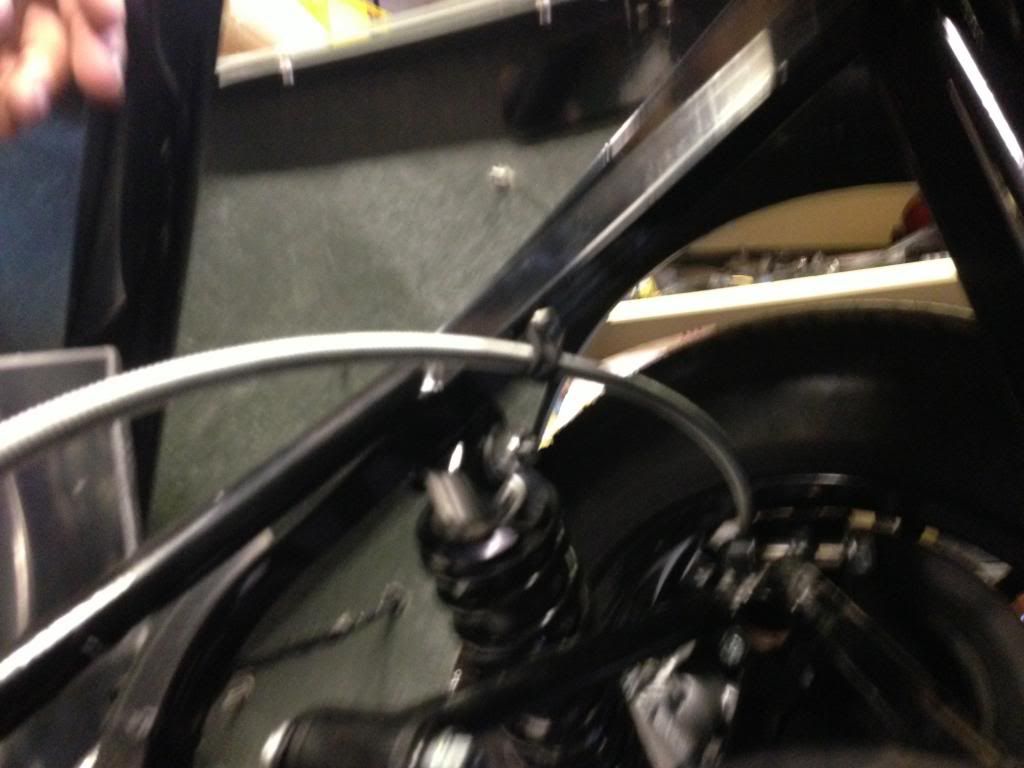
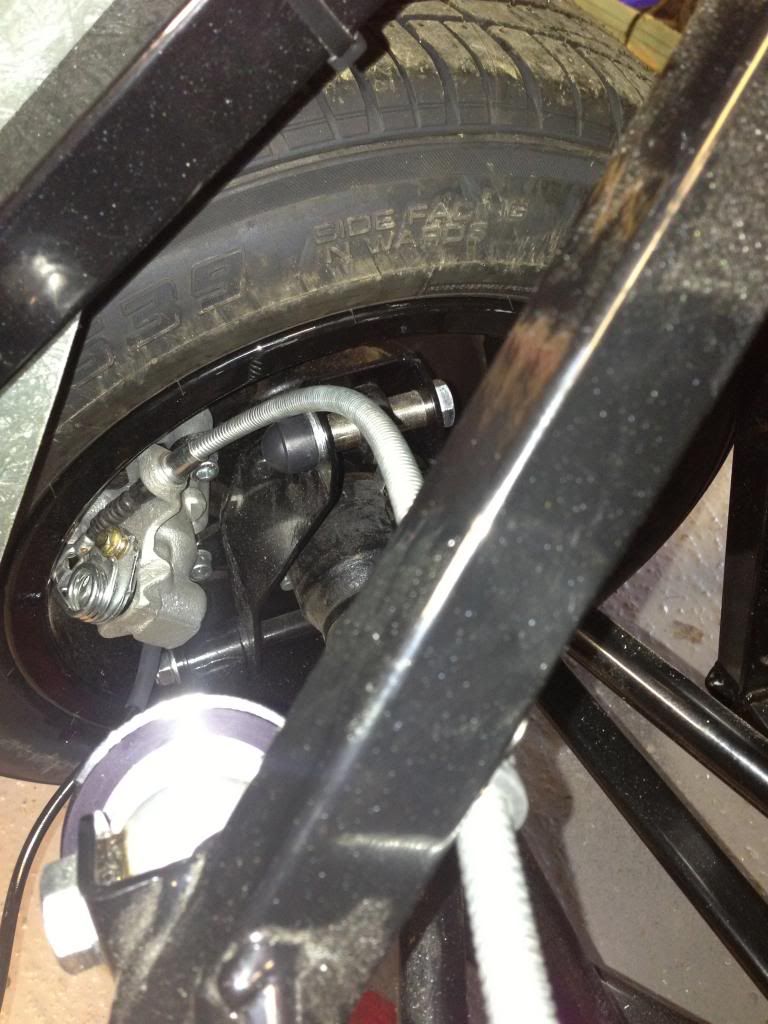
Finally fixed the handbrake cables tonight. I got some 10mm P clips and fixed the cables behind the diagonal bracing at the top of the shock absorber. Although the cable is still close to the wheel, the rubber of the P clips stops the cable sliding though so it should never touch.



Sunday, 4 August 2013
Electric issues + powder coated bits
I got the under dash panels and the reverse motor cover back from the powder coaters on Friday. I installed the reverse motor cover with the 4no stainless dome bolts.


Next jobs were to sort a couple of electric issues. The side light telltale was being temperamental and going off when the dash flexed too much. I stripped the bulkhead, scuttle and dash down to discover I hadn't plugged the 15 pin connector in all the way resulting in a poor connection. Glad this was an easy fix.
Next job was to wire the +12v feed for the dipped lights through the always on side of the main savage switch. I needed to do this so that when the main beam is turned on, the dipped light turns off. This is because the H4 halogen bulbs in the dominator lights aren't meant to be on together - they would get too hot and shorten the lifespan of the lights.

Also I installed a small piece of aluminium angle, carbon wrapped, to the top of the tunnel behind the dash. This is so give some support at the bottom so when buttons are pressed the dash doesn't flex.

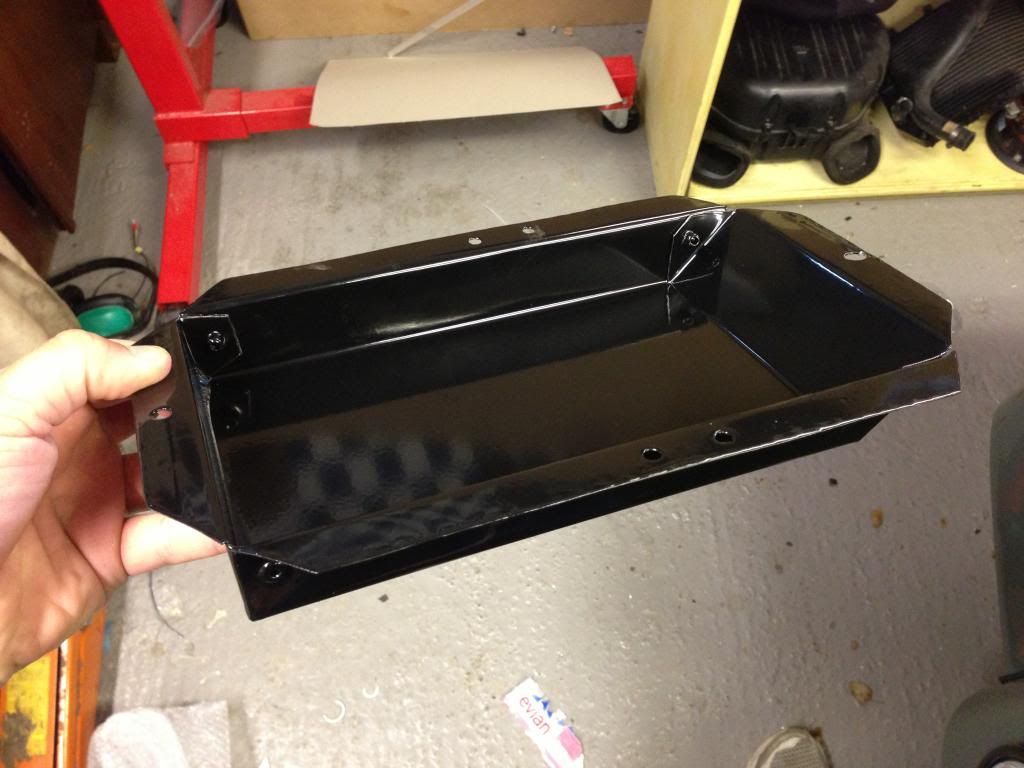


Powder coated under dash panel in position
Next jobs were to sort a couple of electric issues. The side light telltale was being temperamental and going off when the dash flexed too much. I stripped the bulkhead, scuttle and dash down to discover I hadn't plugged the 15 pin connector in all the way resulting in a poor connection. Glad this was an easy fix.
Next job was to wire the +12v feed for the dipped lights through the always on side of the main savage switch. I needed to do this so that when the main beam is turned on, the dipped light turns off. This is because the H4 halogen bulbs in the dominator lights aren't meant to be on together - they would get too hot and shorten the lifespan of the lights.
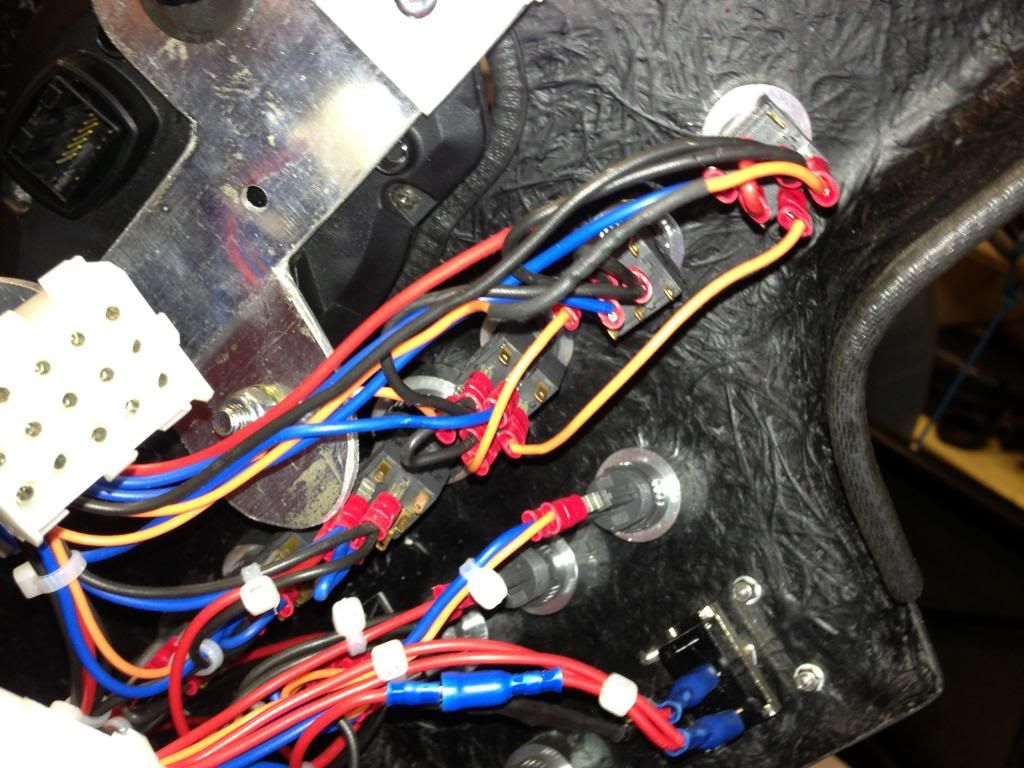
Also I installed a small piece of aluminium angle, carbon wrapped, to the top of the tunnel behind the dash. This is so give some support at the bottom so when buttons are pressed the dash doesn't flex.

Subscribe to:
Posts (Atom)