Sunday, 5 May 2013

Top tunnel panel


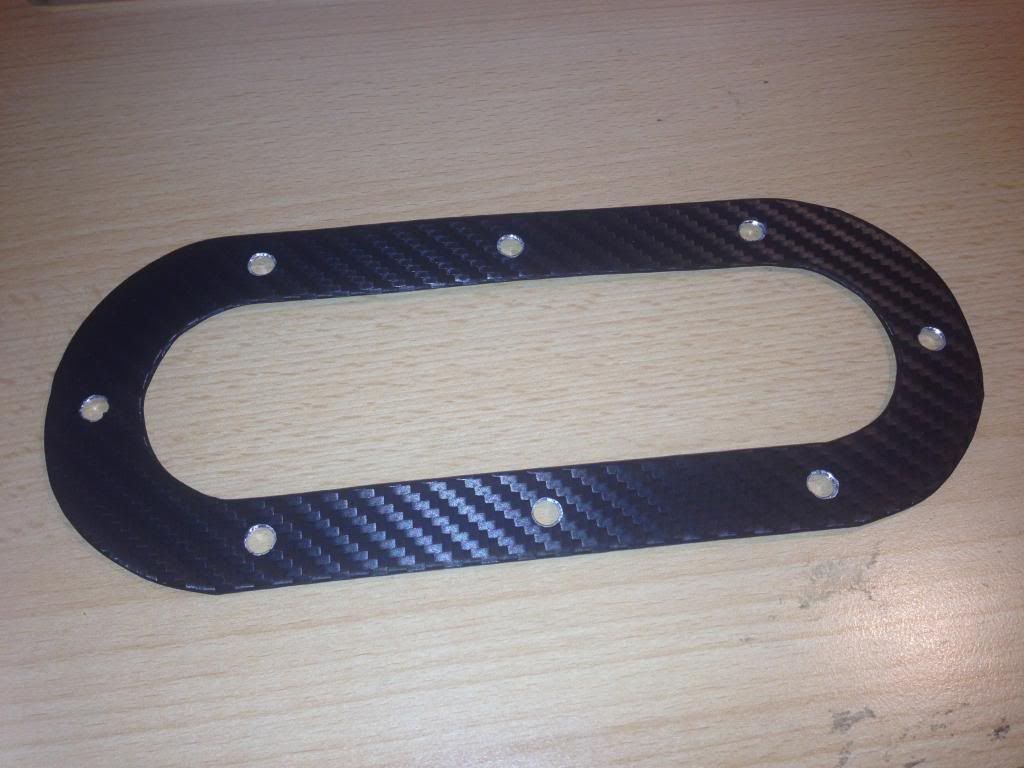
I started the day by cutting out a handbrake surround from 1.2mm aluminium sheet – the cut out size was checked with a template.  The width was set by the space there would be on top of the tunnel between the aluminium trim sections.  The surround was cut with the angle grinder, hole saw and hand file.  I then drilled 8no 6mm holes in for fixing to the tunnel top.

Paper template

1.2mm aluminium

In the afternoon when I got back from Stoneleigh I cut out the top tunnel section.  I cut an approximately 80mm square hole for the electrics to pass through which I then edge trimmed to protect the cables.  Next I cut a 45mm x 15mm slot for the gearshift and a 200mm x 60mm slot for the handbrake.
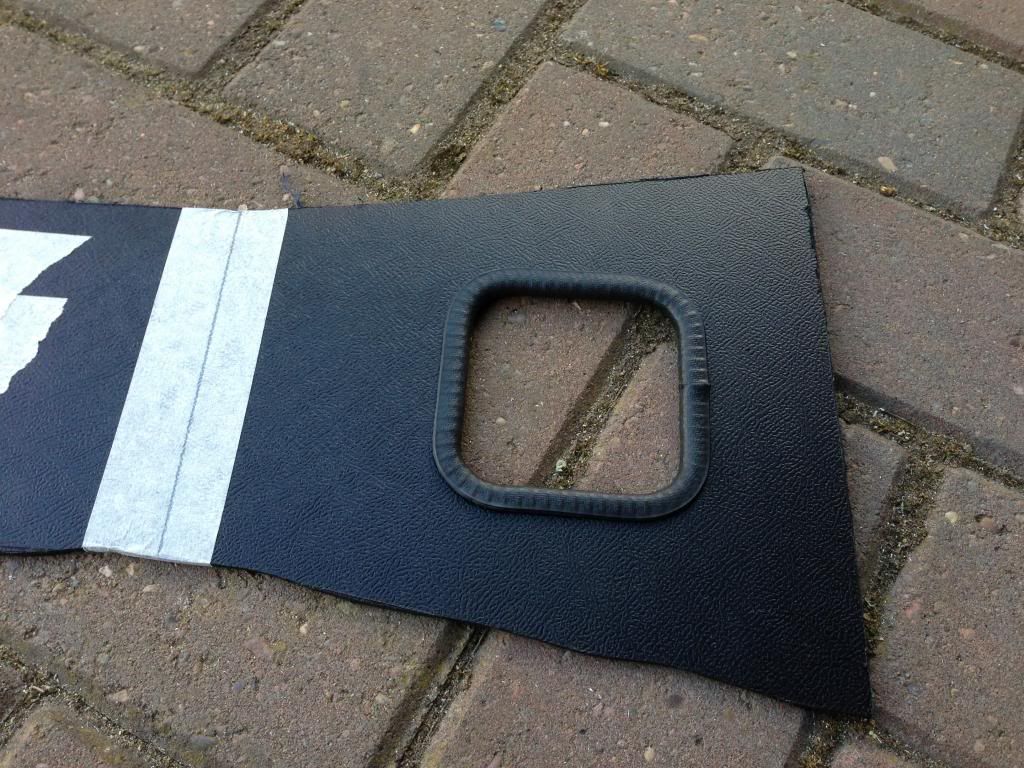
Hole for dash electrics
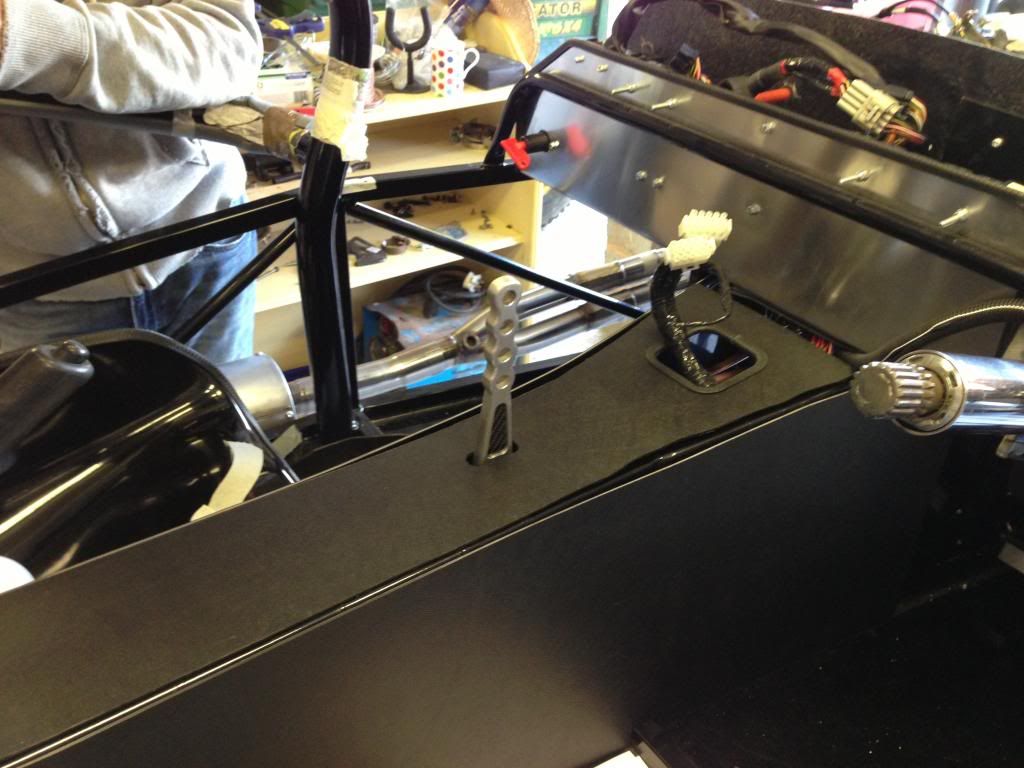
Slot cut for gear lever
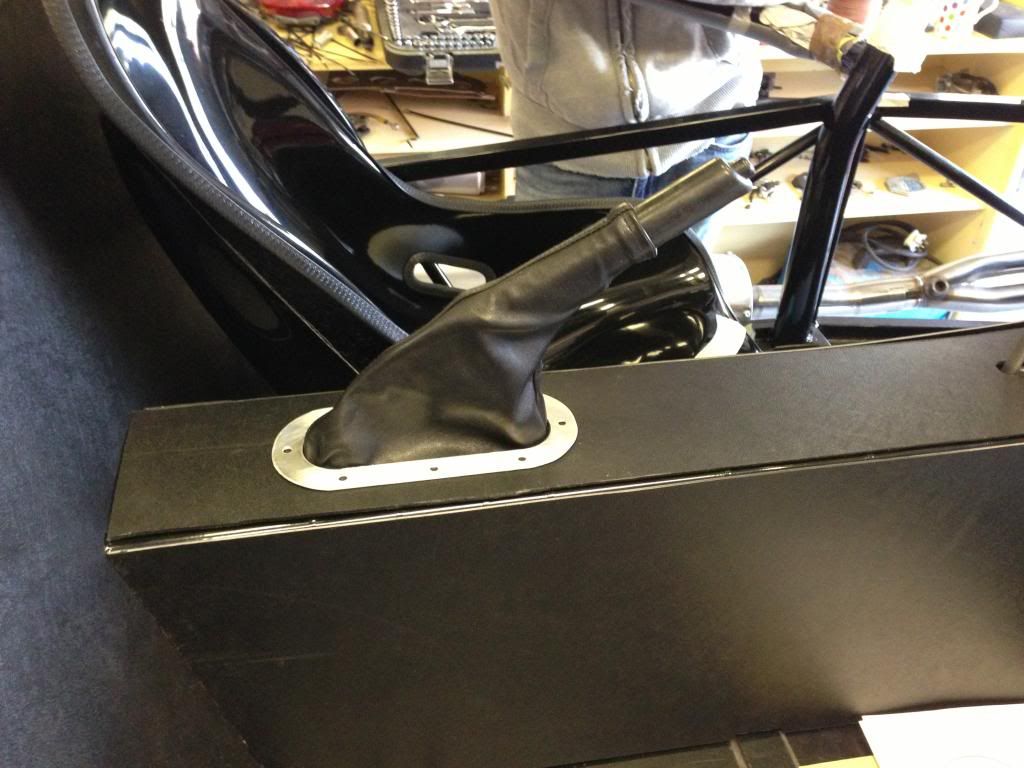
Cut out for handbrake.  Surround in position.


I also drilled and fixed the indicator toggle switch and switch guards just behind the gearshift.


Final job for the day was to carbon wrap the handbrake surround.  This was done with 3m Di-Noc carbon wrap which I bought on eBay.  I used a hairdryer to heat and stretch the wrap but I still had to cut slits in it as the internal curve was too much to stretch it.  These slits cant be seen from the top.  The plan is to fix the surround to the tunnel top with stainless dome hex bolts.  Also I plan to carbon wrap the aluminium tunnel trim so it all looks the same.


Saturday, 4 May 2013

Various small jobs


Tidying electrics – I riveted a couple more cable tie bases to the passenger bulkhead to fix the wiring loom to. 

Decelerator cable – I made a couple of brackets, complete with cable tie bases) from a piece of aluminium angle and riveted them to the passenger bulkhead.  I then cable tied the decelerator cable in position.


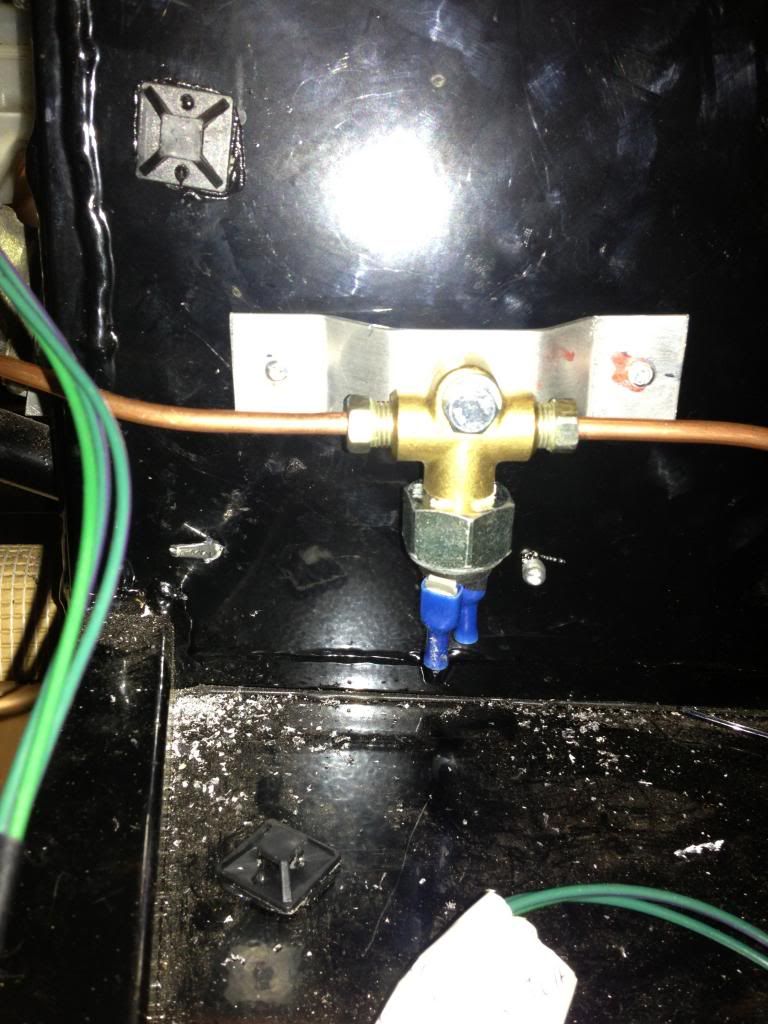
Brake pressure switch – I crimped new spade connections onto the loom for the brake pressure switch.  I then cut some split tube, put it over the cable and routed it behind the bracket to help keep it tidy. 

Throttle – I replaced the grub screws in the throttle clevis with the pointed hex type with a bit of Loctite for good measure.  I then found the right position of the nipple at the other end and silver soldered it as I did with the clutch cable.   The throttle cable was then installed, routing the cable along the side of the engine cradle.


Fuel line – I needed to make a bracket to which I could fix a P clip and hold the fuel line out the way of the clutch mechanism.


Holes for battery cables – I drilled two 16mm holes in the fiberglass bulkhead for the positive and negative battery cables to pass through.  I installed rubber grommets to ensure the cables are protected.


Exhaust – Next job was to trial fit the exhaust.  This is in preparation of getting the engine running with coolant in it, hopefully tomorrow.


Immobiliser light – I drilled an 8mm hole next to the ignition barrel for the immobilizer warning LED. 

Trial fitting parts – Last job was to trial fit everything to see how it was looking.  I put in the interior rear and tunnel panels, both seats, scuttle, dash, bulkhead and airbox.


Thursday, 2 May 2013

Tidying electrics again, brake pressure switch, gear shift lever


I spent the evening sorting out a few small jobs.  First job was moving the brake pressure switch that I mounted upside down some months ago.  The reason for this was I read on Locostbuilders that air could get trapped which will make the brakes feel spongy.  I drilled out the rivets holding the bracket and moved it about 50mm above the old position.  The brake lines were bent slightly to fit to the new position and the bracket was refixed with rivets.


Next job was fixing some cable tie bases to the bulkhead.  At the weekend I stuck a few on with sikaflex but this didn’t hold as I was able to peel them off tonight quite easily so I decided to rivet them with some 2.5 x 12mm rivets.  These cable tie bases are so I can fix tie the cables to the brake fluid and brake pressure sensor securely out the way.


Another job was to fix some aluminium angle to the back of the seat area which will give the rear interior panel something to fix to along the outer edge.  I fixed these with 3 rivets each.


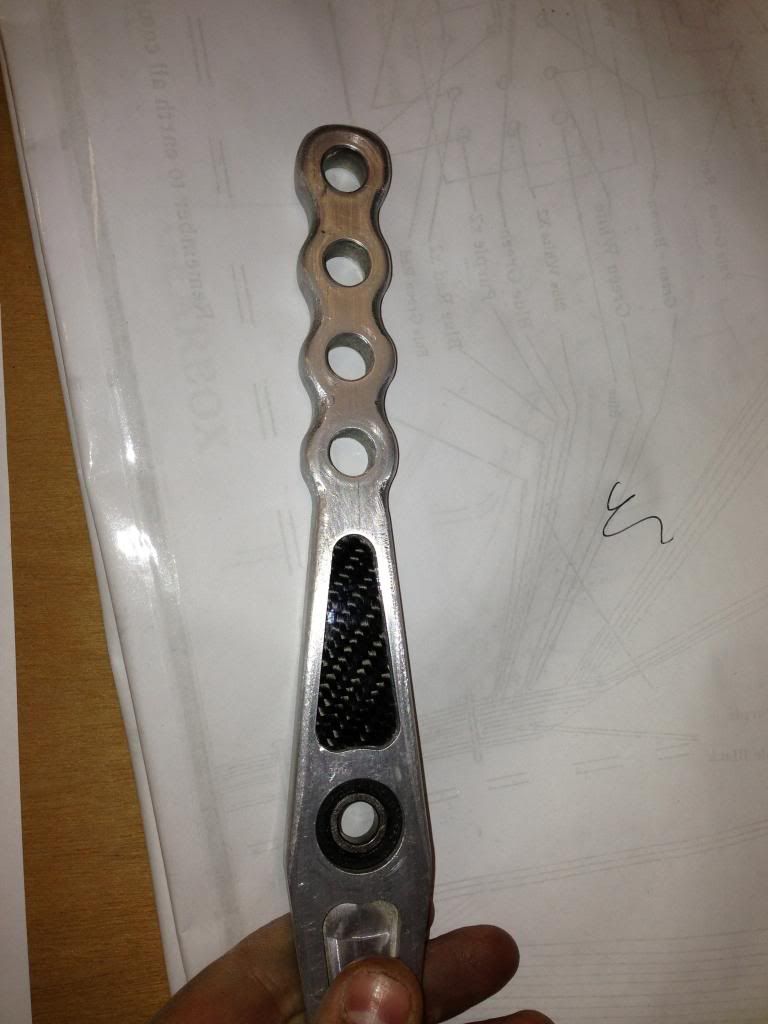
Final job was cut some infill pieces for the recess in the gear lever for decorative purposes.  I made a masking tape template of the area and cut out 2no pieces of Carbon GRP (from the piece I cut out of the dash for the clocks).   Not sure if I mentioned it before but some weeks ago I filed and sanded the MK gear lever to try and reduce all edges to a 2.5mm radius for the IVA. 


Carbon infill pieces complete.


Wednesday, 1 May 2013

Handbrake gaiter, cooling hoses


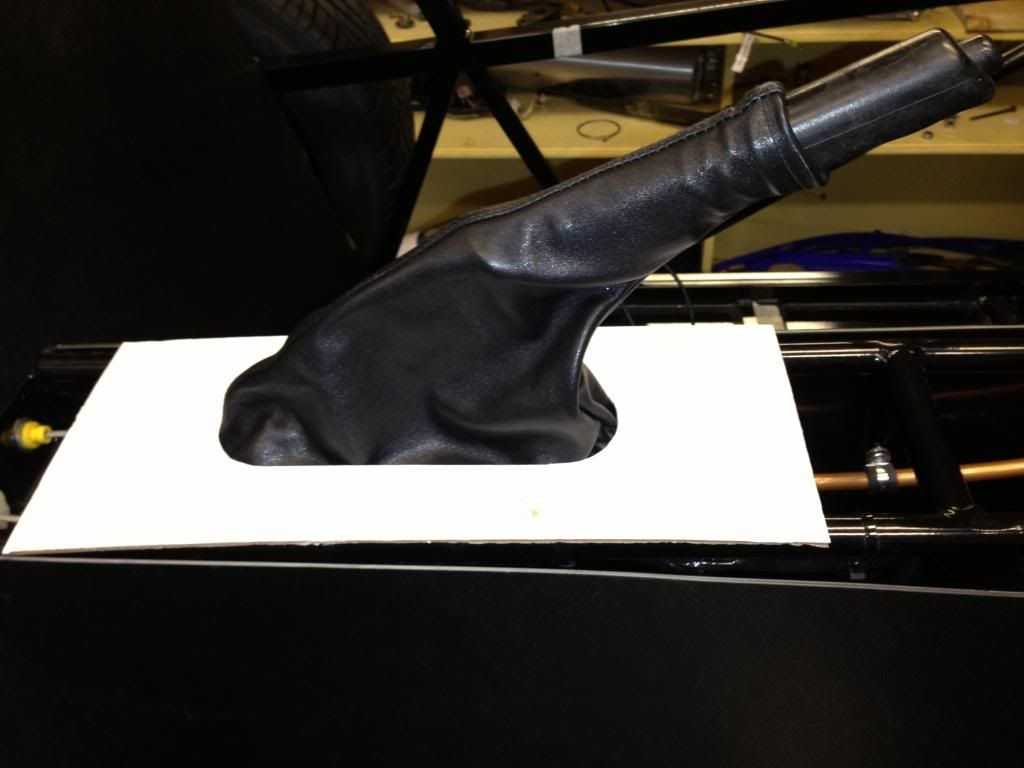
Tonight I had a go at making a handbrake gaiter from the remaining leather from the trousers I cut up to make the steering wheel centre.  I had a look at the general shape of a gaiter, cut a paper template, transferred the rough shape to the leather and sewed it together.  I positioned the existing leg seam on the top for decoration and used a sewing machine to sew it inside out before turning it round.  The gaiter fits tightly over the handbrake and seems to function ok.  I made a cardboard template of the slot I plan to cut in the top of the tunnel – the slot measured 200 x 60mm with rounded corners.  I could edge trim this and glue the gaiter to the underside of the tunnel.  Or I could cut a surround from aluminium and bolt it to the top of the tunnel.  Not sure what I will do yet.

Next job was to finish the hoses.  I jubilee clipped the bottom hose so the system is now ready for flushing and filling with coolant, which will be a job for the weekend.


Seam stuck with double sided tape before sewing

Gaiter sewn inside out

Turned right way round


Original leg seam of trousers for decoration


Cardboard template of slot in top of tunnel


Hoses finished