Sunday, 13 January 2013

GSXR clock mounting bracket


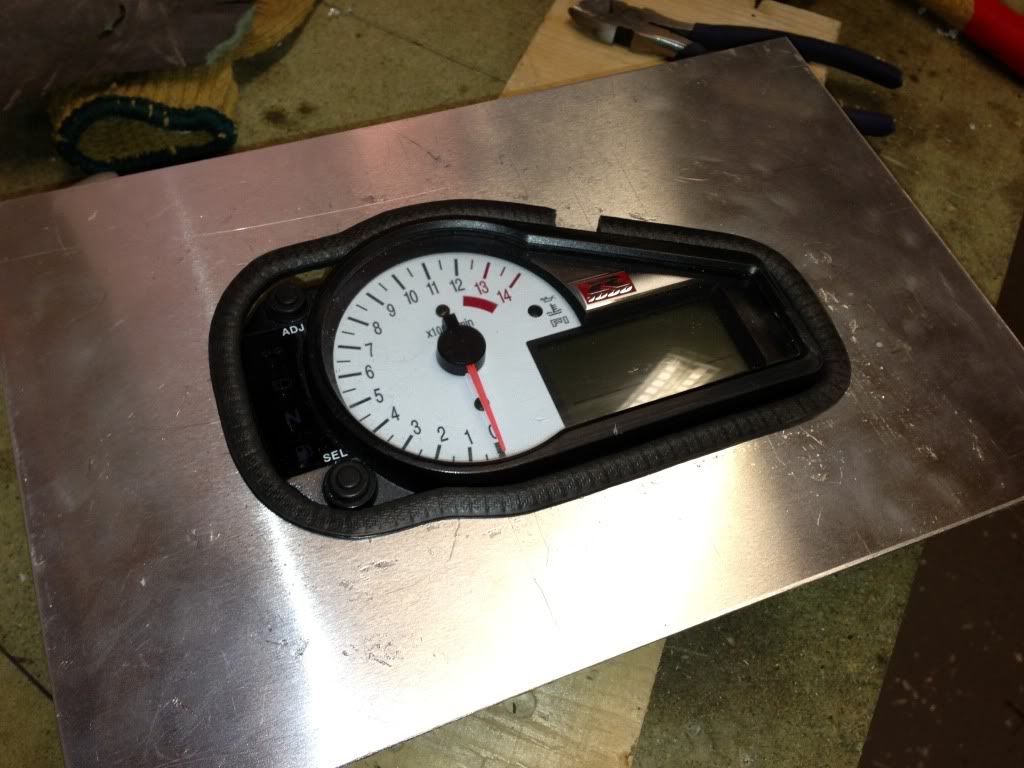
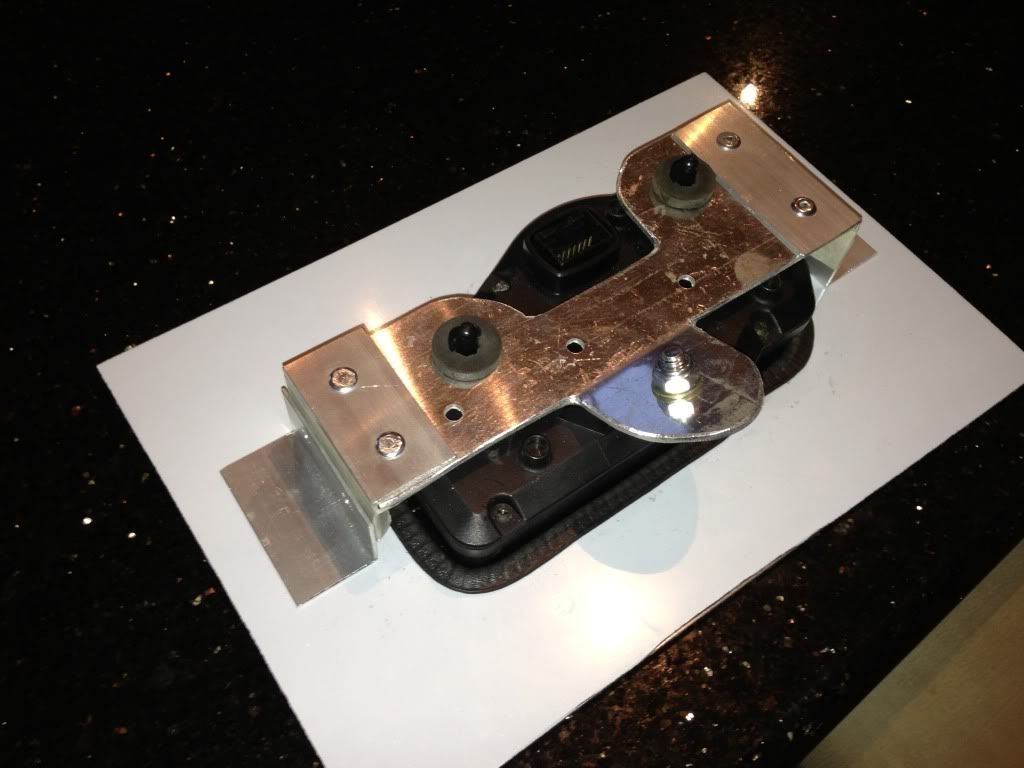
Today I made a bracket to hold the GSXR clocks in place.  On the bike, the clocks fitted simply by pressing into a couple of rubber grommets.  This meant I needed to make a bracket that would fit behind the clocks but can be fixed to the back of the dash.  The clocks would need to fit through a hole in the dash but protrude from the edge trim no more than 3mm as the edges would fail the IVA radius check.

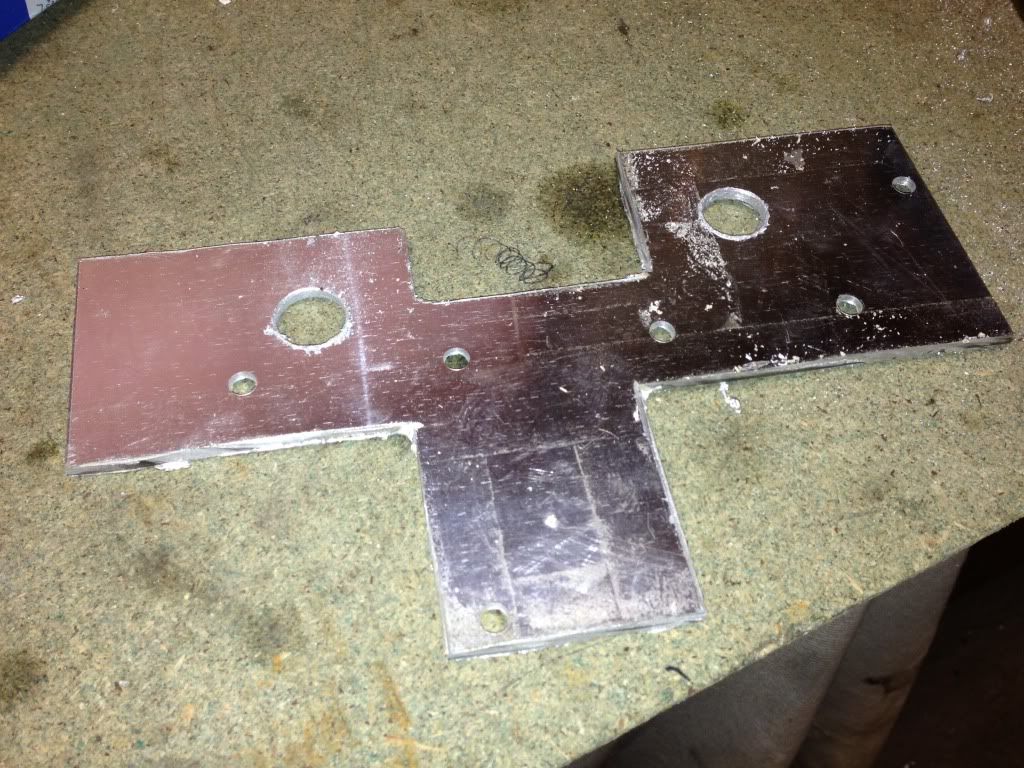
To start I made a template from cardboard to get the shape roughly correct.  Once I was happy with this I transferred the shape to a piece of aluminium and again cut out the shape of the clocks.  This was so I could test fit everything including the edge trim which I couldn’t do with cardboard as it would lose its shape.  I needed to file a fair bit away and keep checking the edge trim and clocks fitted together ok.

I then cut out a piece of aluminium for the back and drilled holes for the 2 rubber gommets and a fixing bolt.  I then rived aluminium angle to the bracket.

The plan is to fix some aluminium angle to the rear of the carbon dash using an adhesive and then fixing the clock bracket to this angle.  This means no fixings will be visible from the front.

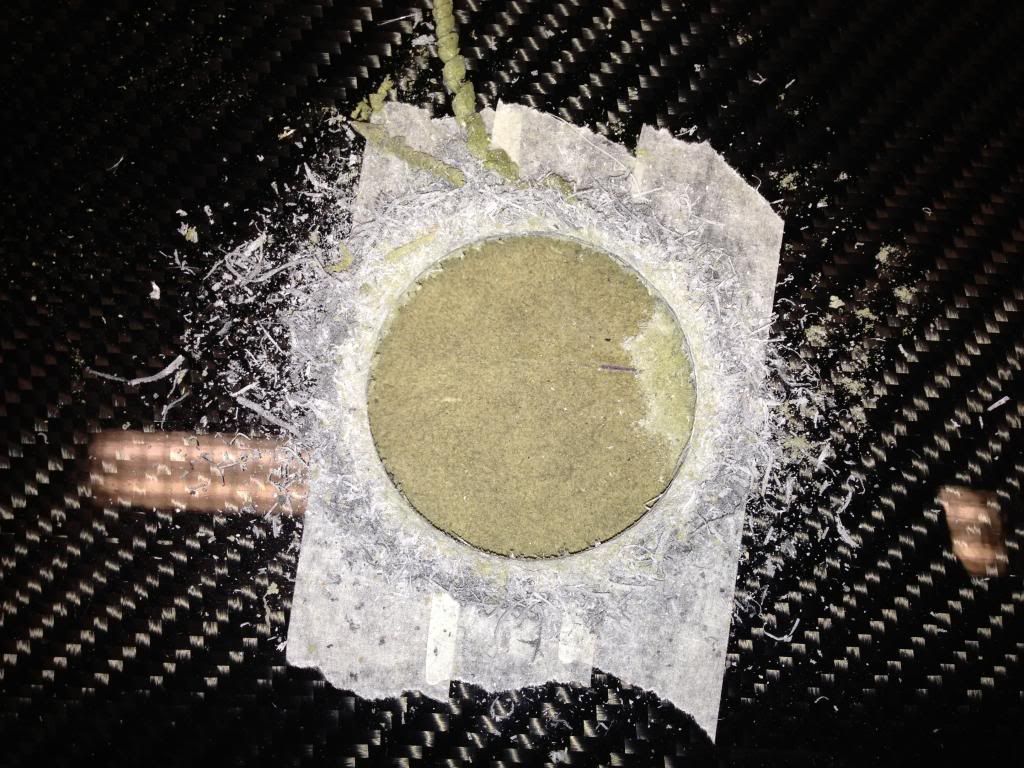
Stitch drilling clock template


Bracket drawn out ready to cut from aluminium

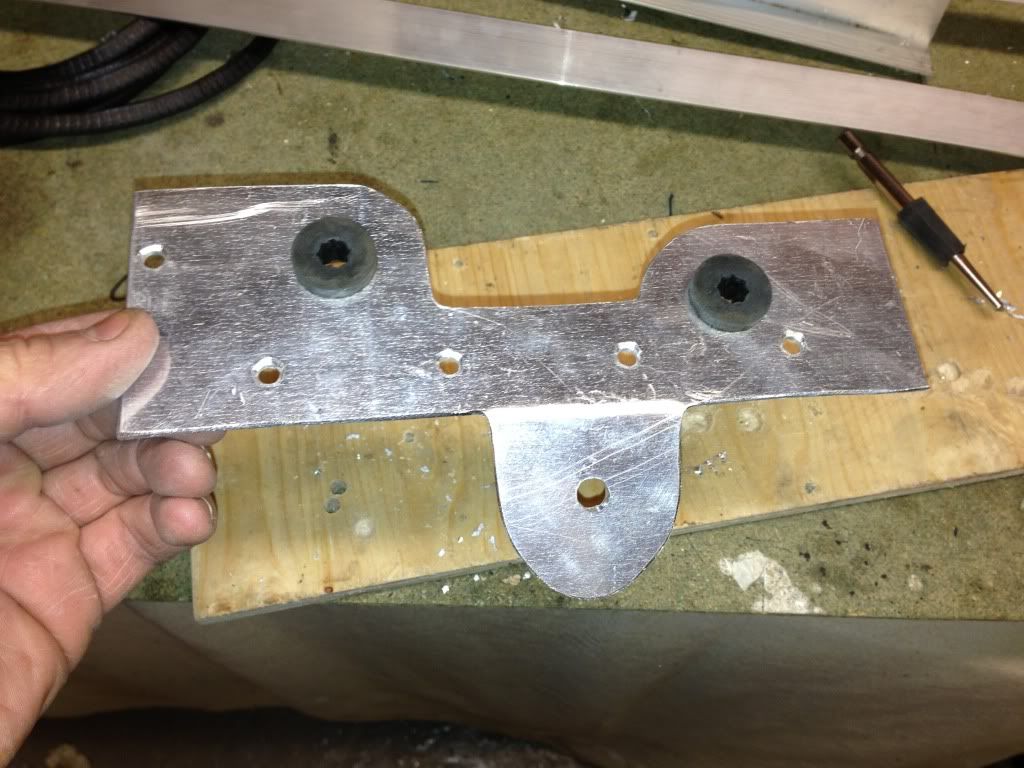
Rubber grommets installed

I then cut some aluminium angle and riveted them to the bracket.  The plan is to have additional angle brackets glued to the back of the dash and then


Monday, 7 January 2013

Measuring for oil cooler pipes

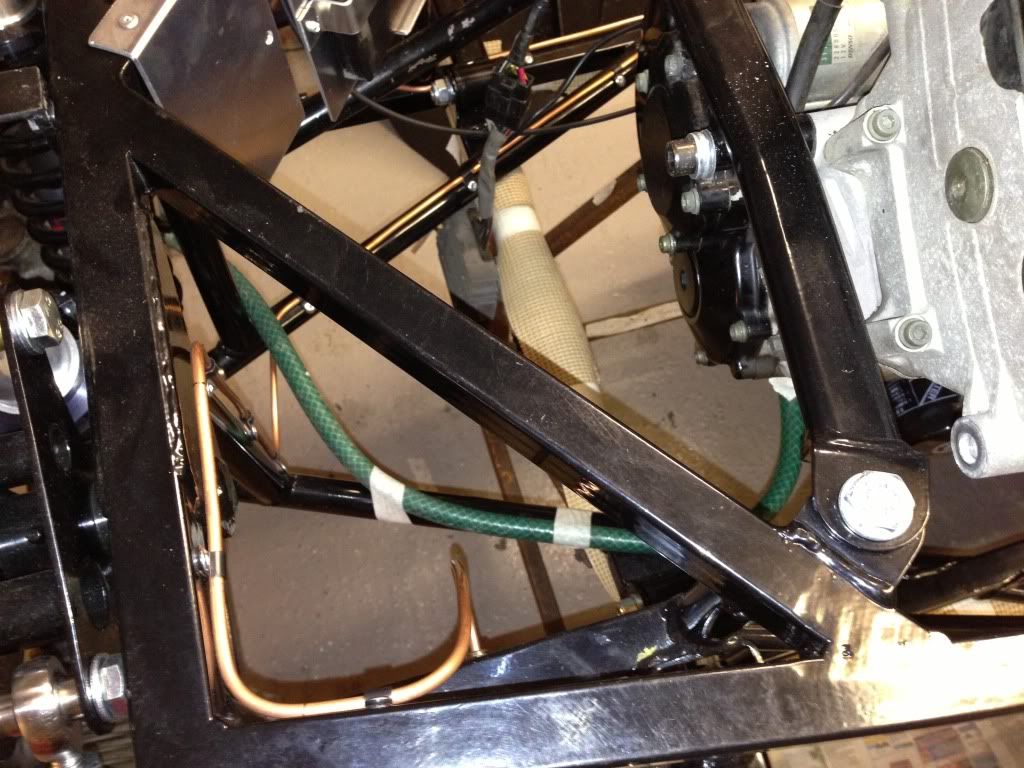
I need to lengthen the oil cooler pipes as the cooler will be located in front of the radiator, so I measured up using a piece of hose pipe.  I took the pipes to Sapleford hydraulic who will be brazing on new fittings and then swaging on new lengths of hose.  It should cost about £80 but will be much safer than simple jubilee clipping hose in place.


Existing hoses were cut off ready for new ends to be swaged on


Sunday, 6 January 2013

Fuel tank and drivers seat


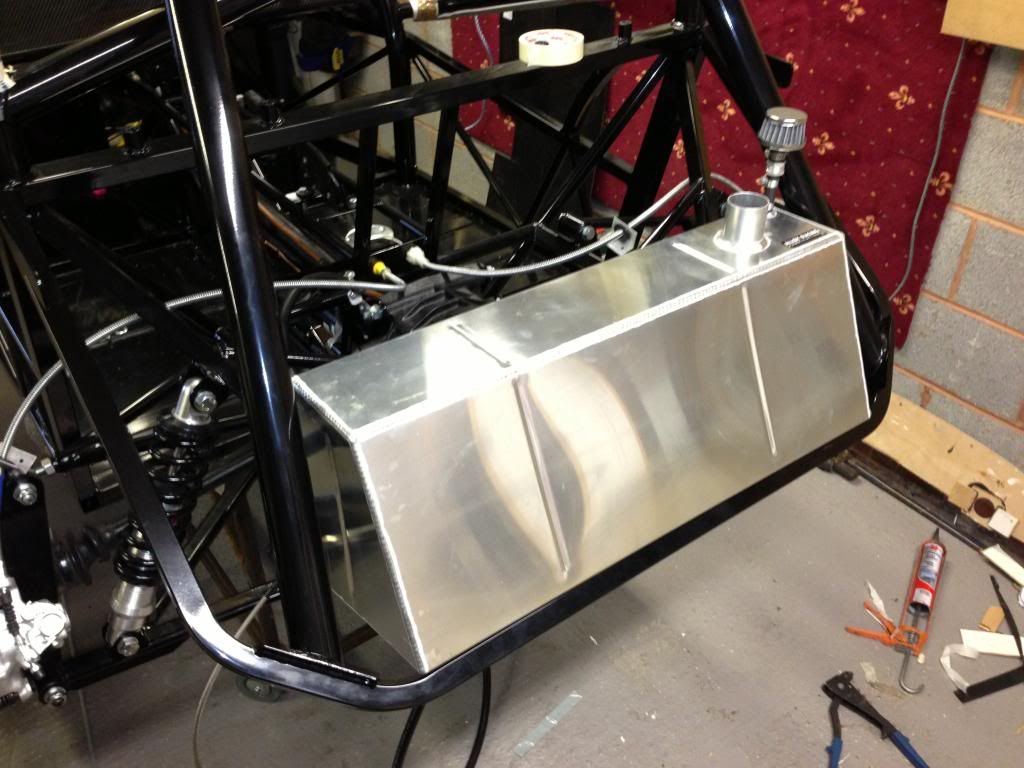
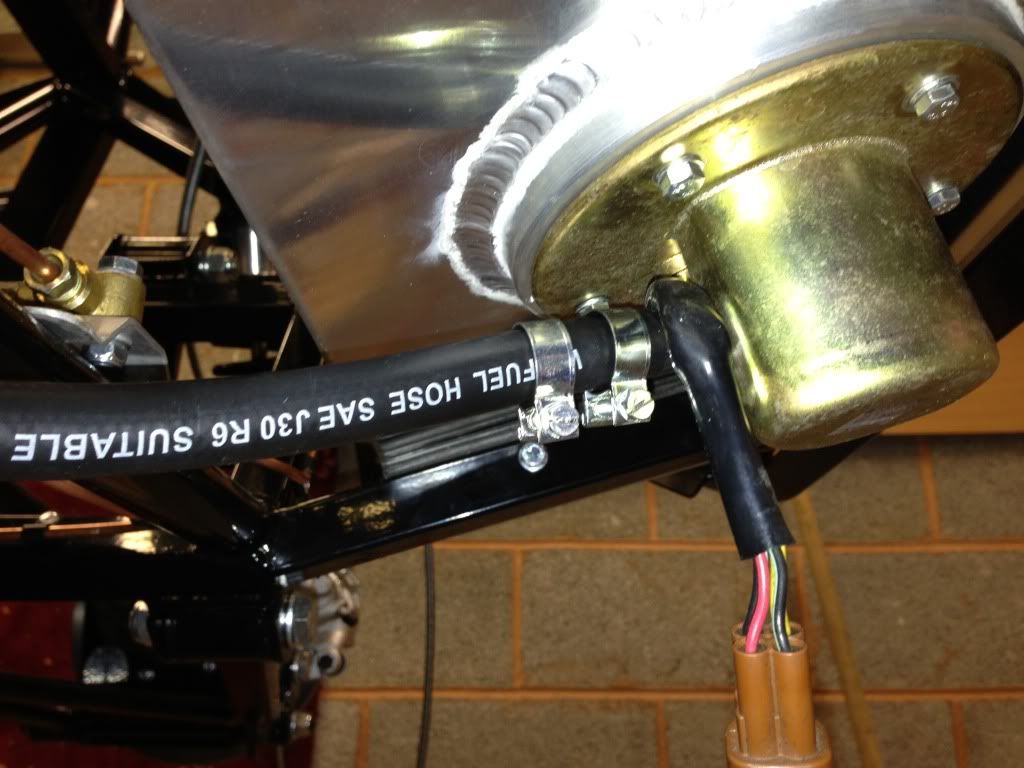
Today I fitted the fuel tank.  I cut some adhesive rubber strips and stuck them to the chassis rails under the fuel tank to give some support.  The tank was then bolted in position and the fuel pipe attached to the fuel pump.  I fixed the flexible fuel pipe to the chassis in a couple of places with P clips.


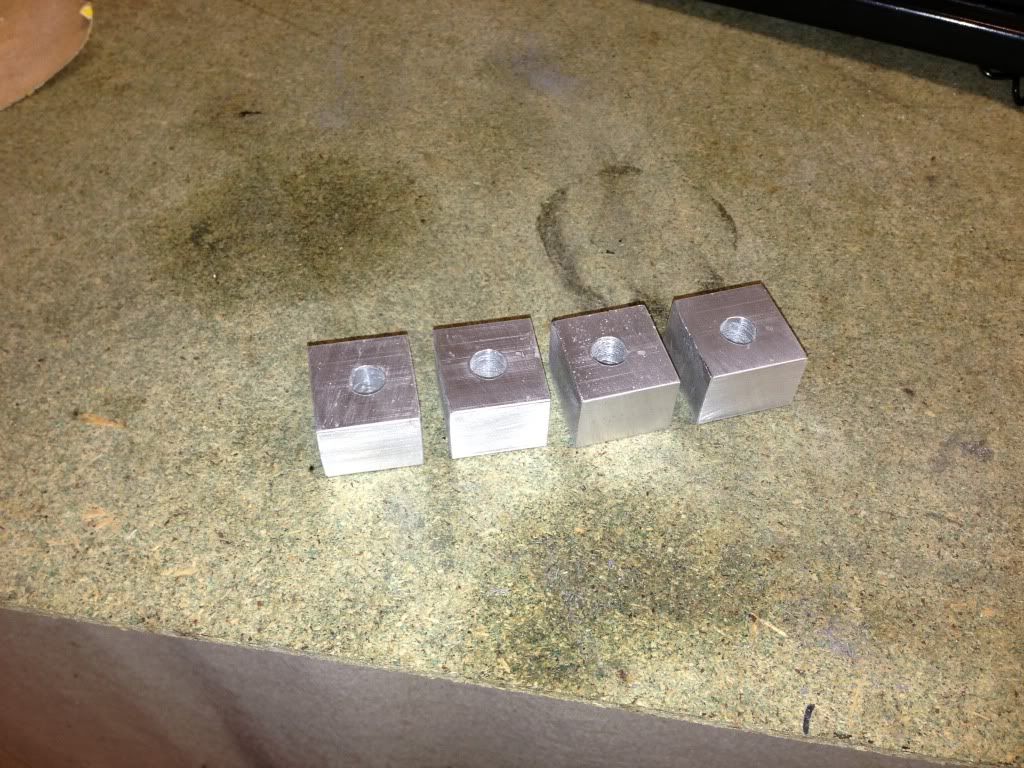
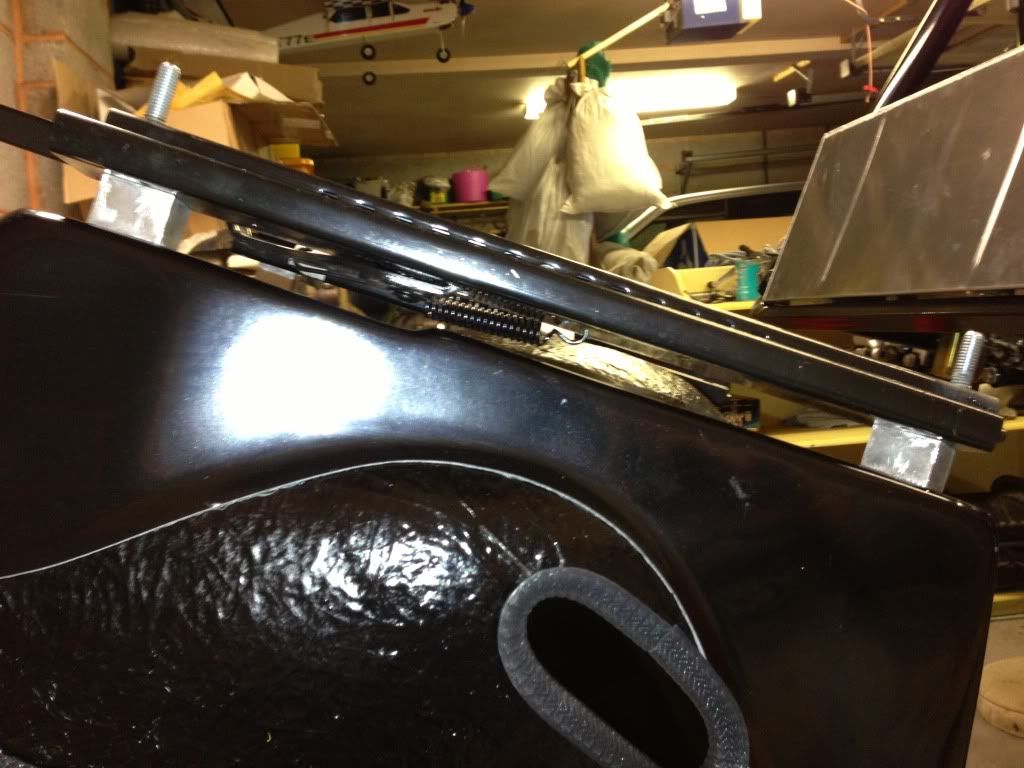
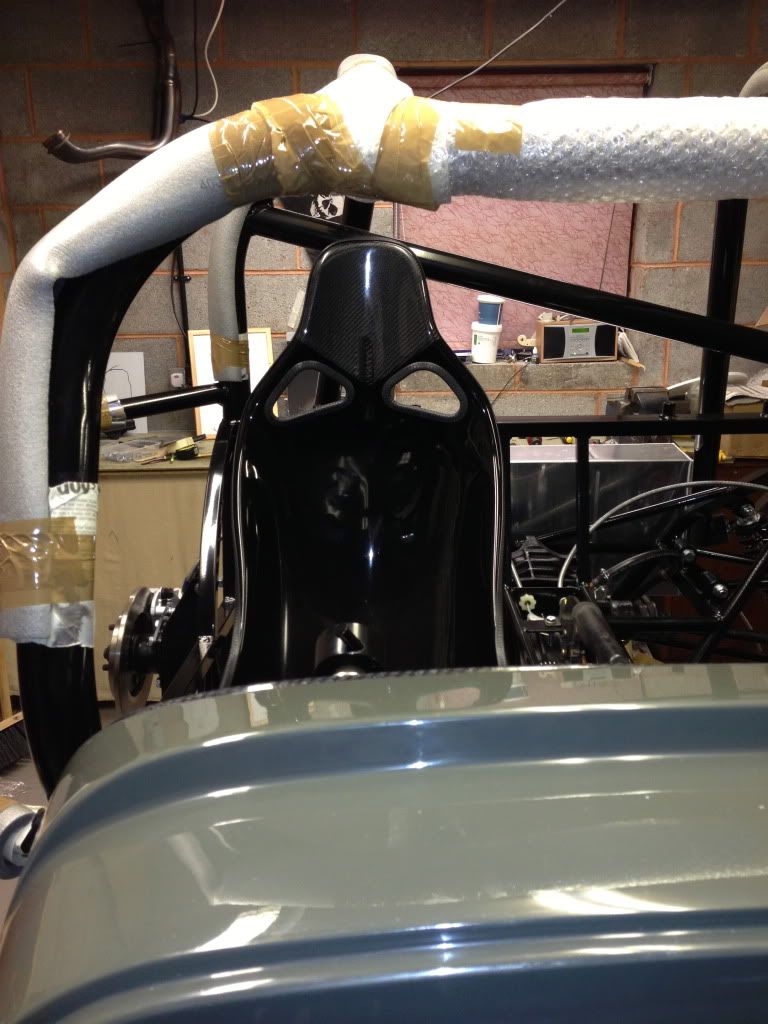
I also fitted the drivers seat.  The runners were fitted to the seat to begin which neede some 15mm aluminium packers to ensure the adjusting lever cleared the seat.  Holes were then marked and drilled in the rails and the seat bolted in position.


Saturday, 5 January 2013

Airbox research and dash continued


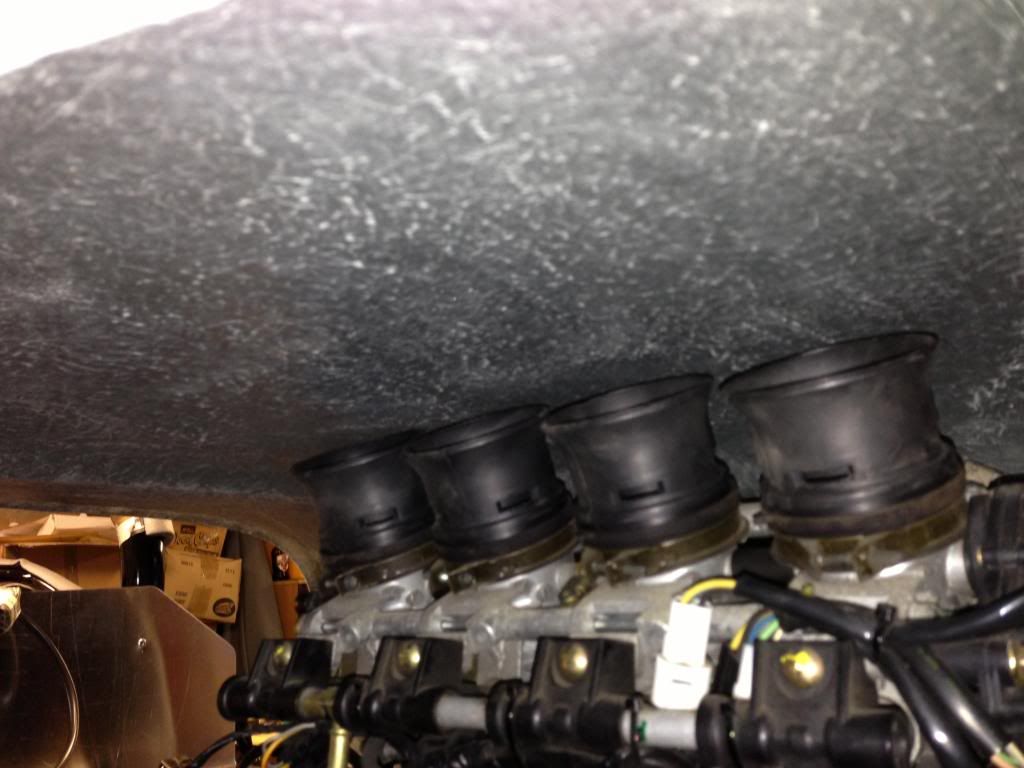
Today I fitted the rubber trumpets to the throttle bodies (taken from the gsxr airbox) and fitted the TBs to the engine.  This was to see how much space I could have for an airbox or air filter….. turns out there isn’t much room.  I would like to ind a solution that didn’t involve chopping a hole in the bonnet for the air filter.  More research needed.


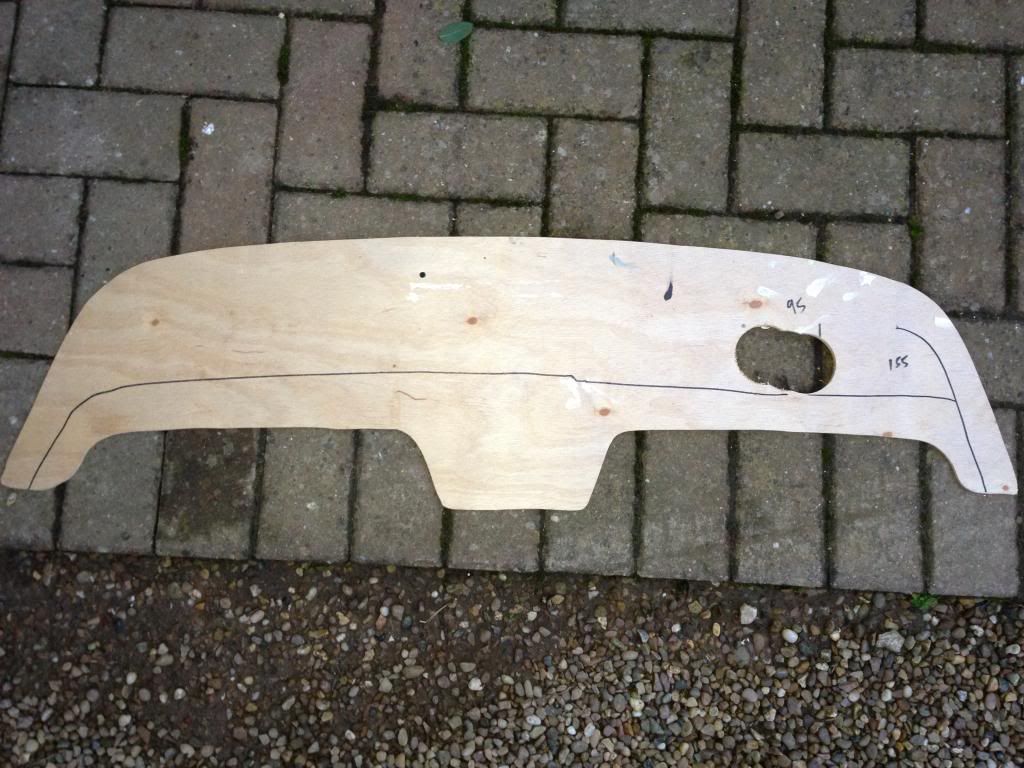
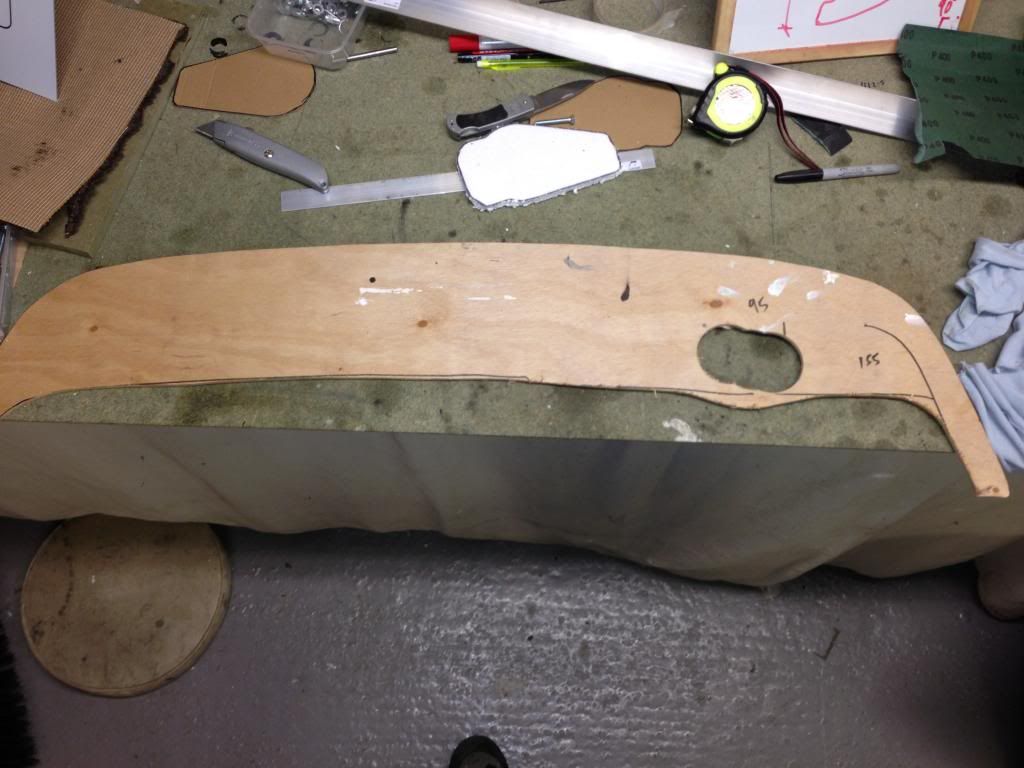
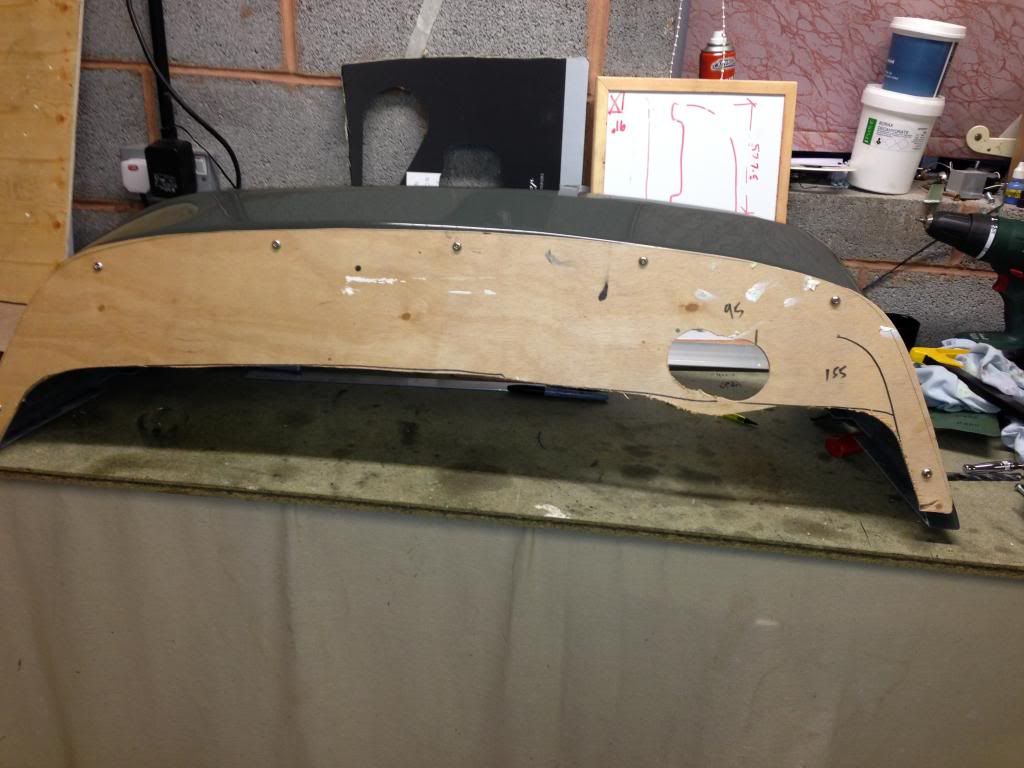
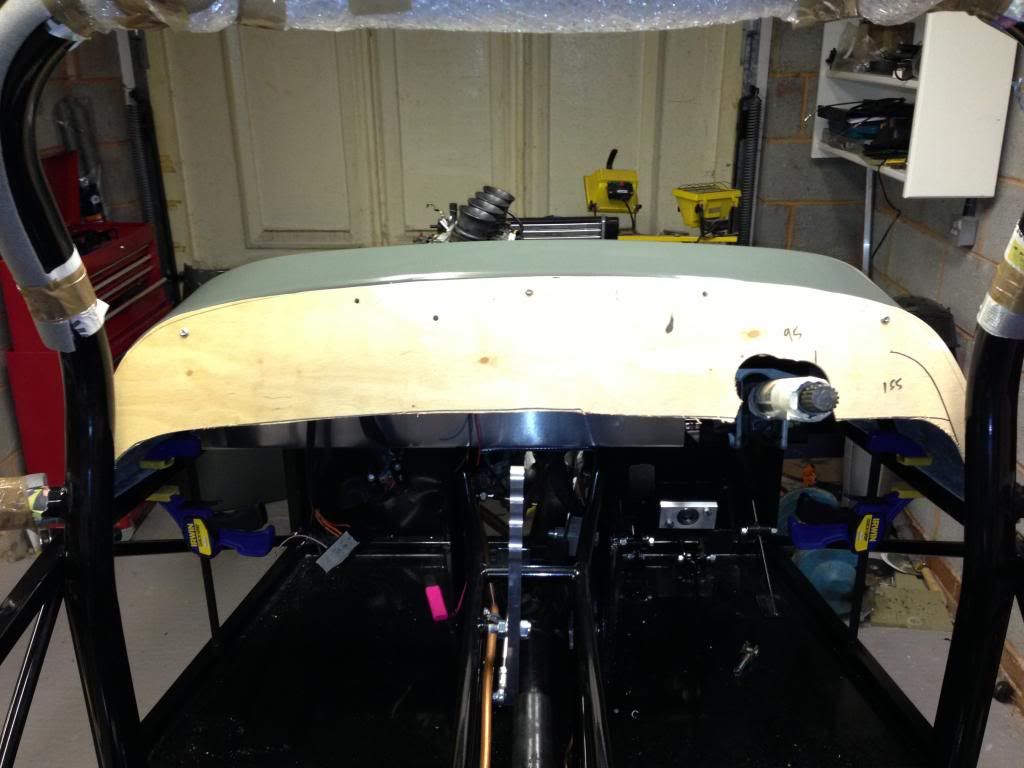
I also cut down the timber dash template and drilled holes so it could be fixed to the scuttle.  This would allow me to work out exactly where the steering column hole will need to be cut.


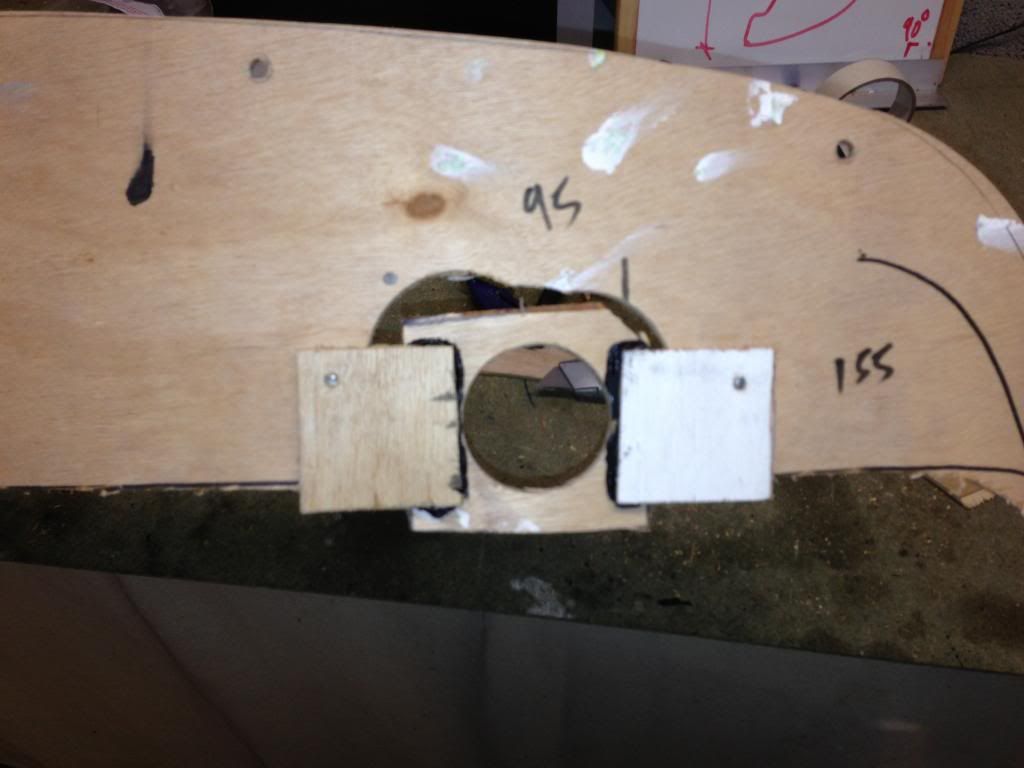
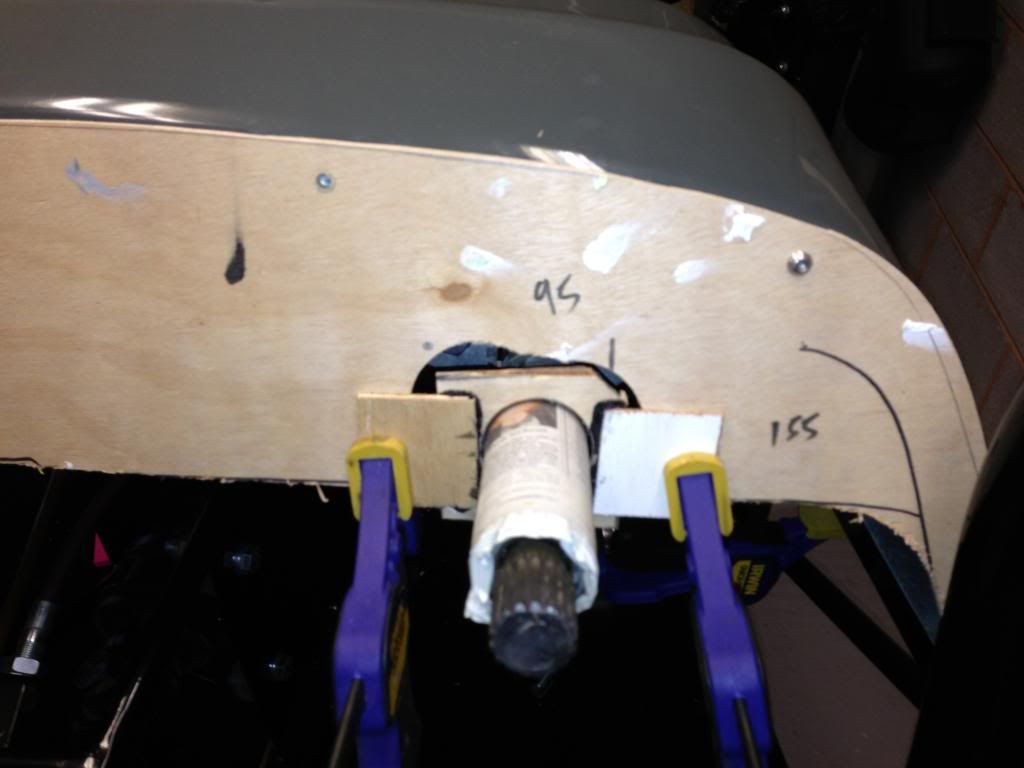
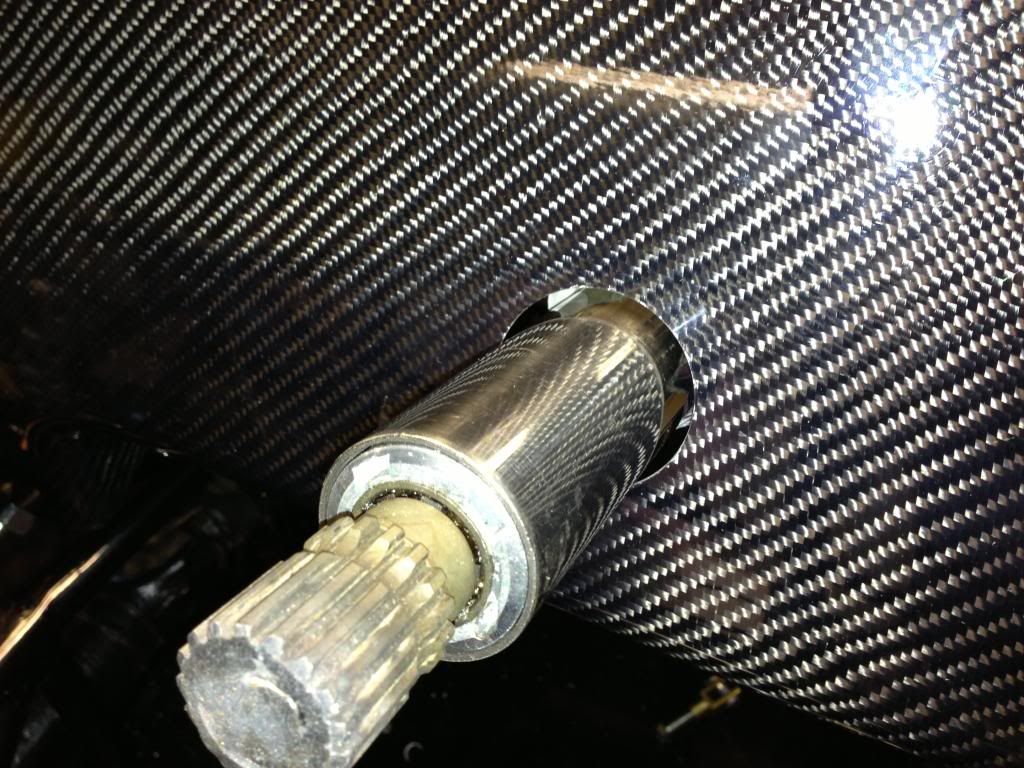
I drilled a 56mm hole in small piece of ply and placed this over the steering column.  This was then fixed to the dash template so the exact position for drilling the carbon dash could be found.  I marked up, drilled and fitted the carbon dash.  The steering column lined up perfectly central.


Wednesday, 2 January 2013

Dash

Made a start on the dash tonight.  I began by marking out 7no. fixing holes in the carbon dash ensuring they were evenly spaces and the edge distance of the scuttle was sufficient.  I did this by placing the dash in place and marking round it.  Putting the holes 15mm from the edge seemed to work ok.

The holes were drilled slowly, then the hole positions transferred to the scuttle which was also drilled and rivnuts installed.  A quick test showed all the holes lined up.

I then began work on a template for the clocks.  To make this tidy as possible I will want to cut and edge trim the hole.  My cardboard template didn’t have the strength to have the edge trim applied so I will remake the template from 2mm aluminium tomorrow.   This will allow the edge trim to be appled and the template drilled, cut and filed to the perfect shape before I attempt to cut the carbon dash.

Hole positions marked

Holes drilled

Holes transferred to scuttle

Scuttle drilled and rivnuts installed

M6 x 30mm stainless dome bolts used to fix dash to scuttle.  

I didnt realise until this point that the two outer bolts will not be able to be done up as they will be about 5mm off the rollcage.  I will have to have these as dummy bolts that are clued in position.